
Princess Garnet Cosplay Tutorial | Final Fantasy IX

Photographer: Carlos Flores
This content may contain affiliate links. This means that if you make a purchase through one of the links, I may receive a commission. This commission comes at no additional cost to you, and I only recommend products that I personally love. Thank you for supporting my creative work!
Hey there, Final Fantasy fan! Looking to channel Dagger/Princess Garnet from Final Fantasy IX? Here’s all the info you need to pull off a Dagger cosplay (also known as Princess Garnet Til Alexandros XVII... but that's quite the mouthful!). In this blog, we’ll go over the Princess Garnet cosplay essentials. From inspiration to budget to shopping lists, and finally, all the tutorials.
Ready? Let’s roll!
INSPIRATION
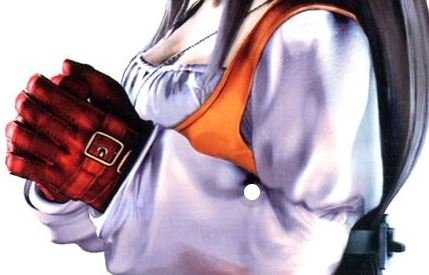
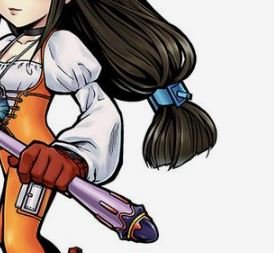
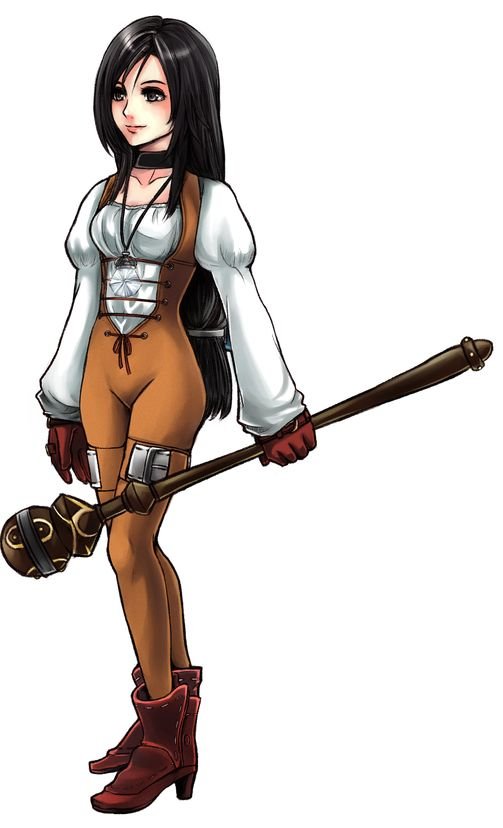
First off, let’s take a look at some Princess Garnet reference images. From angles to colors and textures, it is important to take your time looking up these details for Princess Garnet's outfit. (it was pretty fresh in mind for me too, since I just replayed it in 2022!)
I actually made finding inspiration easy for you — check out my Princess Garnet FF9 Pinterest Board for all the inspo you need (also be sure to follow my Pinterest account while you’re browsing 😘)

COSTUME ITEMS LIST
Now let's get down to business and start sourcing your supplies! Princess Garnet’s costume is made up of several key pieces, so having a clear budget and list of items will help ensure that your cosplay comes together seamlessly.
Below you’ll find what items are included in my Princess Garnet cosplay. I rated this build as “intermediate” because most items I bought but just altered with basic sewing and crafting techniques. It’s up to you how much you want to pre-purchase items vs make them yourself.
COSTUME ITEMS I MADE:
Crystal Necklace
Blue Hair Clip
COSTUME ITEMS I ALTERED:
White Blouse
Orange Jumpsuit & Leg Belts
Maroon Boots
COSTUME ITEMS I BOUGHT:
Maroon Gloves
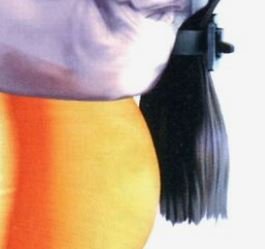
Black Wig
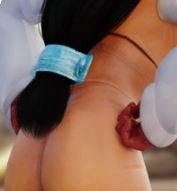
Black Choker
If you keep reading you’ll see the tutorials for each costume item on this list. Plus I made some helpful Garnet/Dagger Tutorial videos on my Instagram account (@QueenAmyDalaCosplay).
Once you know what you need, it’s time to go SHOPPING (and create a budget for yourself, obvie).
SHOPPING LIST & BUDGET
Here is my full shopping list plus budget estimates for each item (including links!). You might not be able to get the exact items (or want to even), but it's nice to have a ballpark budget and shopping list so you can make sure everything is accounted for.
SUPPLIES I BOUGHT:
White bodysuit $24 (Shein)
Orange Jumpsuit $29 (Shein)
Boots $50 (Shein)
Choker $1 (Shein)
Wig $32 (Shein)
Maroon Gloves $9 (Shein)
White belts x 2 $11 each (Shein)
Rectangle Hair Tie $3 (Shein)
SUPPLIES I ALREADY HAD:
Stretchy jewelry thread
Acrylic paints
EVA Craft Foam Sheets
Exacto knife
A variety of glues (Hot glue, super glue, multi-purpose glue)
Dress form
Sewing machine
Thread
Hand sewing needles
Pins
Sun catching crystal
Silver chain, topper bead, jewelry pliers
Interfacing
Grommets
Elastic
Scissors
Seam ripper
COSPLAY BUDGET:
$159 CAD
(Please consider treating me to a coffee by tipping me $5 on Ko-Fi if you get value or inspiration from this tutorial!🙏🥰)
Alrighty then... ready to rock n' roll? Now it's time to get crafting! Scroll down to find the item tutorial you're looking for!
STEP-BY-STEP
FULL FF9 DAGGER/GARNET COSPLAY TUTORIAL
DIFFICULTY LEVEL:
Intermediate
Some basic sewing & crafting involved.
All items altered in some way.
Some items bought & used “as is”
TUTORIAL TABLE OF CONTENTS :
White Blouse Tutorial (Click Here)
Boots & Gloves Tutorial (Click Here)
Crystal Necklace & Choker Tutorial (Click Here)
Blue Hair Clip Tutorial (Click Here)
Orange Jumpsuit & Leg Belts Tutorial (Click Here)
Garnet Cosplay White Blouse Tutorial
Supplies:
White bodysuit
Stretchy jewelry thread & needle
Reference Image:

1. Starting Point…
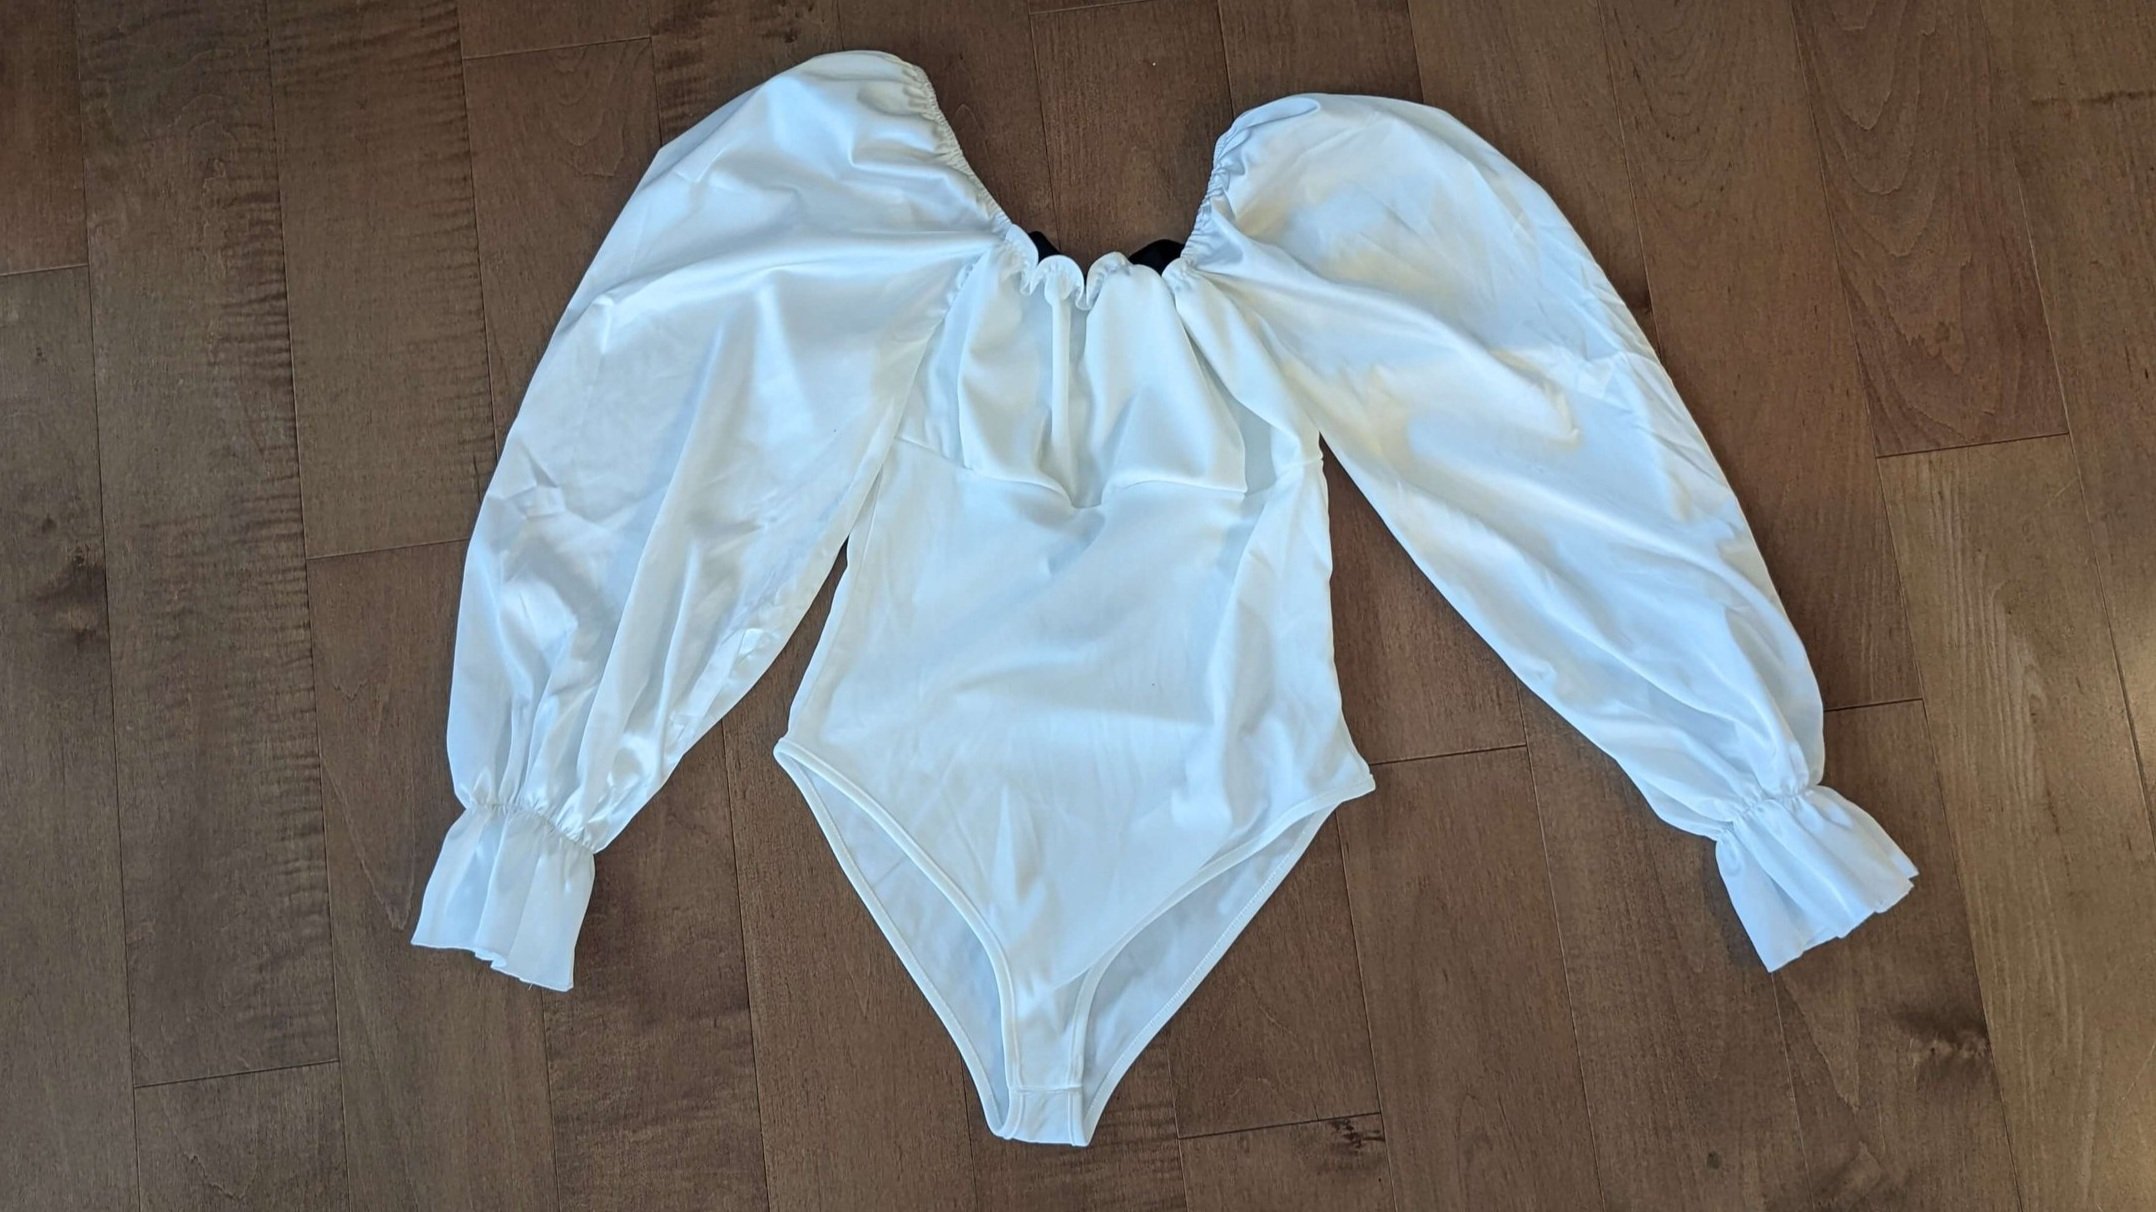
2. Remove the seam from the panty bottoms.
This bodysuit showed some serious panty lines when I put it on under the orange jumper, so I cut off the seams. I also removed the snaps and sewed it together at the crotch (personal preference).

3. Create puff sleeve.
I used stretchy jewelry thread to give it an elastic feel, and I hand sewed it because I was scared of ruining the fabric with my sewing machine and an elastic.

4. Finished Princess Garnet Blouse!

Click here to go back to the Tutorial Table of Contents.
Garnet Cosplay Boots & Gloves Tutorial
Supplies:
Boots
Acrylic paints
Fabric medium
Brushes
Reference Images:
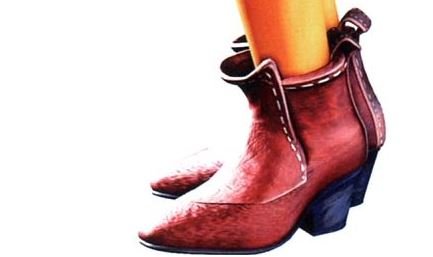
1. Starting Point (I used the gloves “as is”)…

2. Paint the boots maroon.
I didn’t like that the boots were more red than the gloves I had, so I mixed acrylic paint with fabric medium and gave them two coats, allowing the coats to dry in between. However, I kind of regret doing the second coat because it made them really dark and almost brown.

3. Paint on white “stitching”.
I didn’t have any extra fabric hanging around to make the flaps on her boots, and I was running out of time before the convention… so I just decided to paint the stitching at that that be “close enough”… I can always go back and update it later if I want to.

4. Finished Princess Garnet Boots!

Click here to go back to the Tutorial Table of Contents.
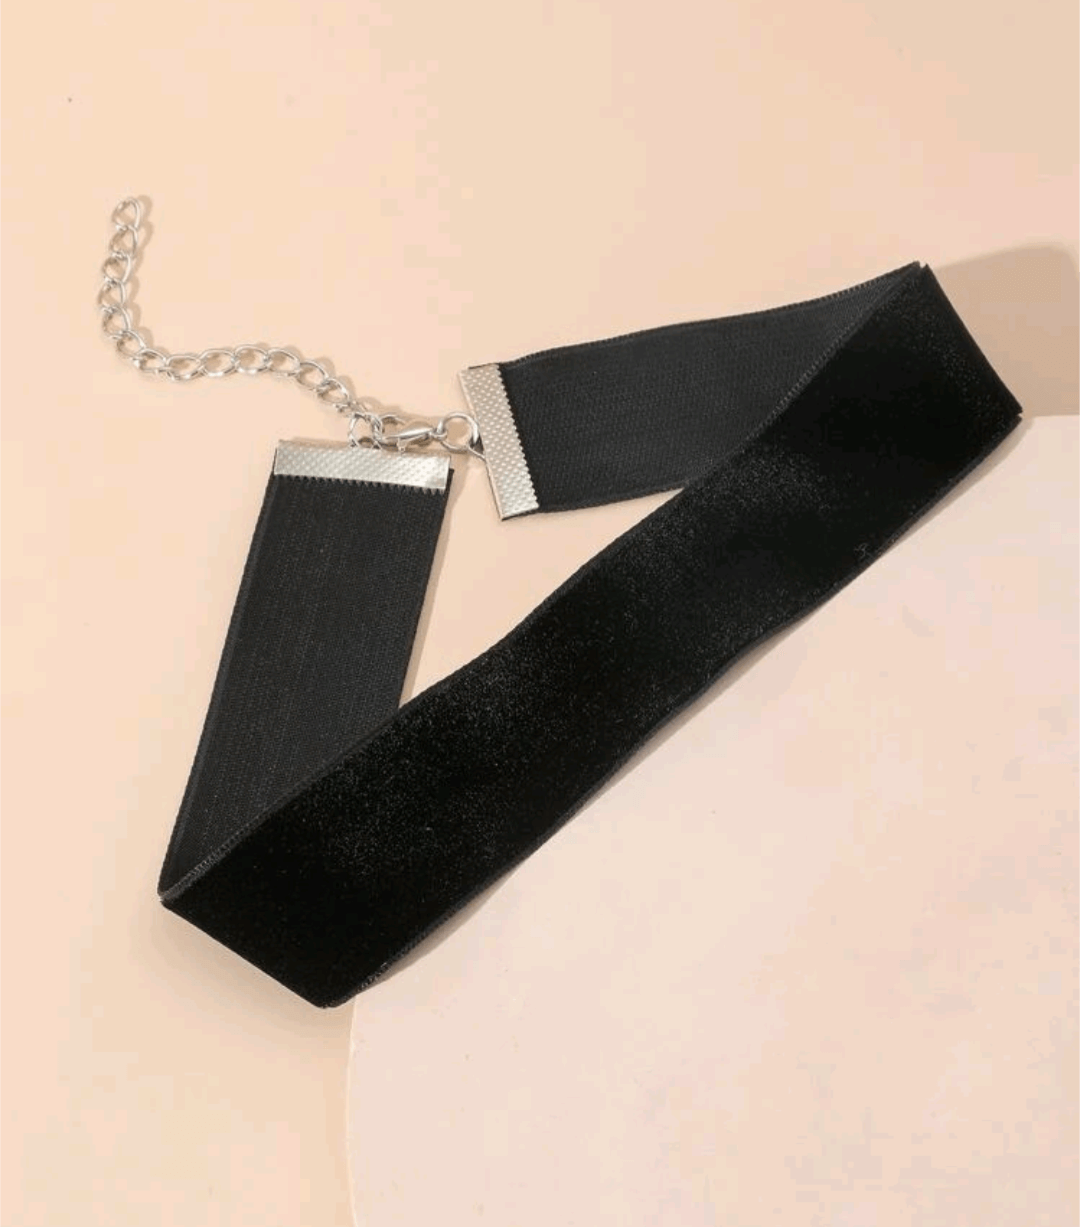
Garnet Cosplay Necklace Tutorial
Supplies:
Choker
Crystal suncatcher
Silver chain, topper bead, jewelry pliers
Reference Image:

1. Starting Point (I used the choker “as is”)…
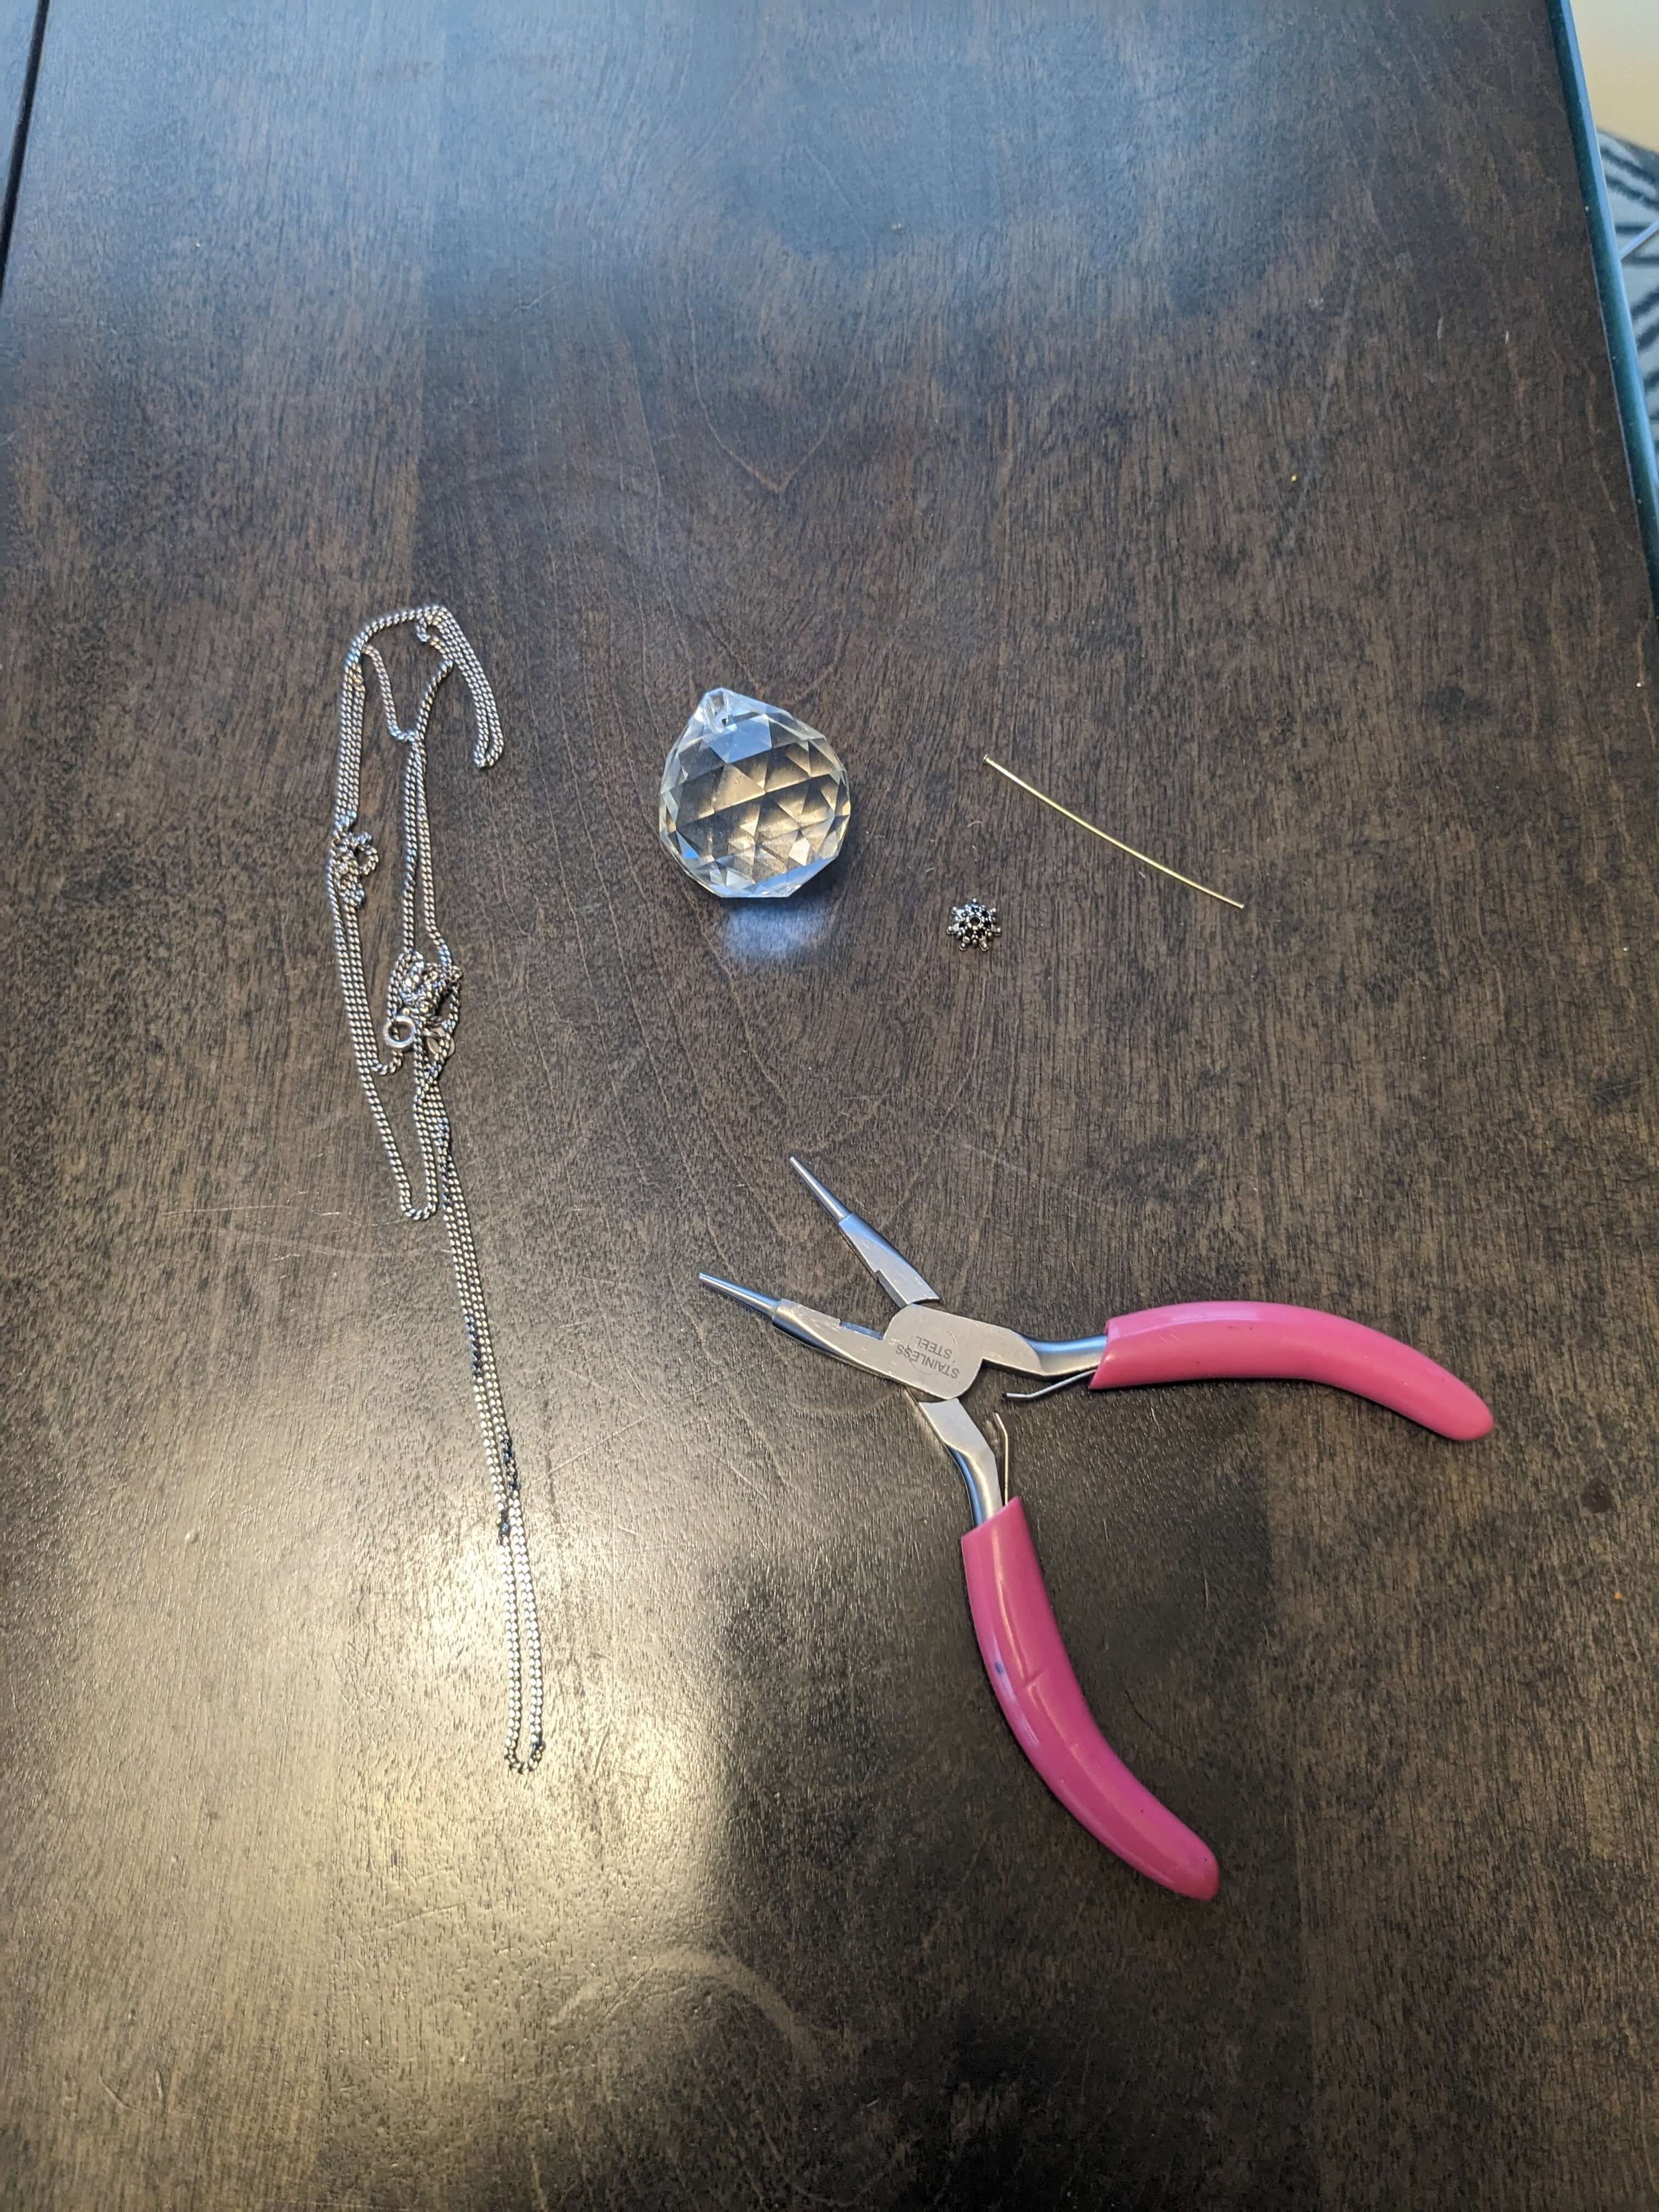
2. Use beading wire & bead cap to create a loop to feed the chain through.

4. Finished Princess Garnet crystal necklace!

Click here to go back to the Tutorial Table of Contents.
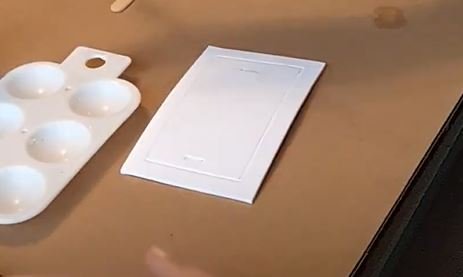
Princess Garnet Blue Hair Clip Tutorial
Supplies:
EVA foam
Acrylic paint
Popsicle stick
Rectangle hair tie
Glue
Engraving tool (could be the back of a paintbrush… I used a wooden skewer)
Exacto knife
Reference Image:
1. Starting Point…

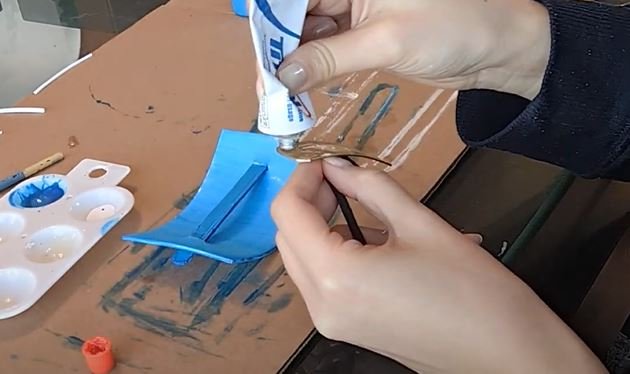
2. Cut the foam into a rectangle shape.
Also use a carving tool to add a boarder around the edge, and cut two slits on the sides where the popsicle stick will slide through.
3. Paint the foam rectangle and the popsicle stick blue on both sides (2 coats with drying in between).
I found it helpful to give the popsicle stick a base coat of white first.

4. Slide the popsicle stick into the foam, and glue the foam piece onto the rectangle hair tie.
4. Finished Princess Garnet hair clip!

Click here to go back to the Tutorial Table of Contents.
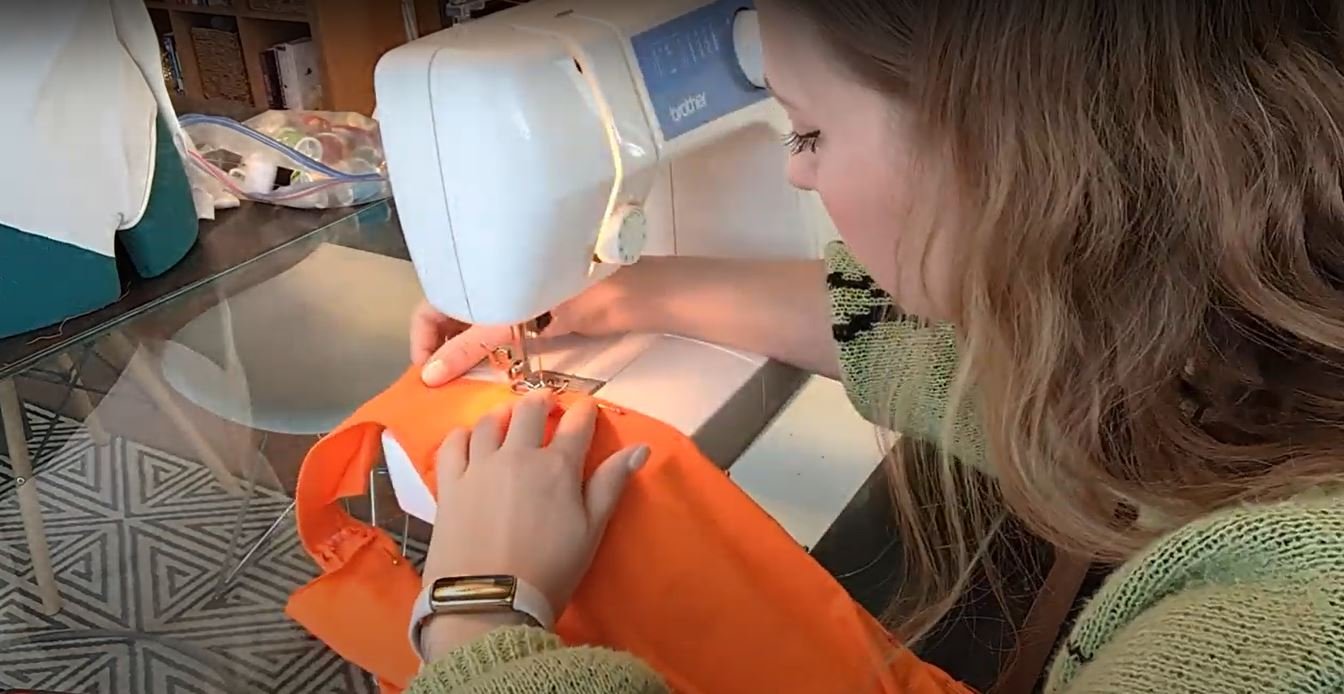
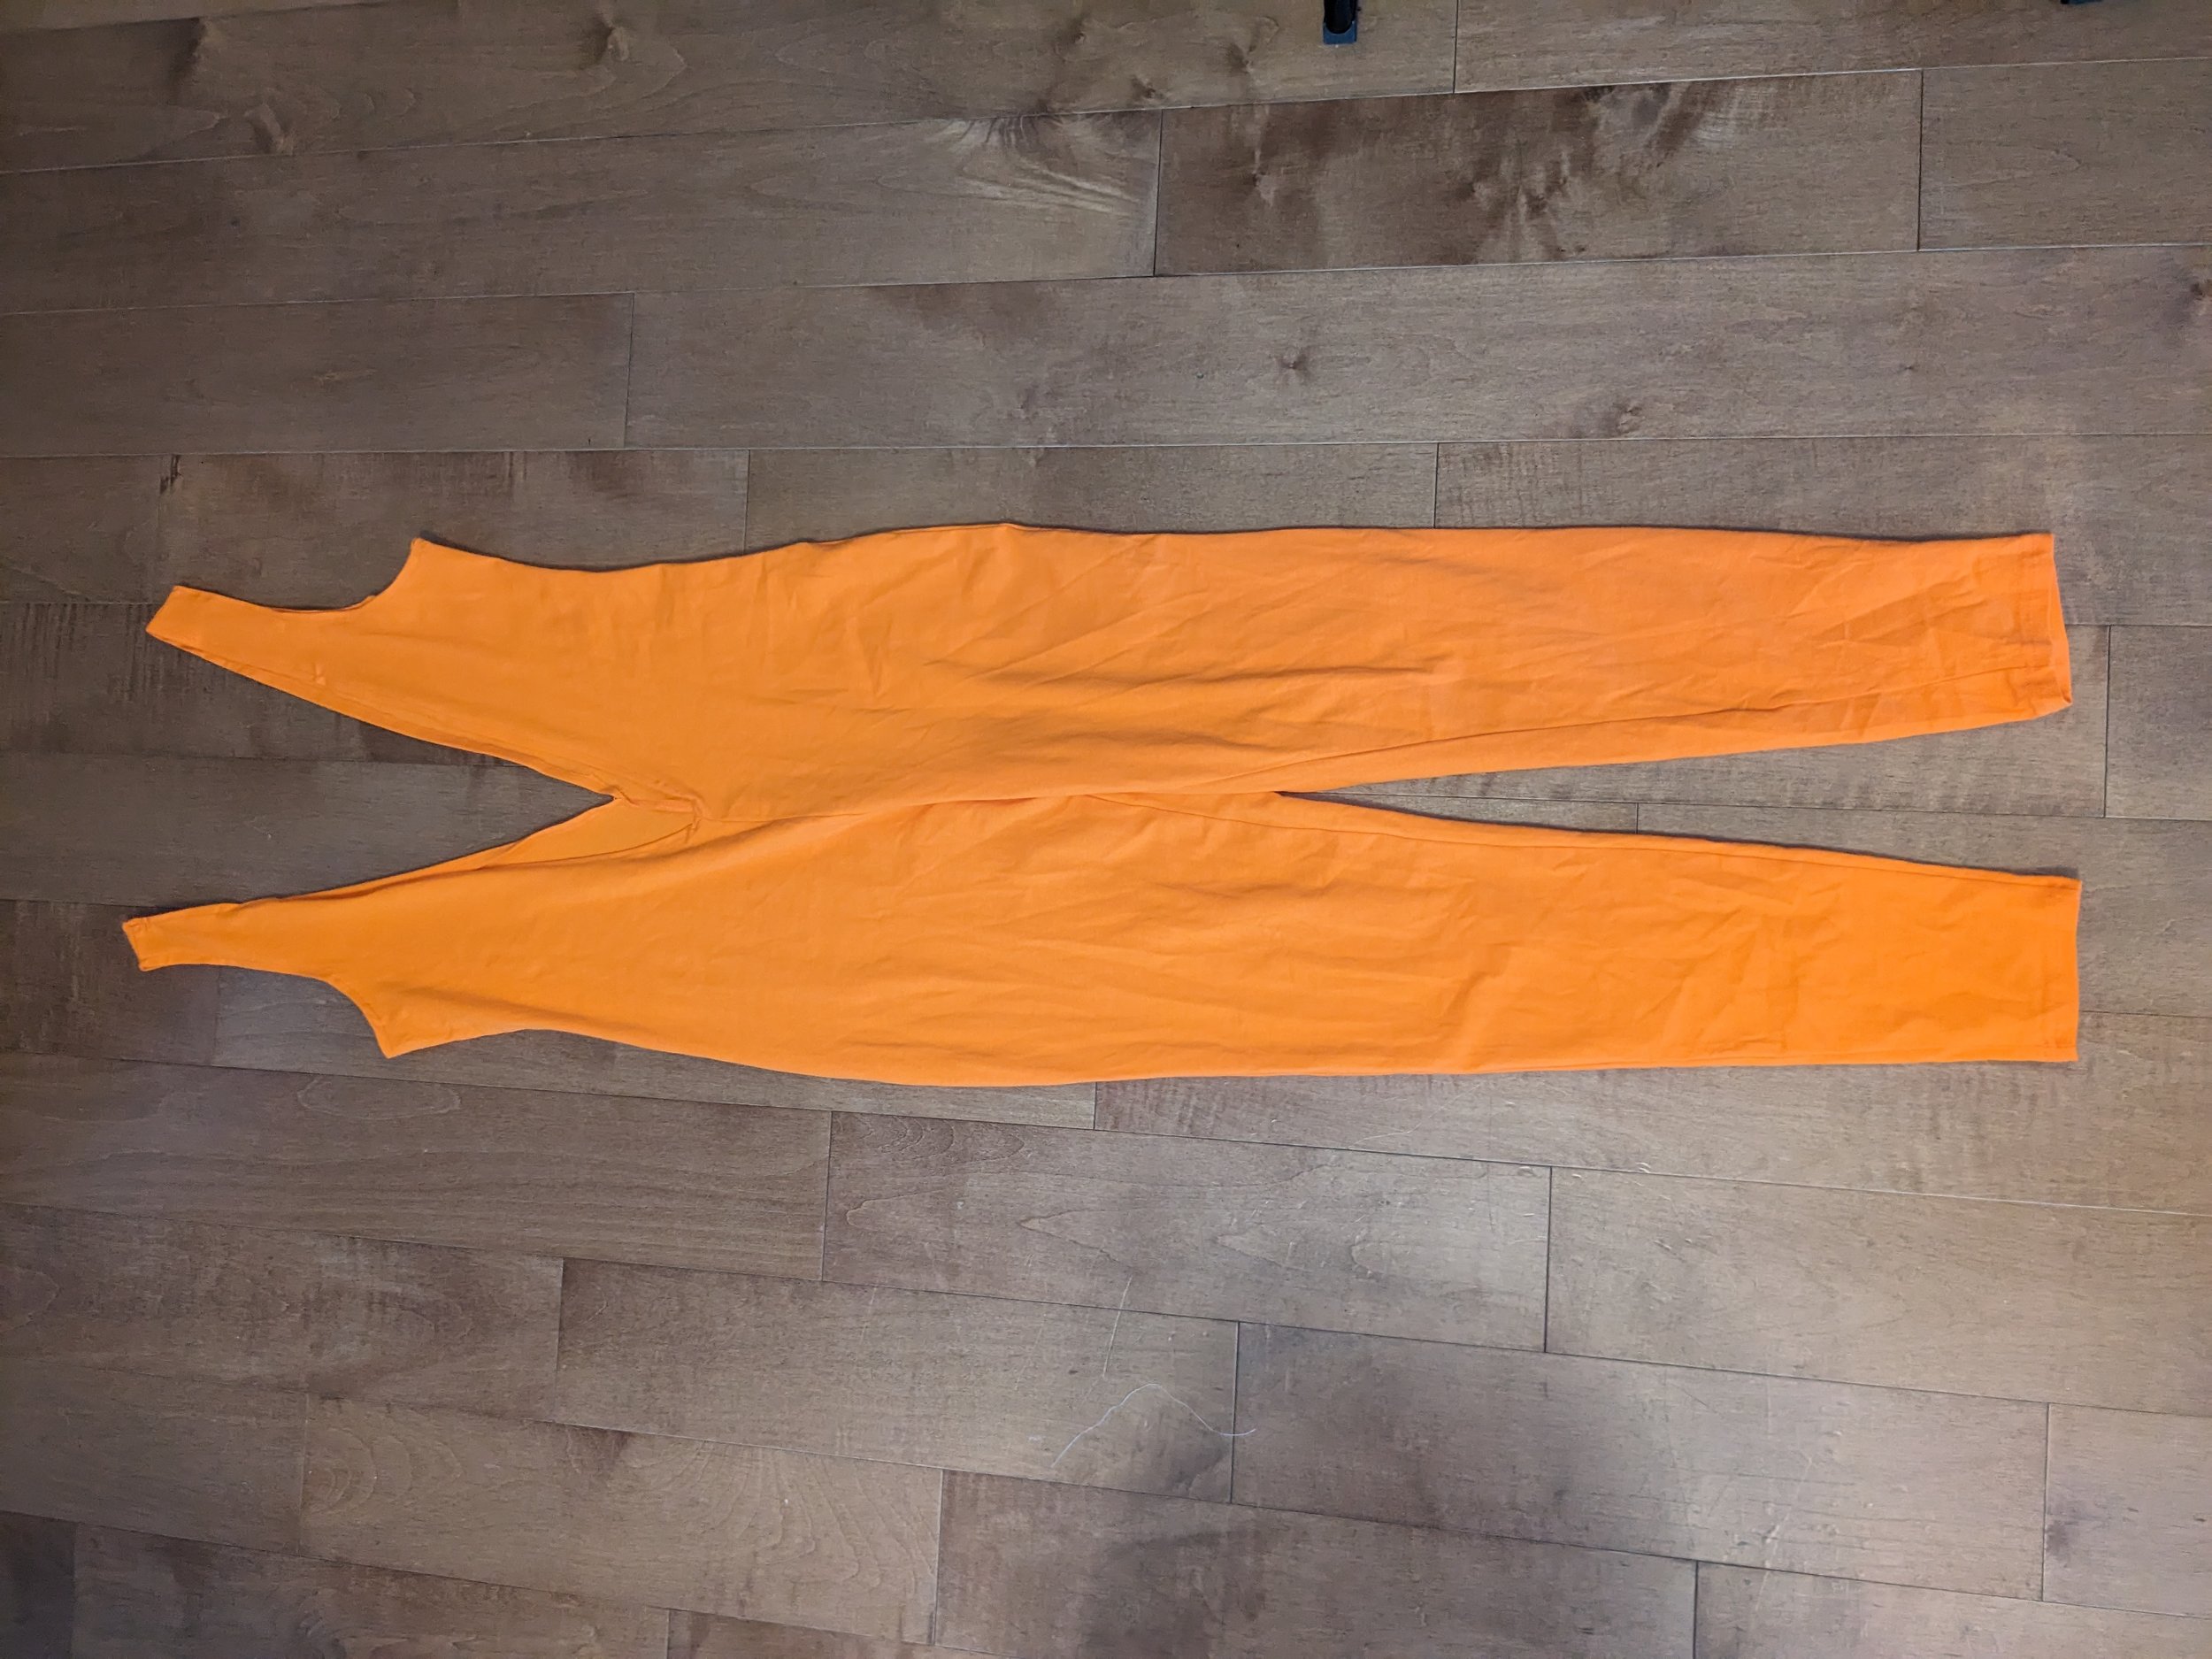
Garnet Orange Jumpsuit Tutorial
Supplies:
Orange bodysuit
Scissors
Seam ripper
White belts x 2
Craft foam
Hot glue
Sewing machine & thread
Interfacing
Grommets
Round elastic
Acrylic paint
Reference Image:

1. Starting Point…

2. Cut off sleeves.
(Save the sleeve fabric for later)

3. Cut front zipper out.

4. Mark the width of the straps.
I just used a tank top to measure how thick I wanted my straps to be.
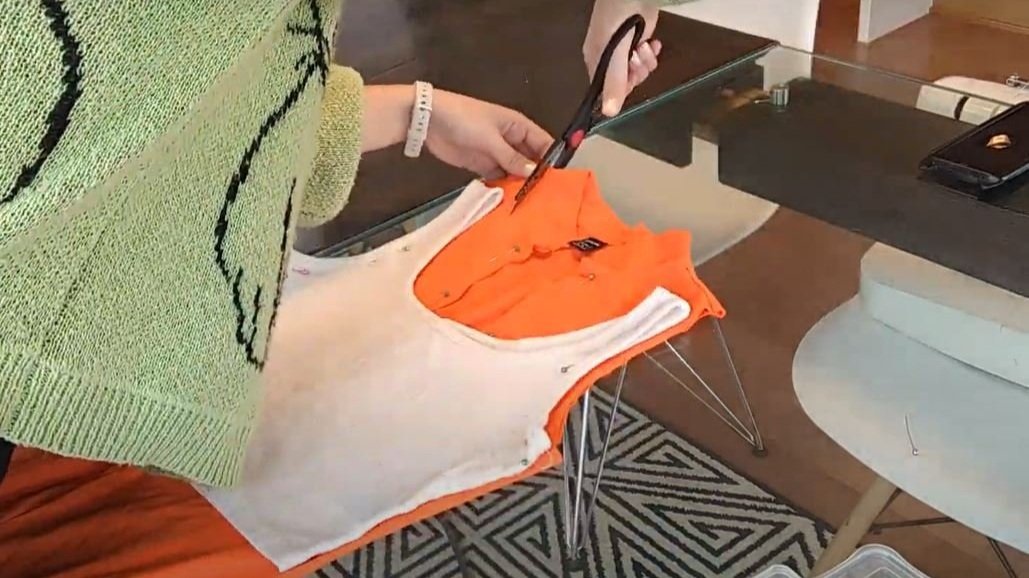
5. Seam rip the back into a “V-shape”.

6. Hem the sleeves & the v-shaped neckline (both front & back).
Trim off excess material along the hem.
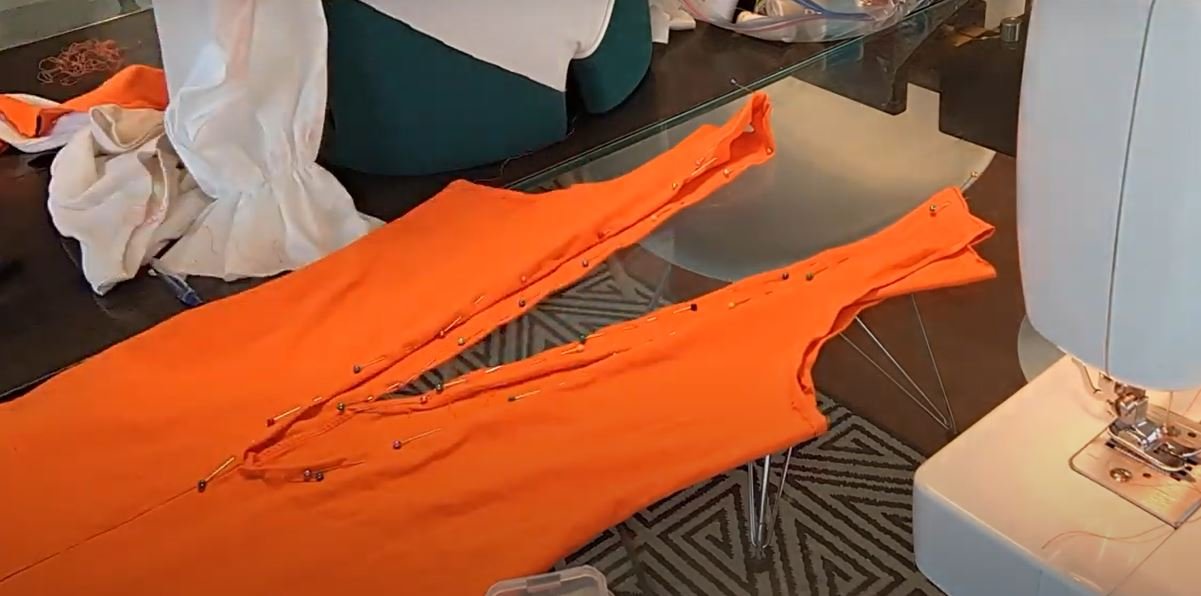
7. Cut sleeve fabric so it lays flat.

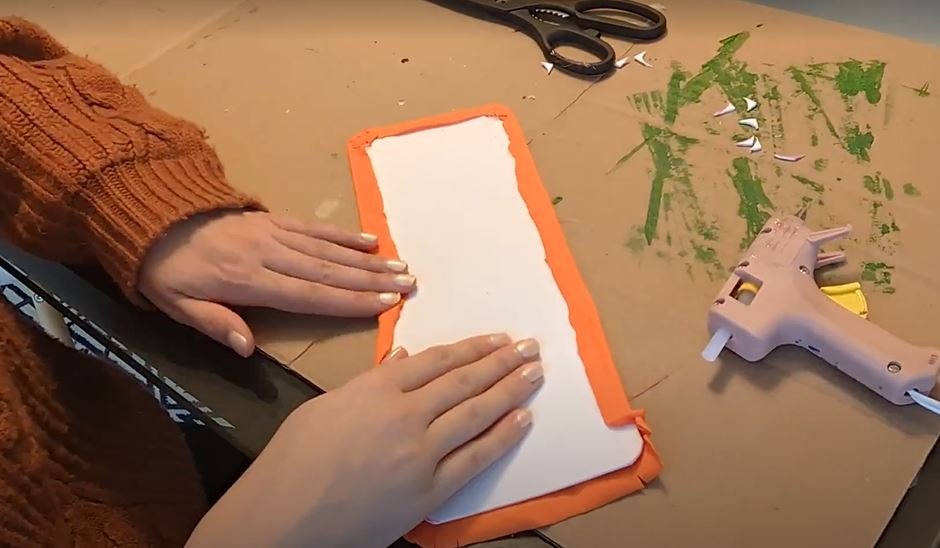
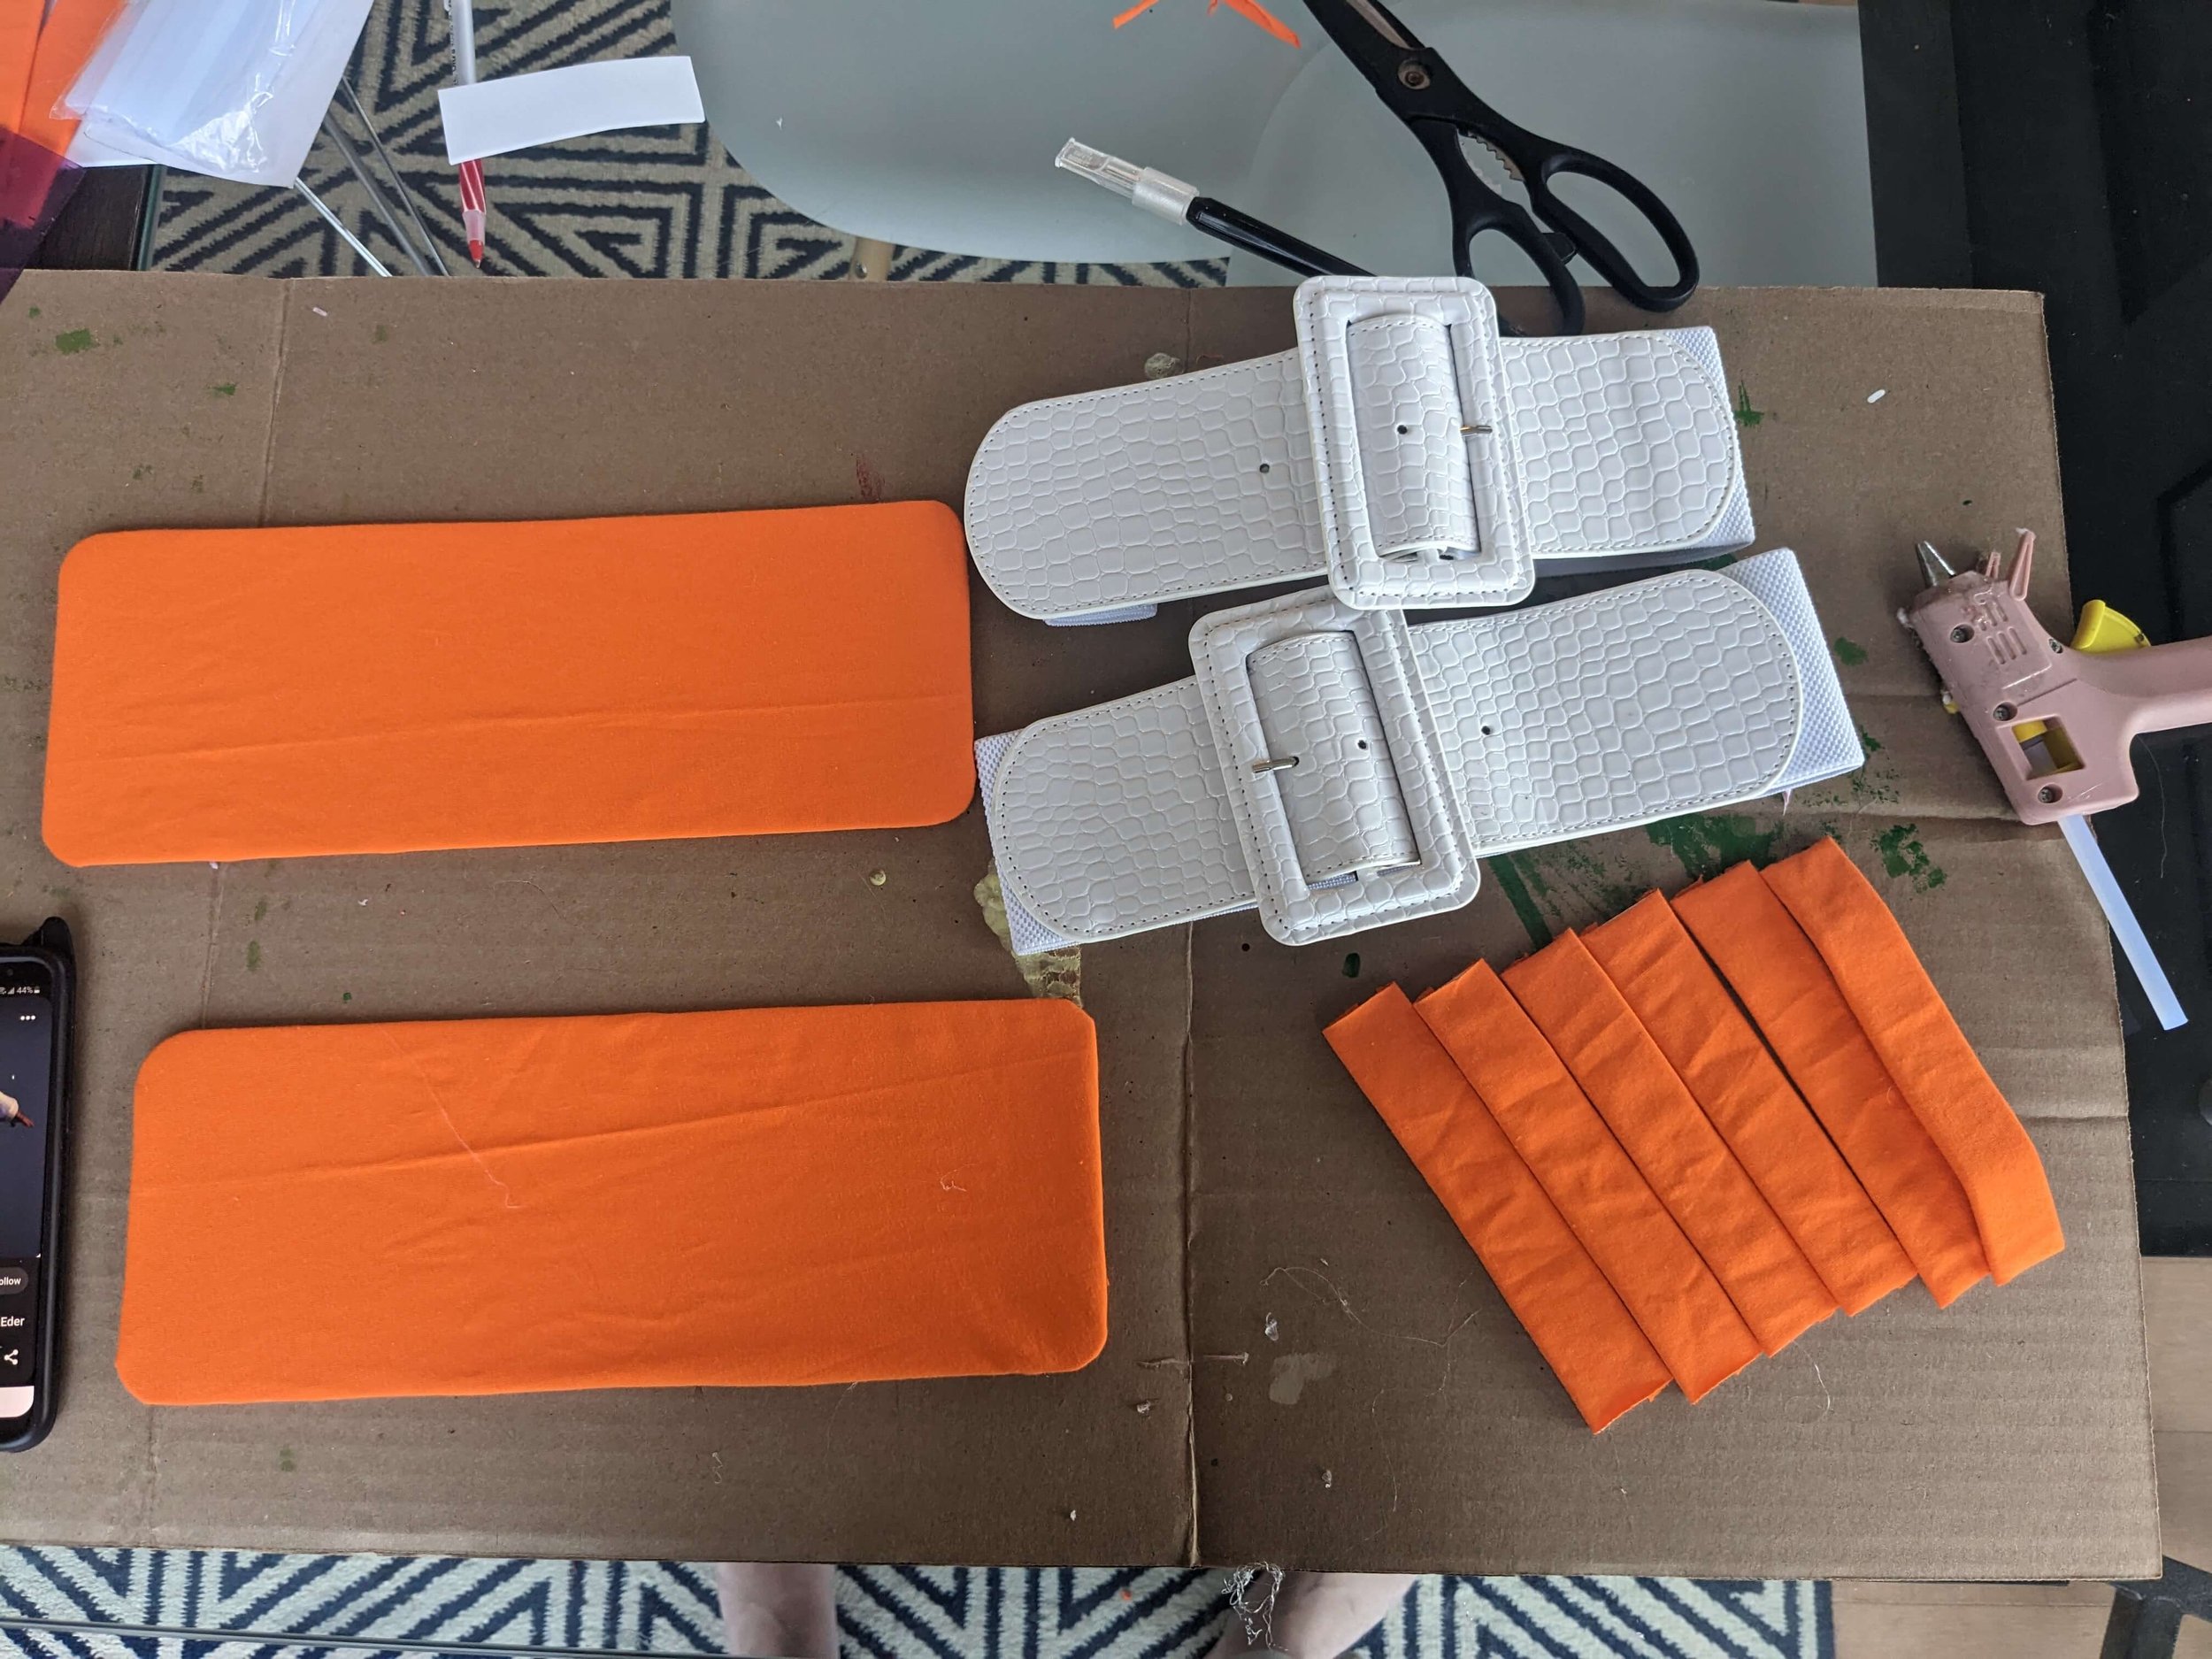
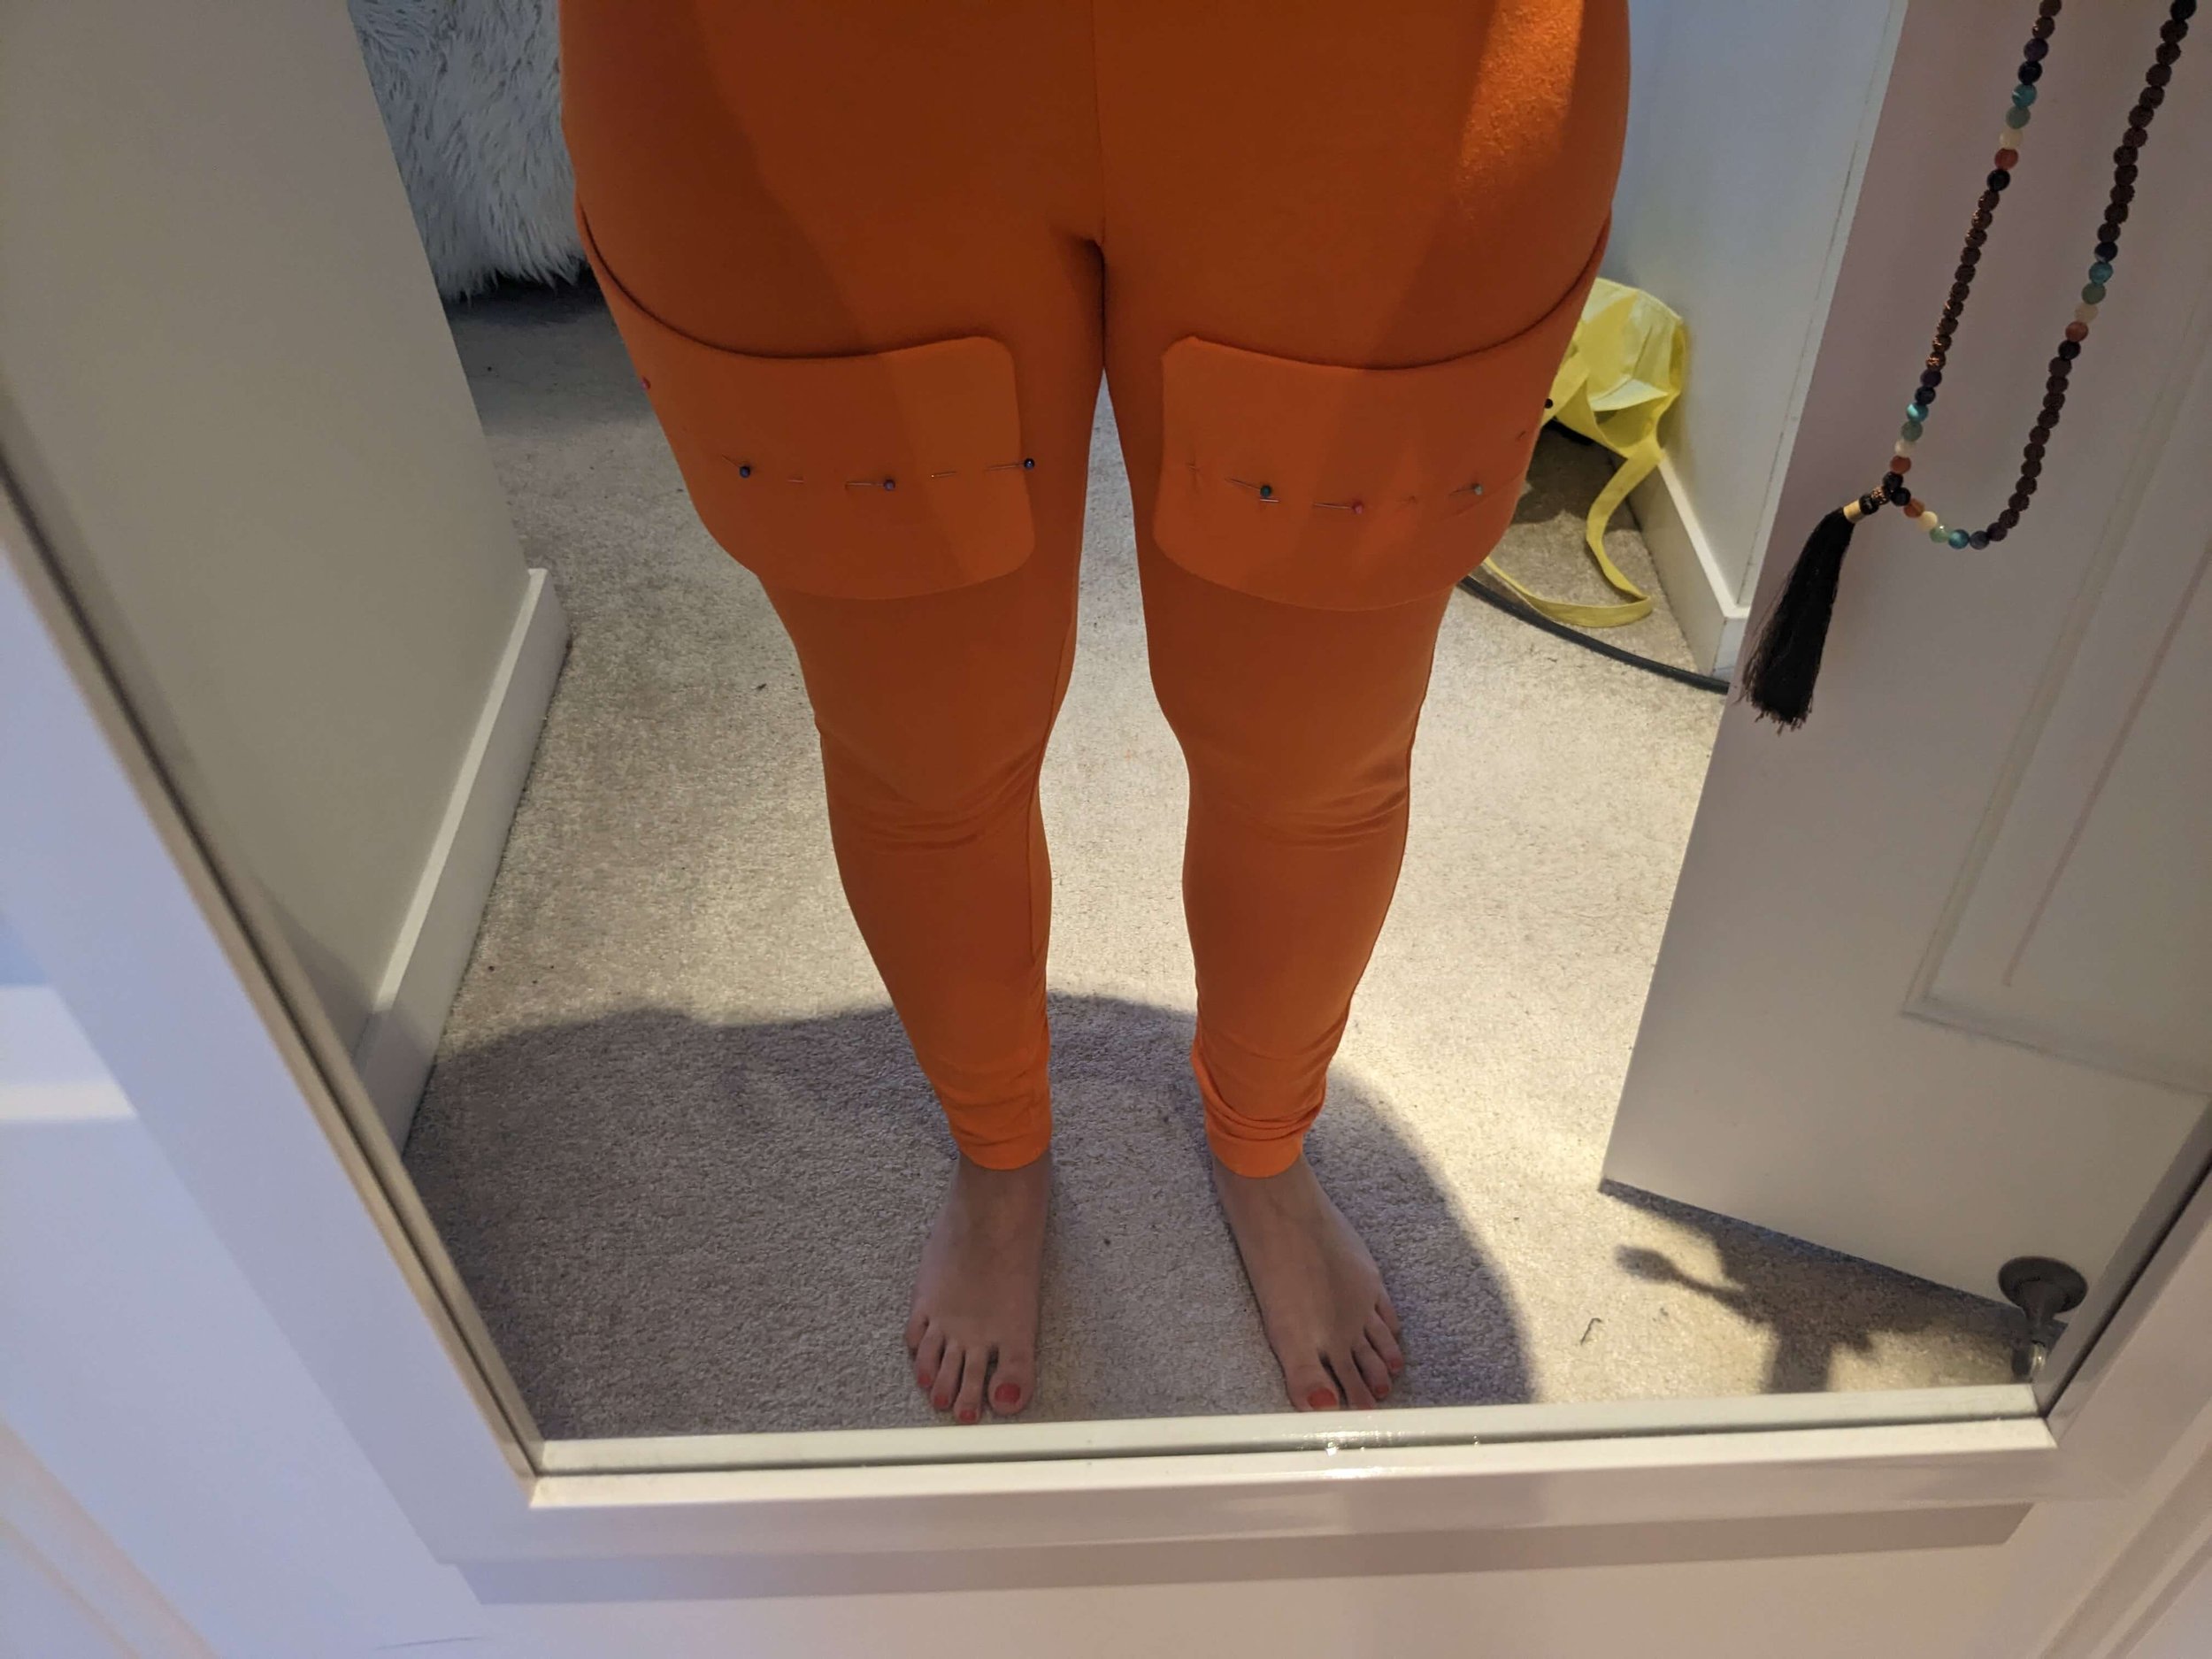
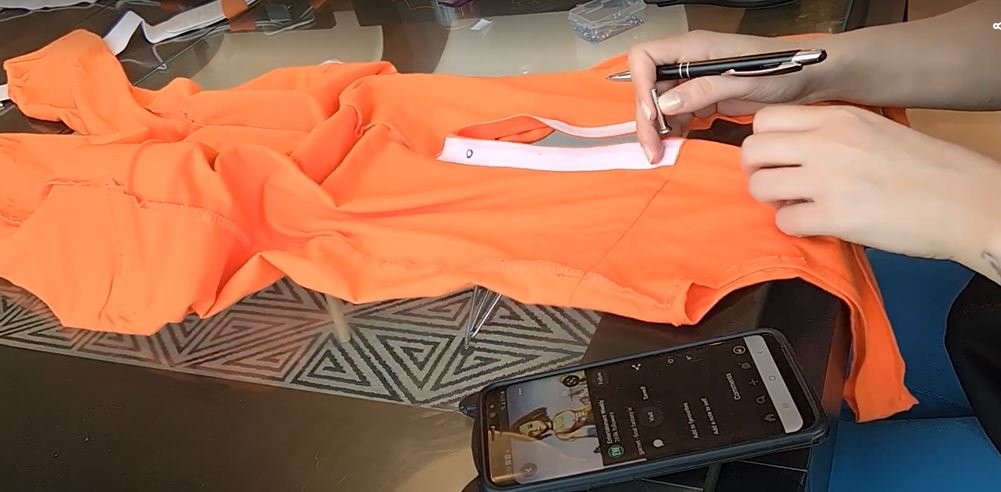
8. Cut foam into 2 rectangles with rounded corners & 6 x 1” strips.
This will be for the belts that go around her thighs.

9. Cover the foam pieces with orange sleeve fabric.
I just used hot glue. Be sure to cut little notches in the corners before folding the fabric over so that it lays flatter.
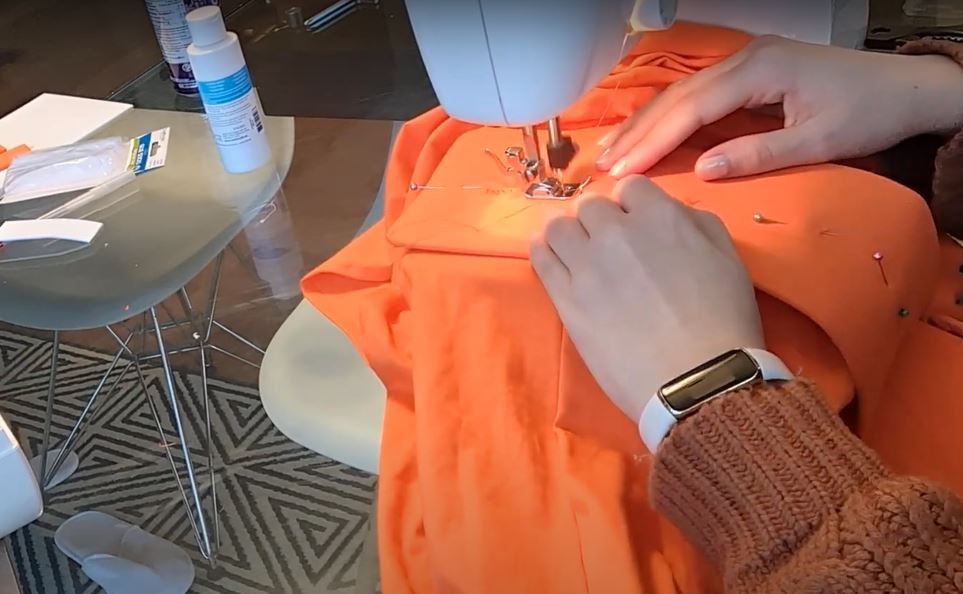
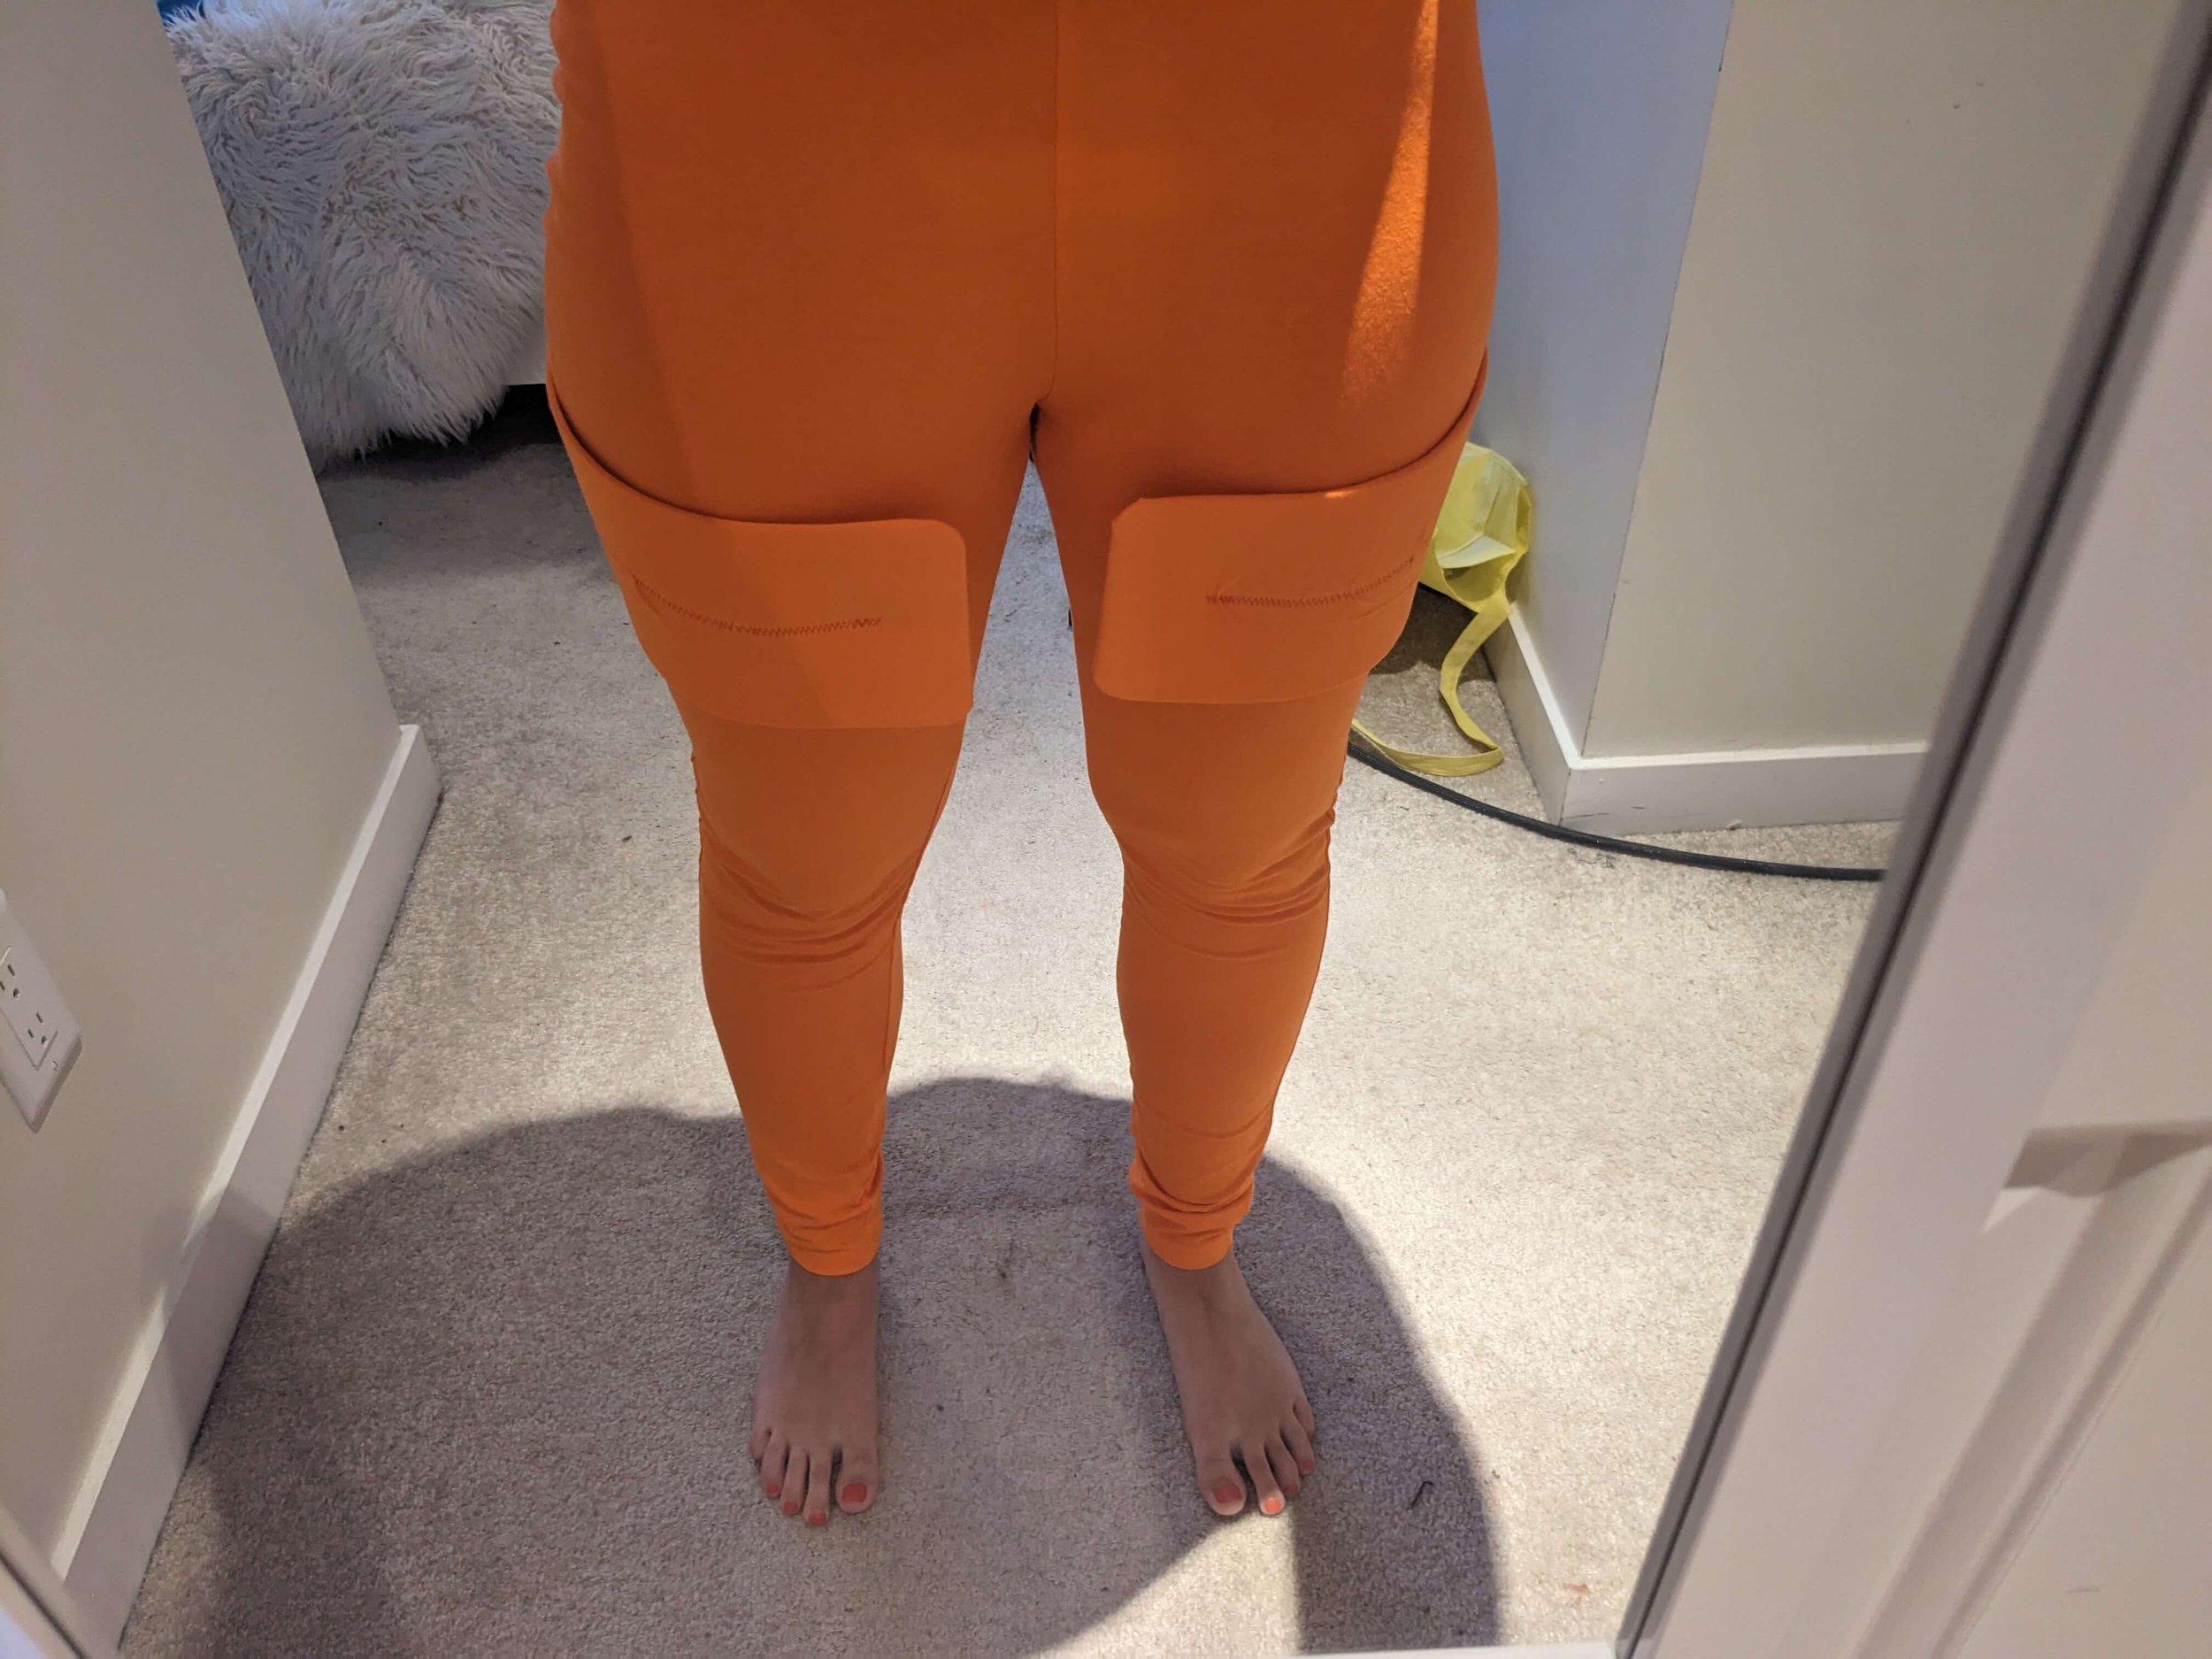
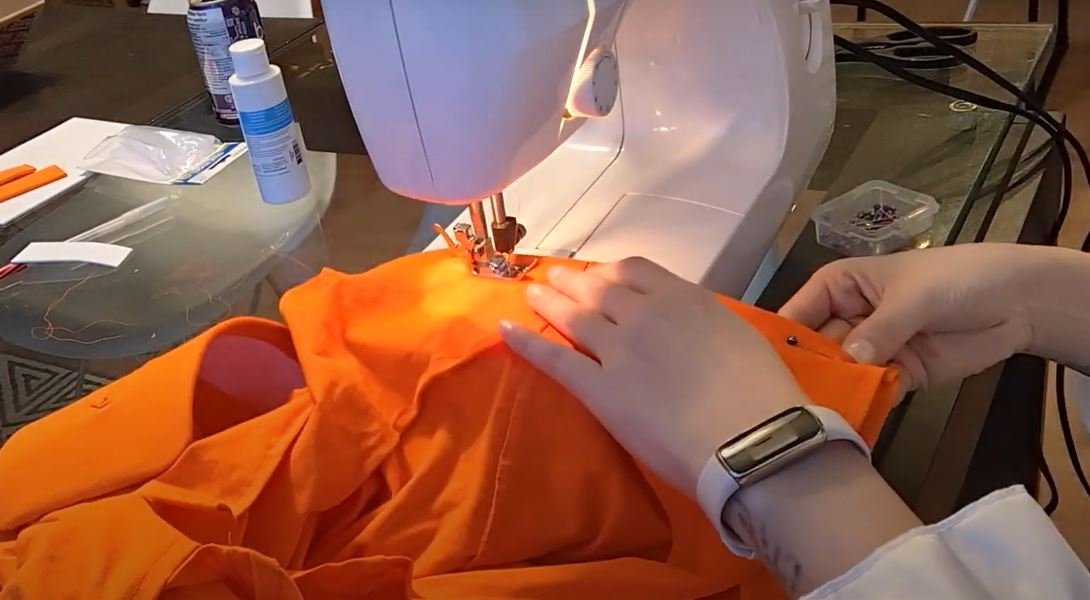
10. Sew foam rectangles onto the jumpsuit’s thighs.
I used a stretch zig zag stitch.
11. Create bust hem.
Try on your jumpsuit over top of your blouse body suit to make sure everything is good so far. Then pin a hem under the bust and sew it down.
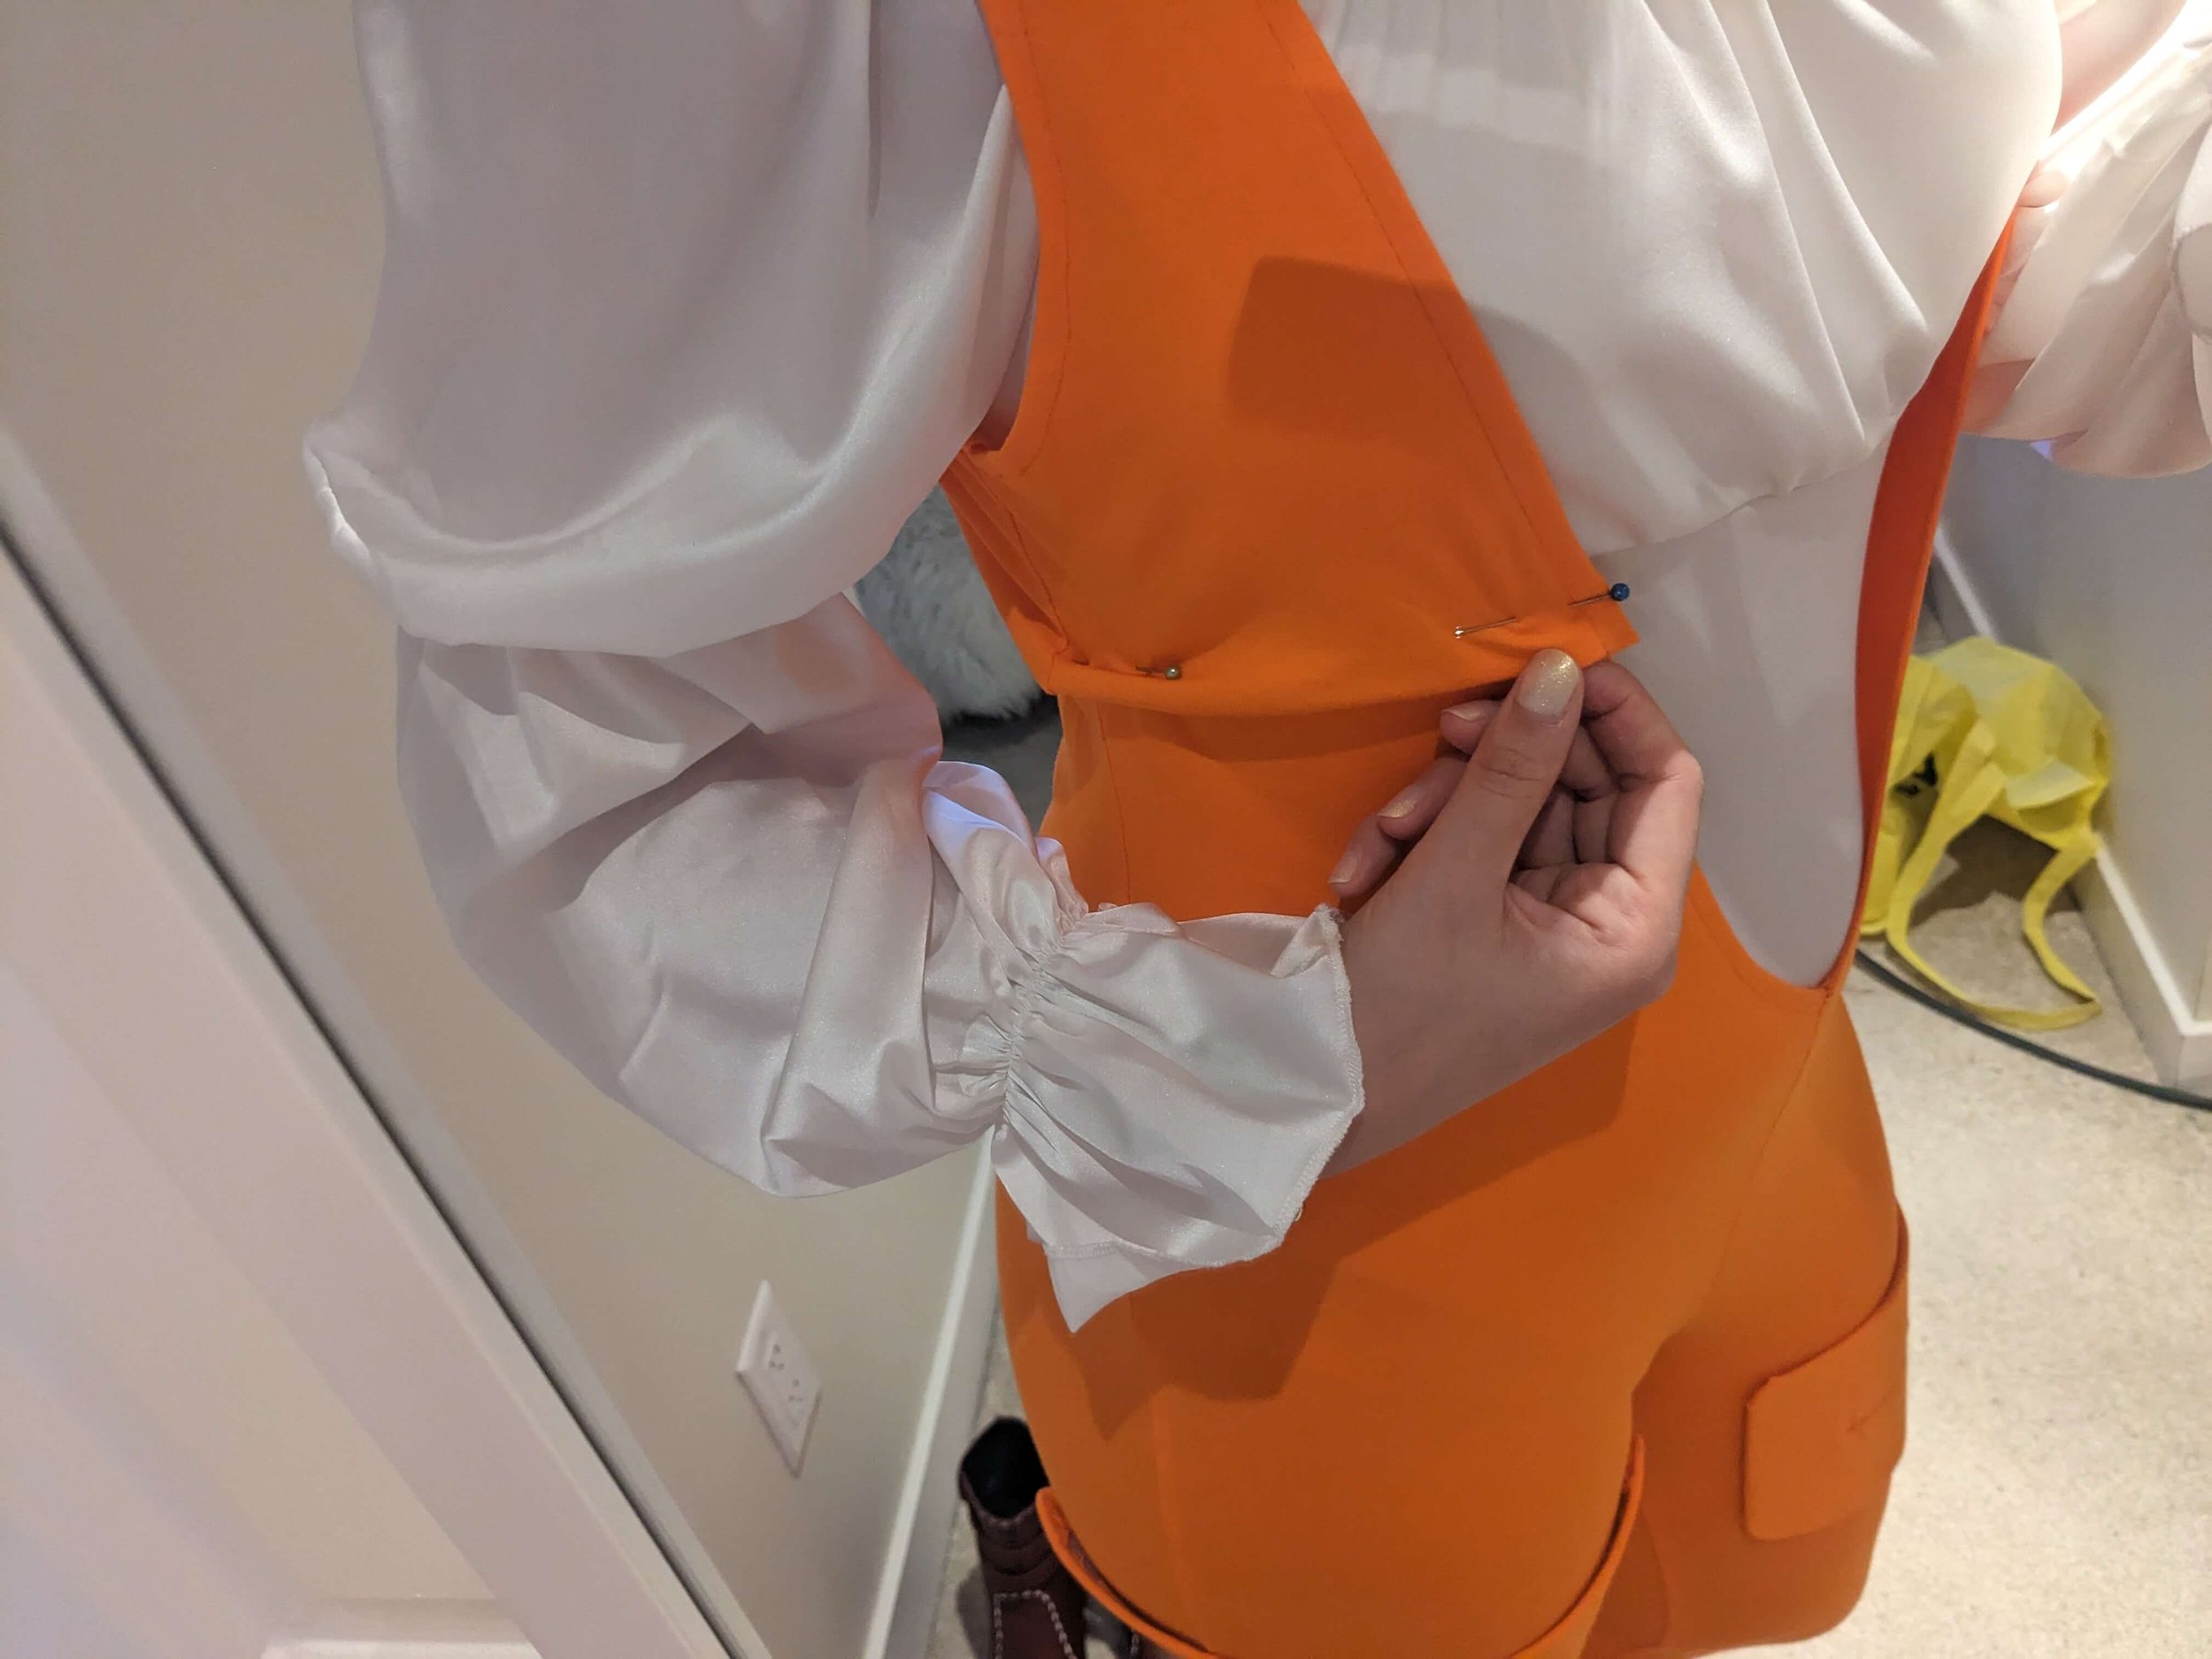
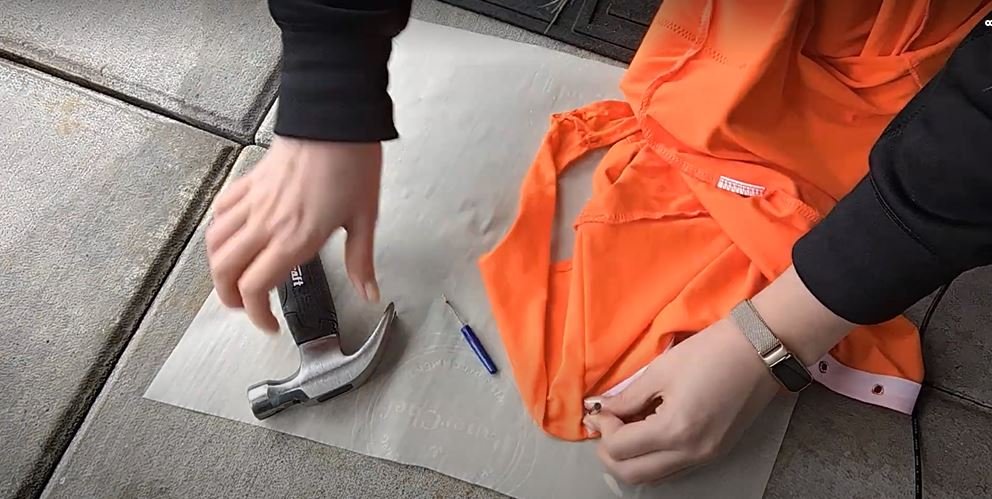
12. Add interfacing & grommets to the hem underneath the bust.
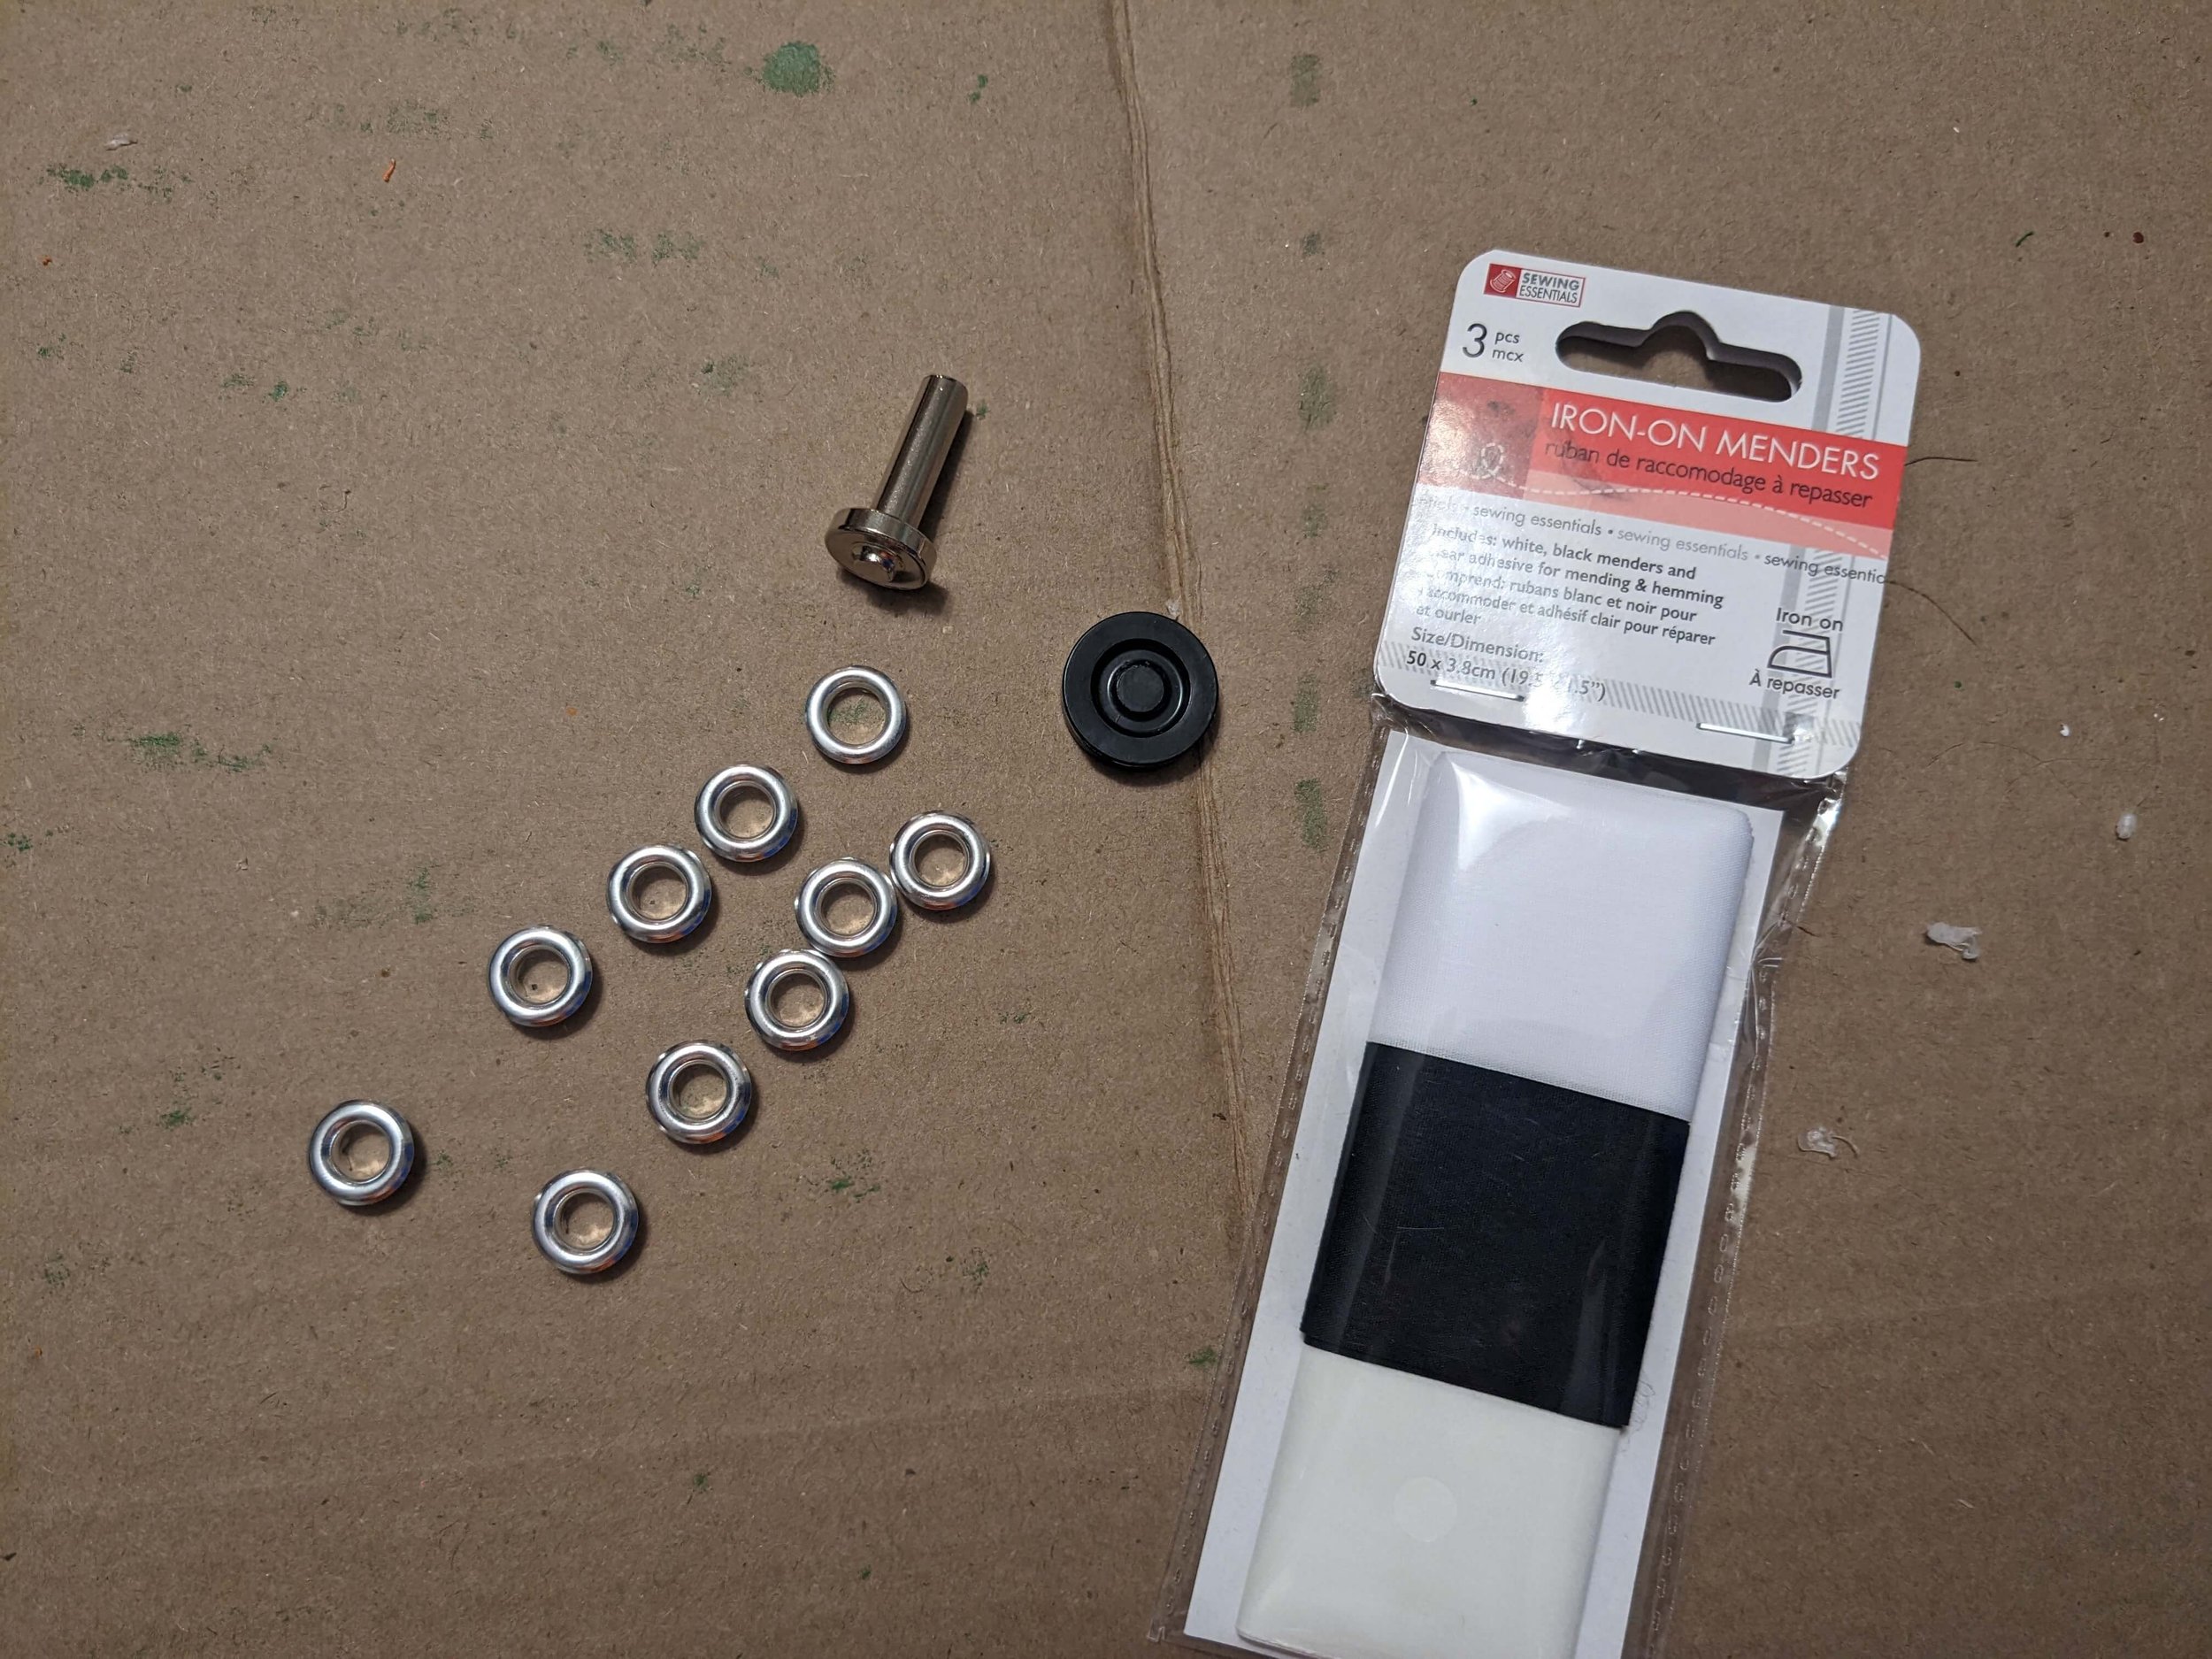

13. Paint round elastic cord maroon with acrylic paint mixed with fabric medium.
Let it dry completely.

14. Thread the elastic cord through the grommets when it’s fully dry.
To give it a straight laced-up look, I tied a knot behind each grommet and cut the elastic off. That way it doesn’t zig-zag across the v-gap like a corset normally would.

15. Hot glue orange-covered foam strips onto belt, and trim the belts to fit around your thighs.

16. Hot glue belts onto rectangle pads around your thighs.
(You could also try hand-sewing them, but I was too lazy… I might regret this choice later if they fall off 😅)

Click here to go back to the Tutorial Table of Contents.
END RESULT:
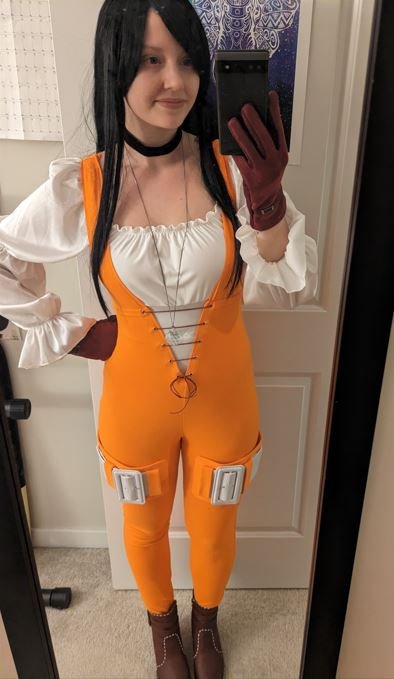
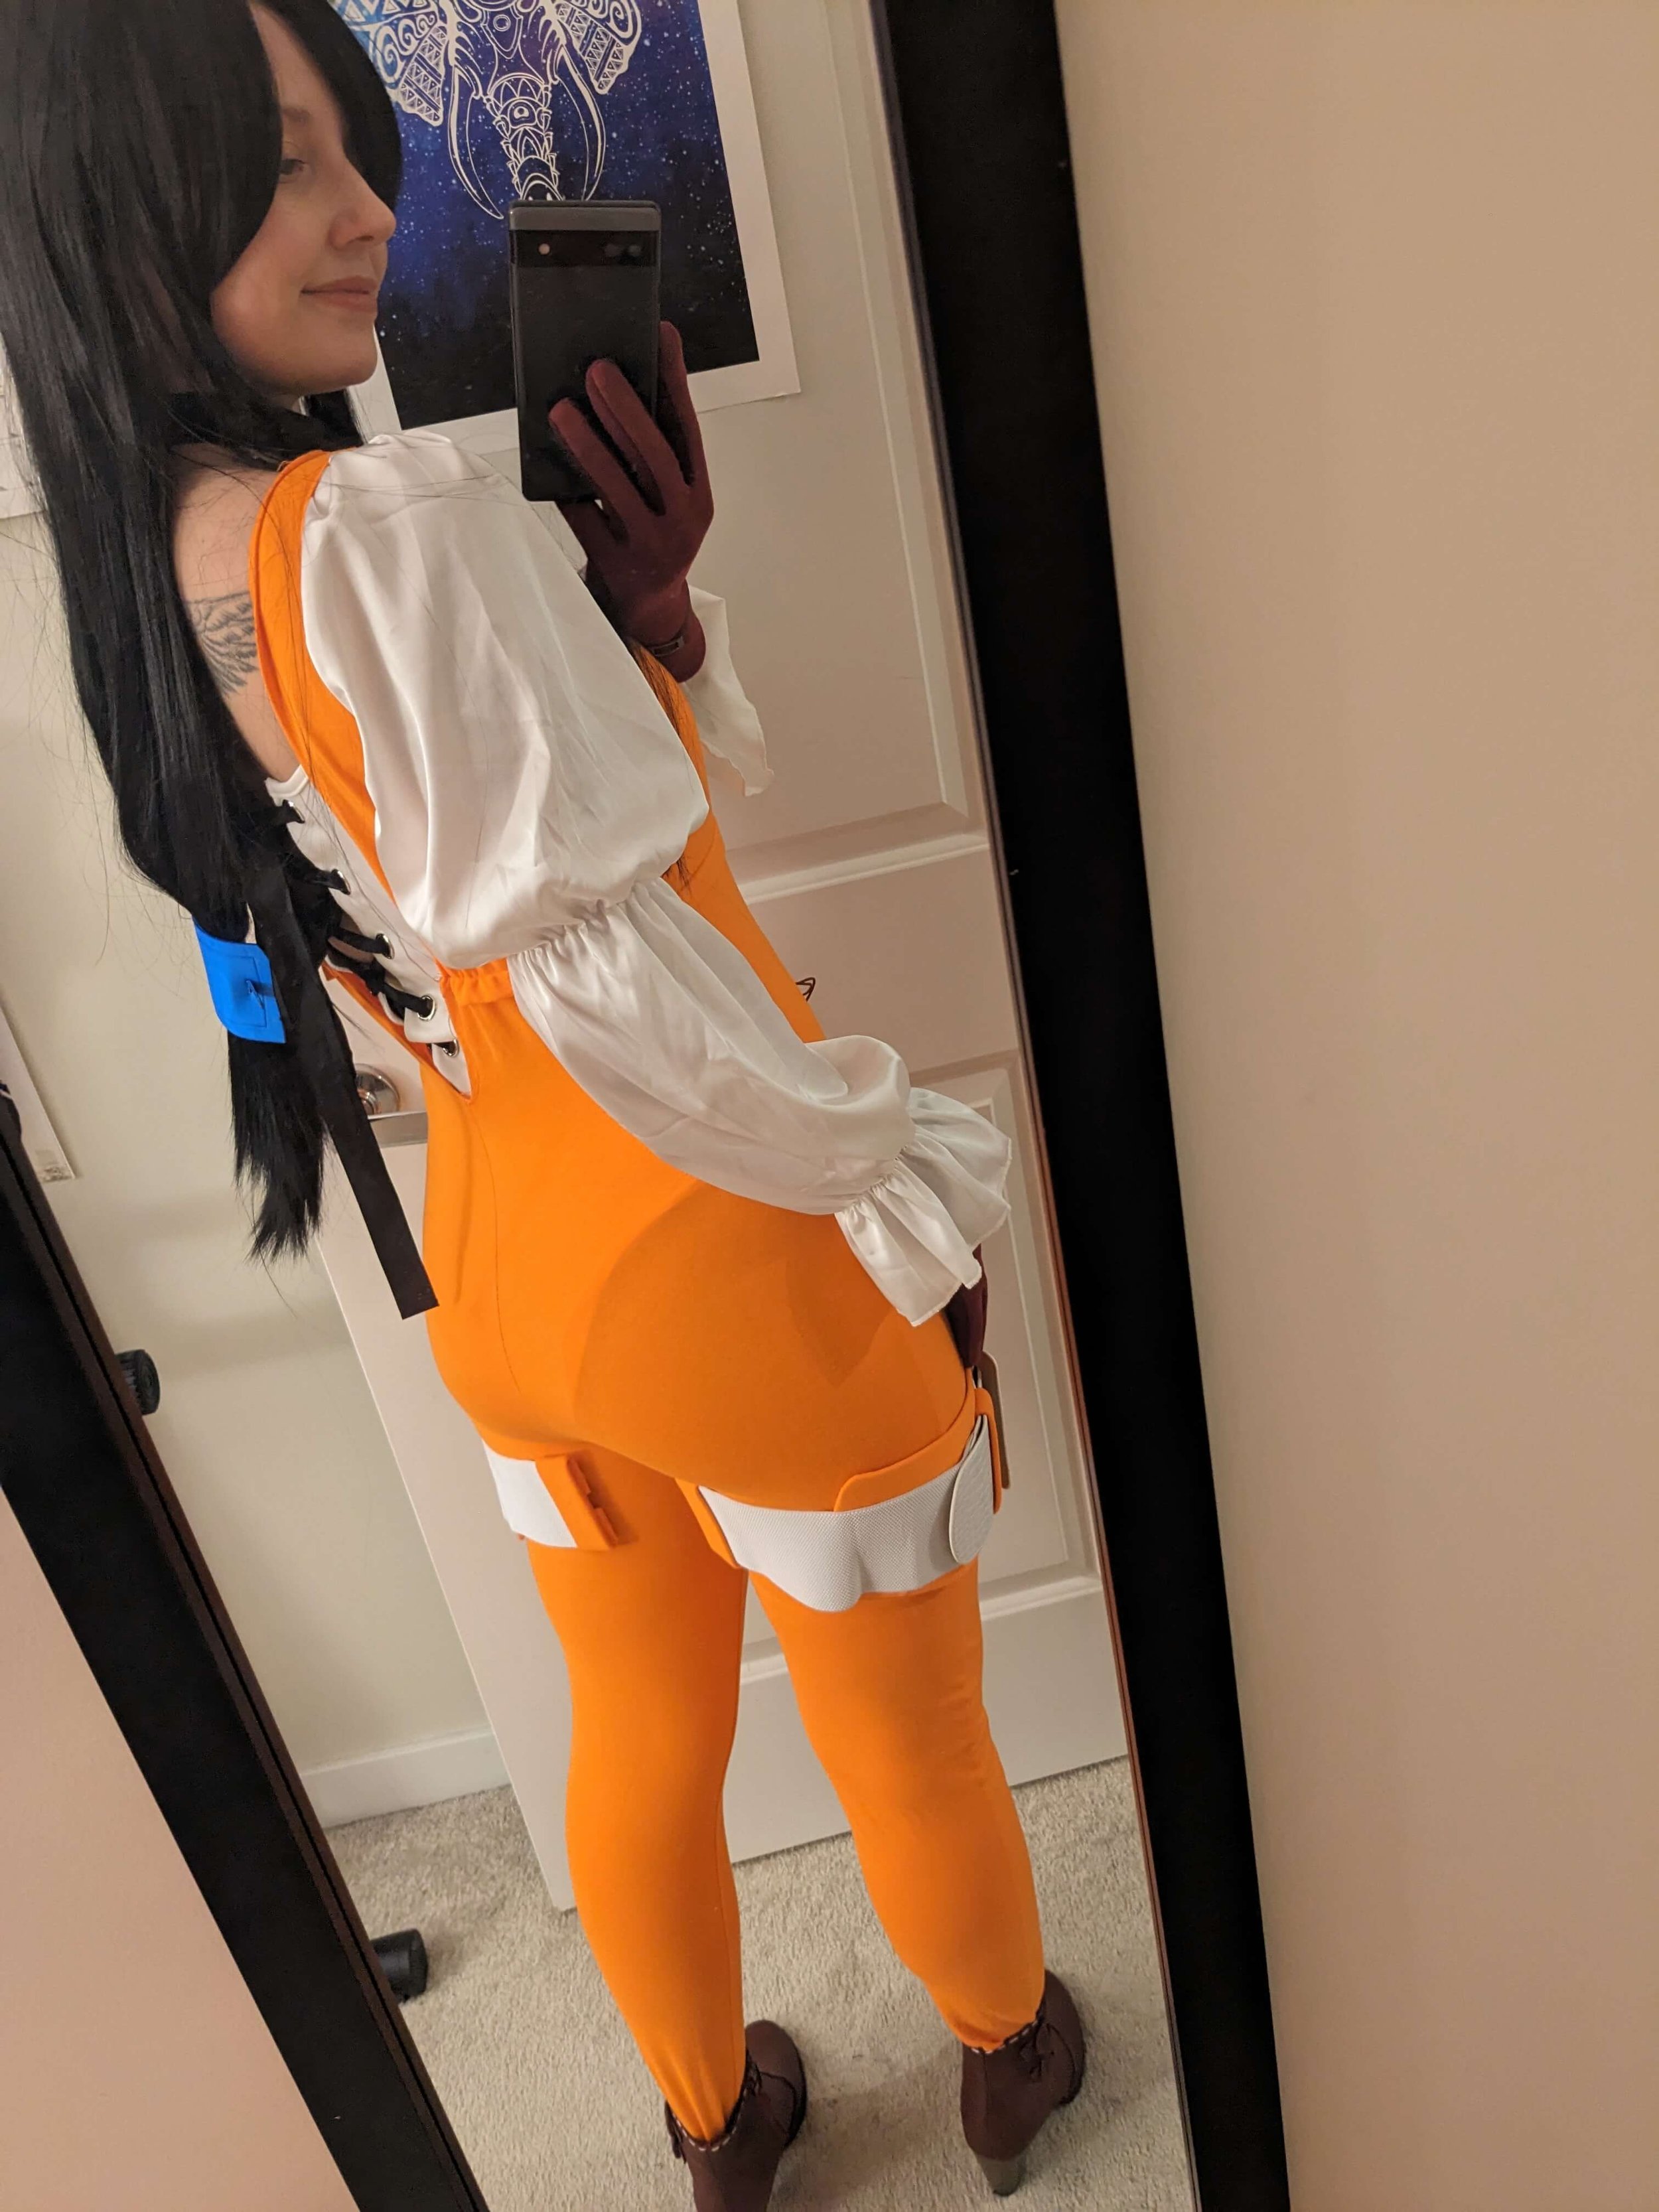
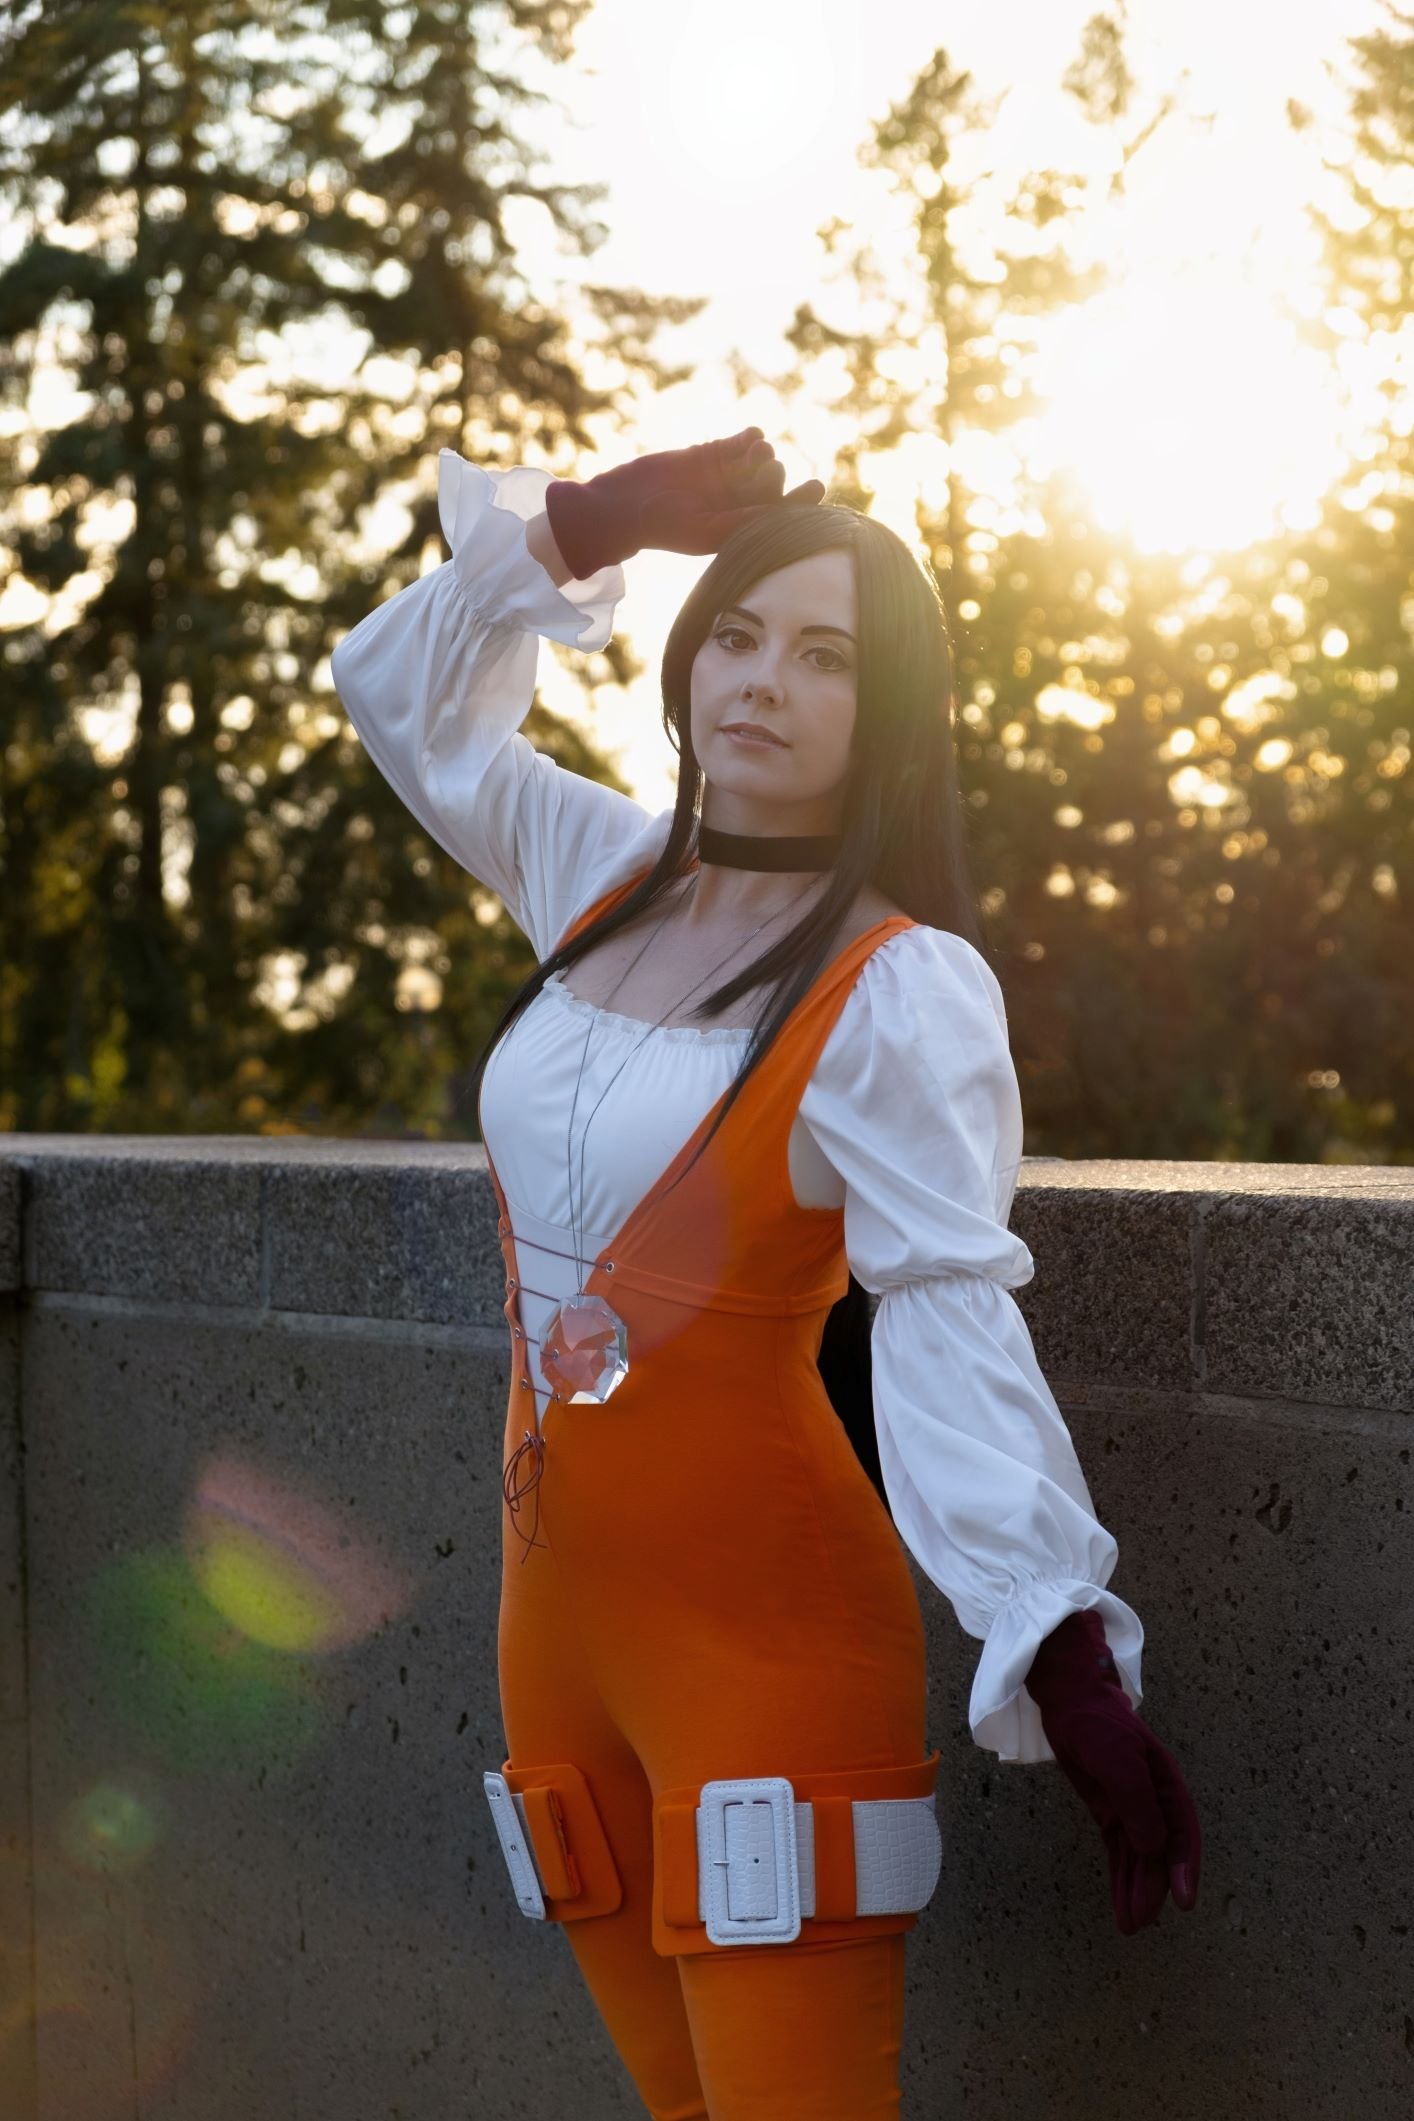
FINISHED PRINCESS GARNET / DAGGER COSTUME
Once you’ve got everything ready, it’s time to try it on! Here’s how my Princess Garnet Cosplay turned out:
Photographer: Carlos Flores
Well, that's it! Princess Garnet cosplay complete. I hope you found this blog helpful!
Don't forget to follow me on social media 🚀for all the latest updates and cosplay-related tips! And if you have any questions or comments, feel free to reach out - I'm always happy to help fellow cosplayers out!
With love,
Your friendly neighbourhood cosplay geek,
