

This content contains affiliate links. This means that if you make a purchase through one of the links, I may receive a commission. This commission comes at no additional cost to you, and I only recommend products that I’ve used.
If there’s one thing Final Fantasy VII Rebirth gave us cosplayers, it was an endless list of gorgeous new outfits to cosplay! 😍One of my faves was Tifa’s Costa del Sol look called “Majestic Glamour”. When I first saw it I knew I wanted to cosplay it one day… particularly because it actually looked pretty simple to thrift/make.
Although I will say I tried making the shirt out of stretch fabric at first and I would NOT recommend that lol. I ended up having to remake it. I also tracked my progress so if you want to see how I did it and learn from my mistakes, then you’re in the right place!
In this tutorial, I’ll break down how I created my own Tifa Majestic Glamour cosplay, including the wig, accessories, top, and shorts. The good news is, this cosplay was super beginner friendly and budget-friendly.
Ready to dive in? Let’s go!
(Disclaimer: I’m self-taught and not a pro seamstress, so my techniques might not be 100% “the correct way”… but it worked for me so I thought I’d share!)
TIFA (MAJESTIC GLAMOUR) COSTA DEL SOL COSPLAY INSPIRATION
Before I start any cosplay project, I like to look at YouTube and Pinterest (check out my board here) for inspiration. From there, I make a list of all the items need.
Here’s my list for Tifa’s Majestic Glamour Costa Del Sol cosplay outfit:
Hair flower clip + ribbon bow
Stripped crop front-tie shirt
White undershirt
White bikini bottom straps
Dark denim cut off shorts with light stitching and a frayed edge
Brown belt with a silver, western-style buckle
Boho-inspired gladiator sandals with a slight chunky heel
Once the list is ready, its time to source materials and get crafty!
STEP-BY-STEP
TIFA MAJESTIC GLAMOUR COSTA DEL SOL COSPLAY TUTORIAL
DIFFICULTY LEVEL:
Beginner
Some basic sewing, patterning, & crafting involved
Easy to find base items
TABLE OF CONTENTS :
Wig (Click Here)
Flower hair piece (Click Here)
Shorts (Click Here)
Shirt (Click Here)
Tifa Costa Del Sol Wig Tutorial
Supplies:
black claw clip
Reference Images:
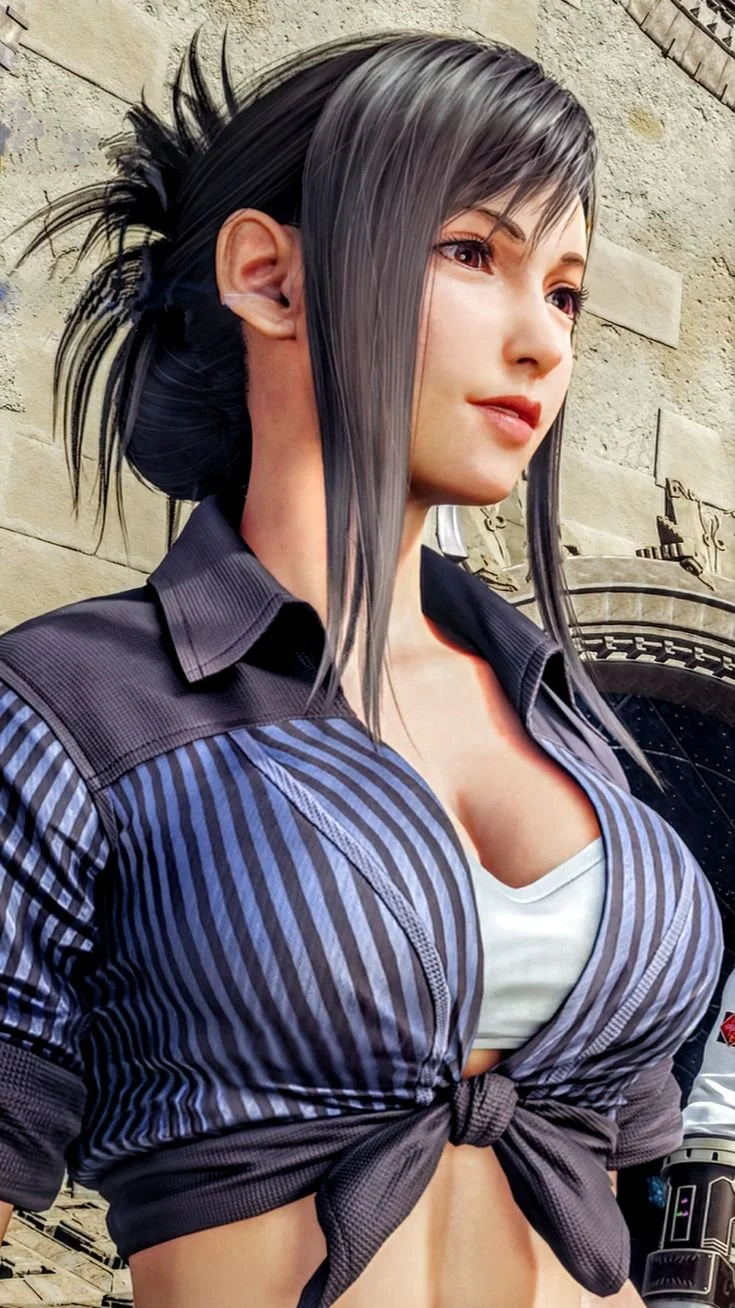
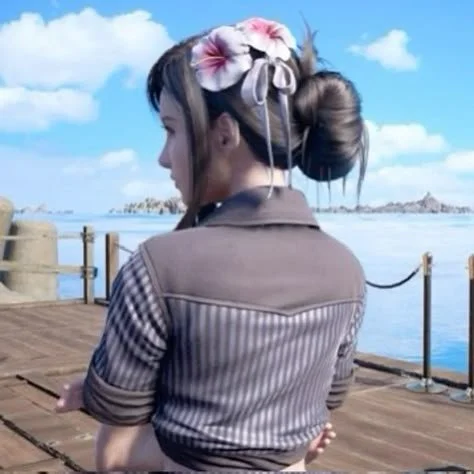
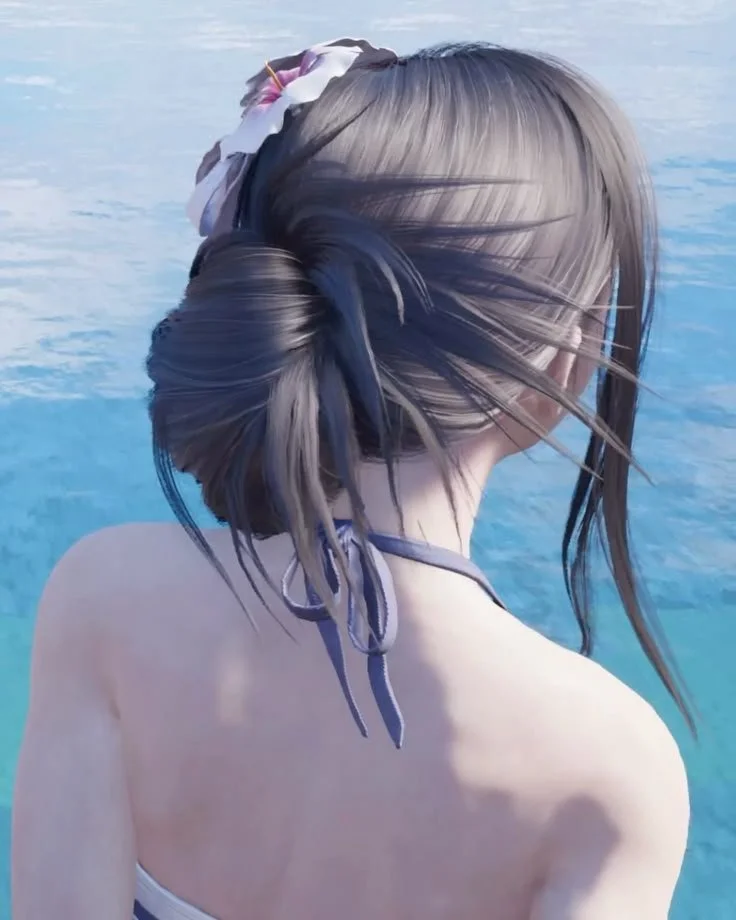
Starting Point:

I already had a Tifa wig that I used for her Wall Market “Exotic Dress” cosplay. So I didn’t need to do any style to the bangs for my base wig. This is the one I purchased (and then trimmed the bangs and used a steamer to created a side part that stayed put).
Step 1: Create a loop
To make the messy bun, I started by tying the wig into a low pony, but on the last pull through, I made a “loop” with the hair by not pulling it all the way through the elastic.

Step 2: Clip it up
From there, I used a small black claw clip to secure the loop to the head hair and I gentle pulled the hair apary to cover the clip.

Step 3: Wrap the end piece
Then I grabbed the “tail” of the loop (the remaining hair that dropped down), and wrapped it around the bun loop and used bobby pins to secure it

Finished!

Click here to go back to the Tutorial Table of Contents.
Tifa Costa Del Sol Hair Clip Tutorial
Supplies:
Hot glue gun
lavender/mauve ribbon
Reference Image:
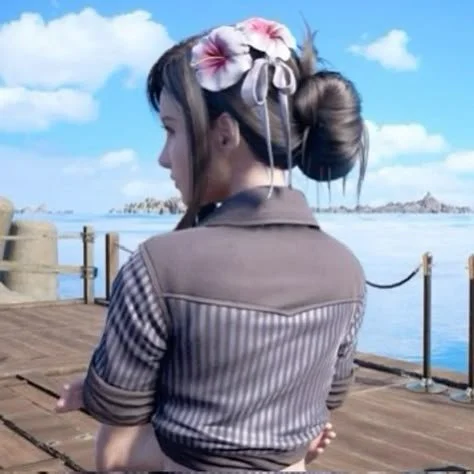
Starting Point:
I found this ribbon in my crafting stash, and while it’s a bit more lilac purple than the reference image, I wanted to save money so I figured it was close enough.
The double flower hair clip I found here on SHEIN.

Step 1: Cut the ribbon
To get started I just eye-balled the length of the ribbon and then cut it into two equal pieces.

Step 2: Glue the ribbon
From there I used plain ‘ol hot glue to glue each piece onto the back of the flower clip.


Step 3: Tie the bow
To finish it, I clipped it into the wig and tied the loose ribbon pieces into a bow.

Click here to go back to the Tutorial Table of Contents.
Tifa Costa Del Sol Majestic Glamour Shorts Tutorial
Supplies:
Dark jeans with light stitching
Chalk
Washer/dryer
Thread
Reference Image:

Starting Point:
I kept looking for a pair of low rise denim shorts at the thrift store, but I wasn’t able to find a pair I liked. It wasn’t until I was doing a clothing swap with some girlfriends that I found this pair of denim jeggings in the pile for free! The free price couldn’t be beat so I decided to make cut off shorts for this cosplay.

Step 1: Mark the length
If you’re using full length pants like me, you’ll want to trace the short length using chalk.


Step 2: Cut the length
I carefully folded them in half and cut the length off (tip: it’s better to cut them a bit longer at first because you can always take length off but you can’t add it back in).


Step 3: Fray/trim the edge
To fray the edge I threw the shorts int he washer and dryer machine then trimmed the extra loose hanging frayed bits.

Step 4: Reinforce the sides
I noticed after washing the shorts that there was a little split forming at the side seams so I used my sewing machine to stitch it closed from the inside out to prevent it from splitting further up the sides.


Step 5: Add rivets and/or paint rivets silvers
I had some silver rivets in my stash so I decided to add them to uplevels the details. But then the rivets that came on the shorts didn’t match (they were gold), so I used a silver chrome mirror pen to colour them in.


Finished!


Click here to go back to the Tutorial Table of Contents.
Tifa Costa Del Sol Majestic Glamour Shirt Tutorial
Supplies:
Stripped dress shirt
Black dress shirt
pins
thread
Reference Image:
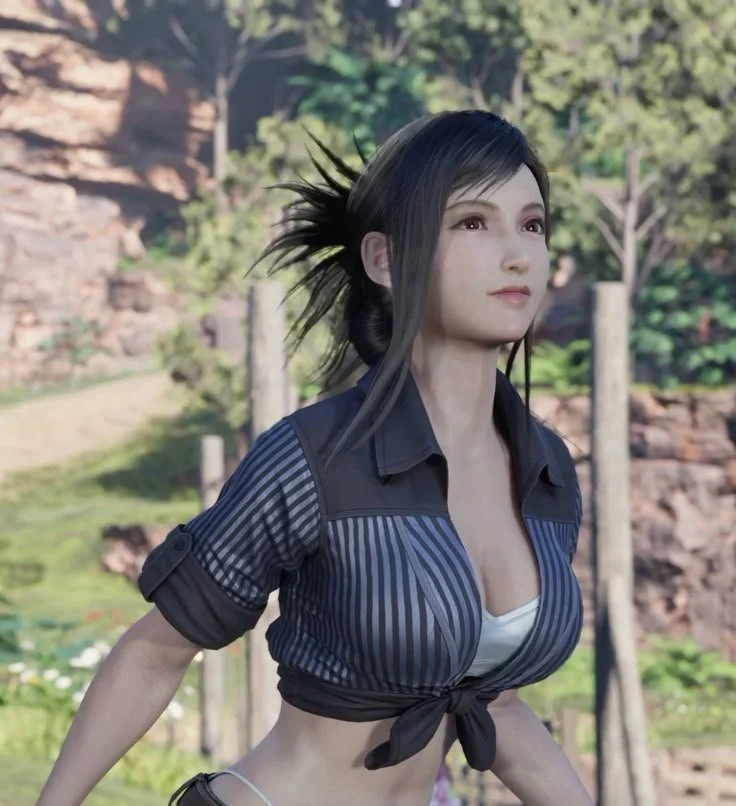
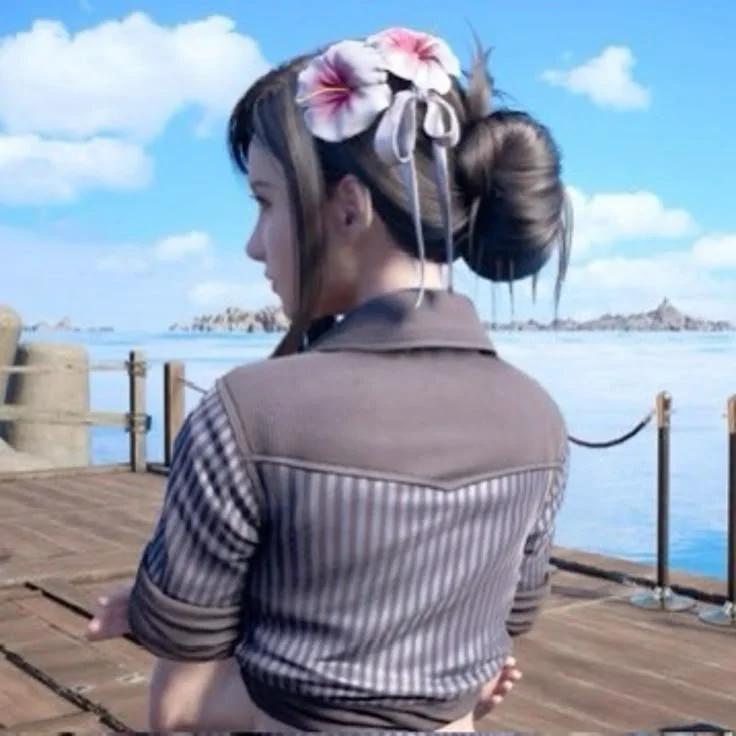
Starting Point:
I found two dress shirts at the thrift store for $4 and $5. I bought them a bit big because I knew I’d be doing some alterations and I would rather have too much fabric to work with than too little.
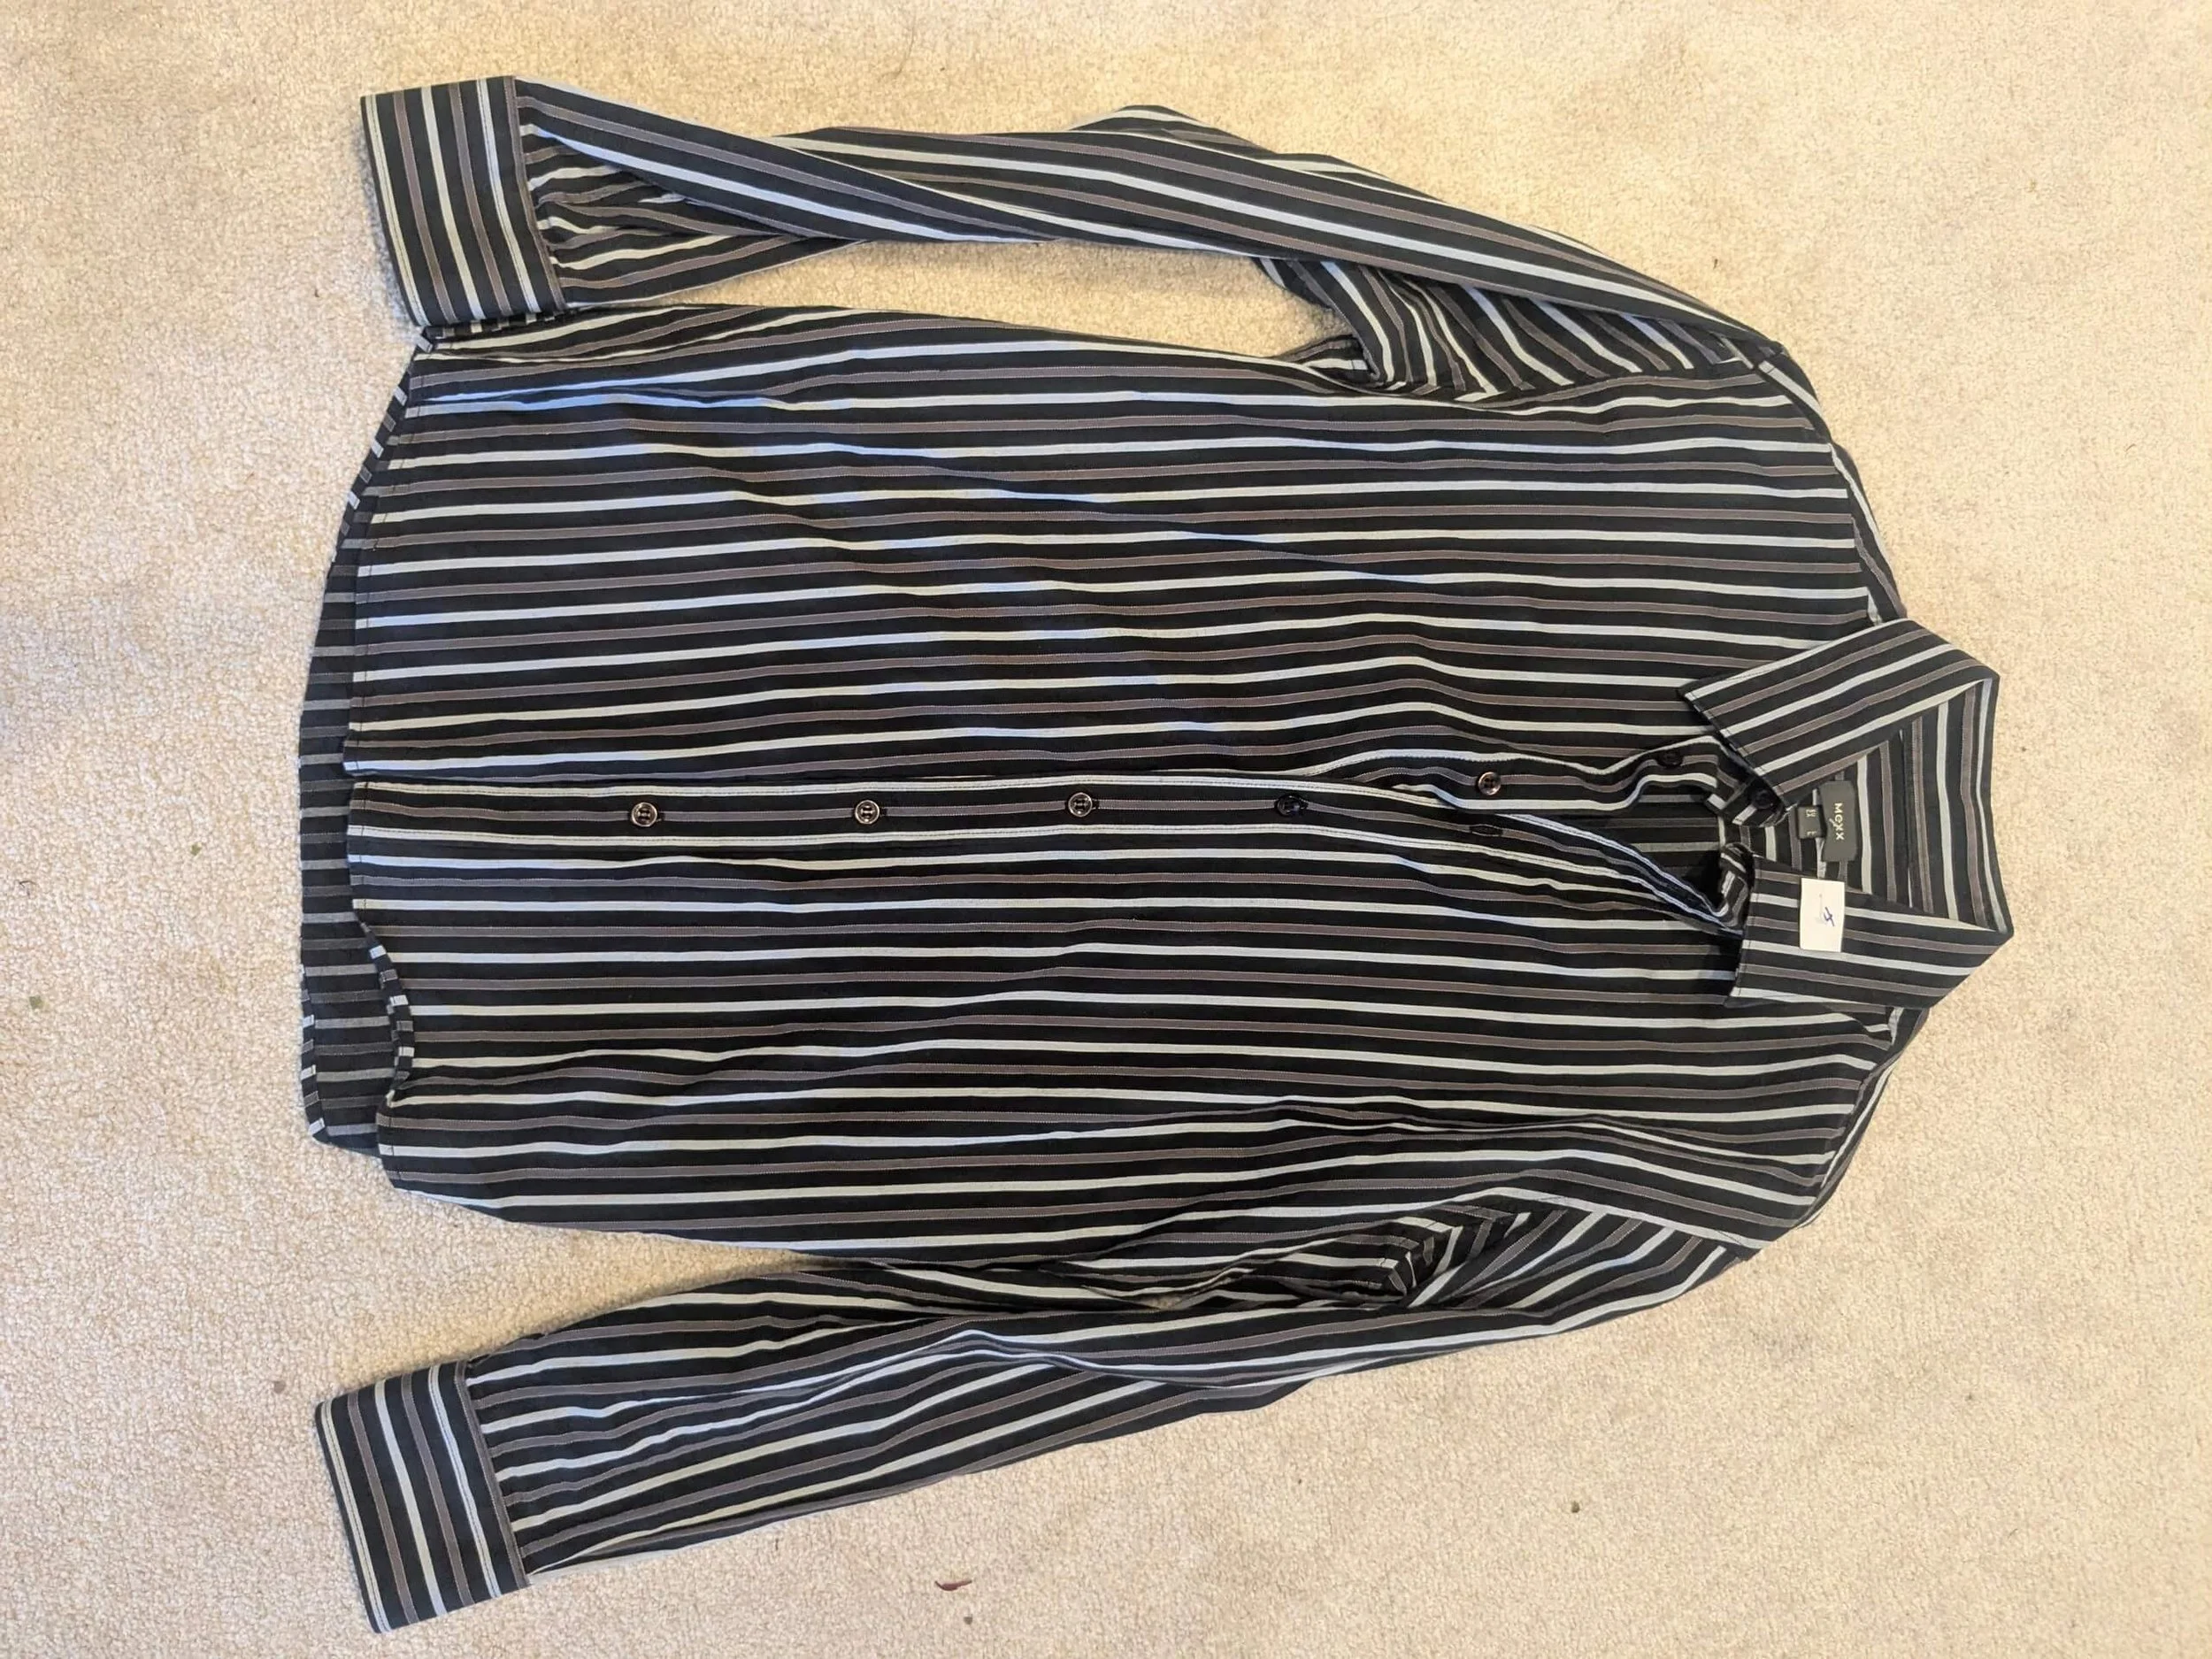
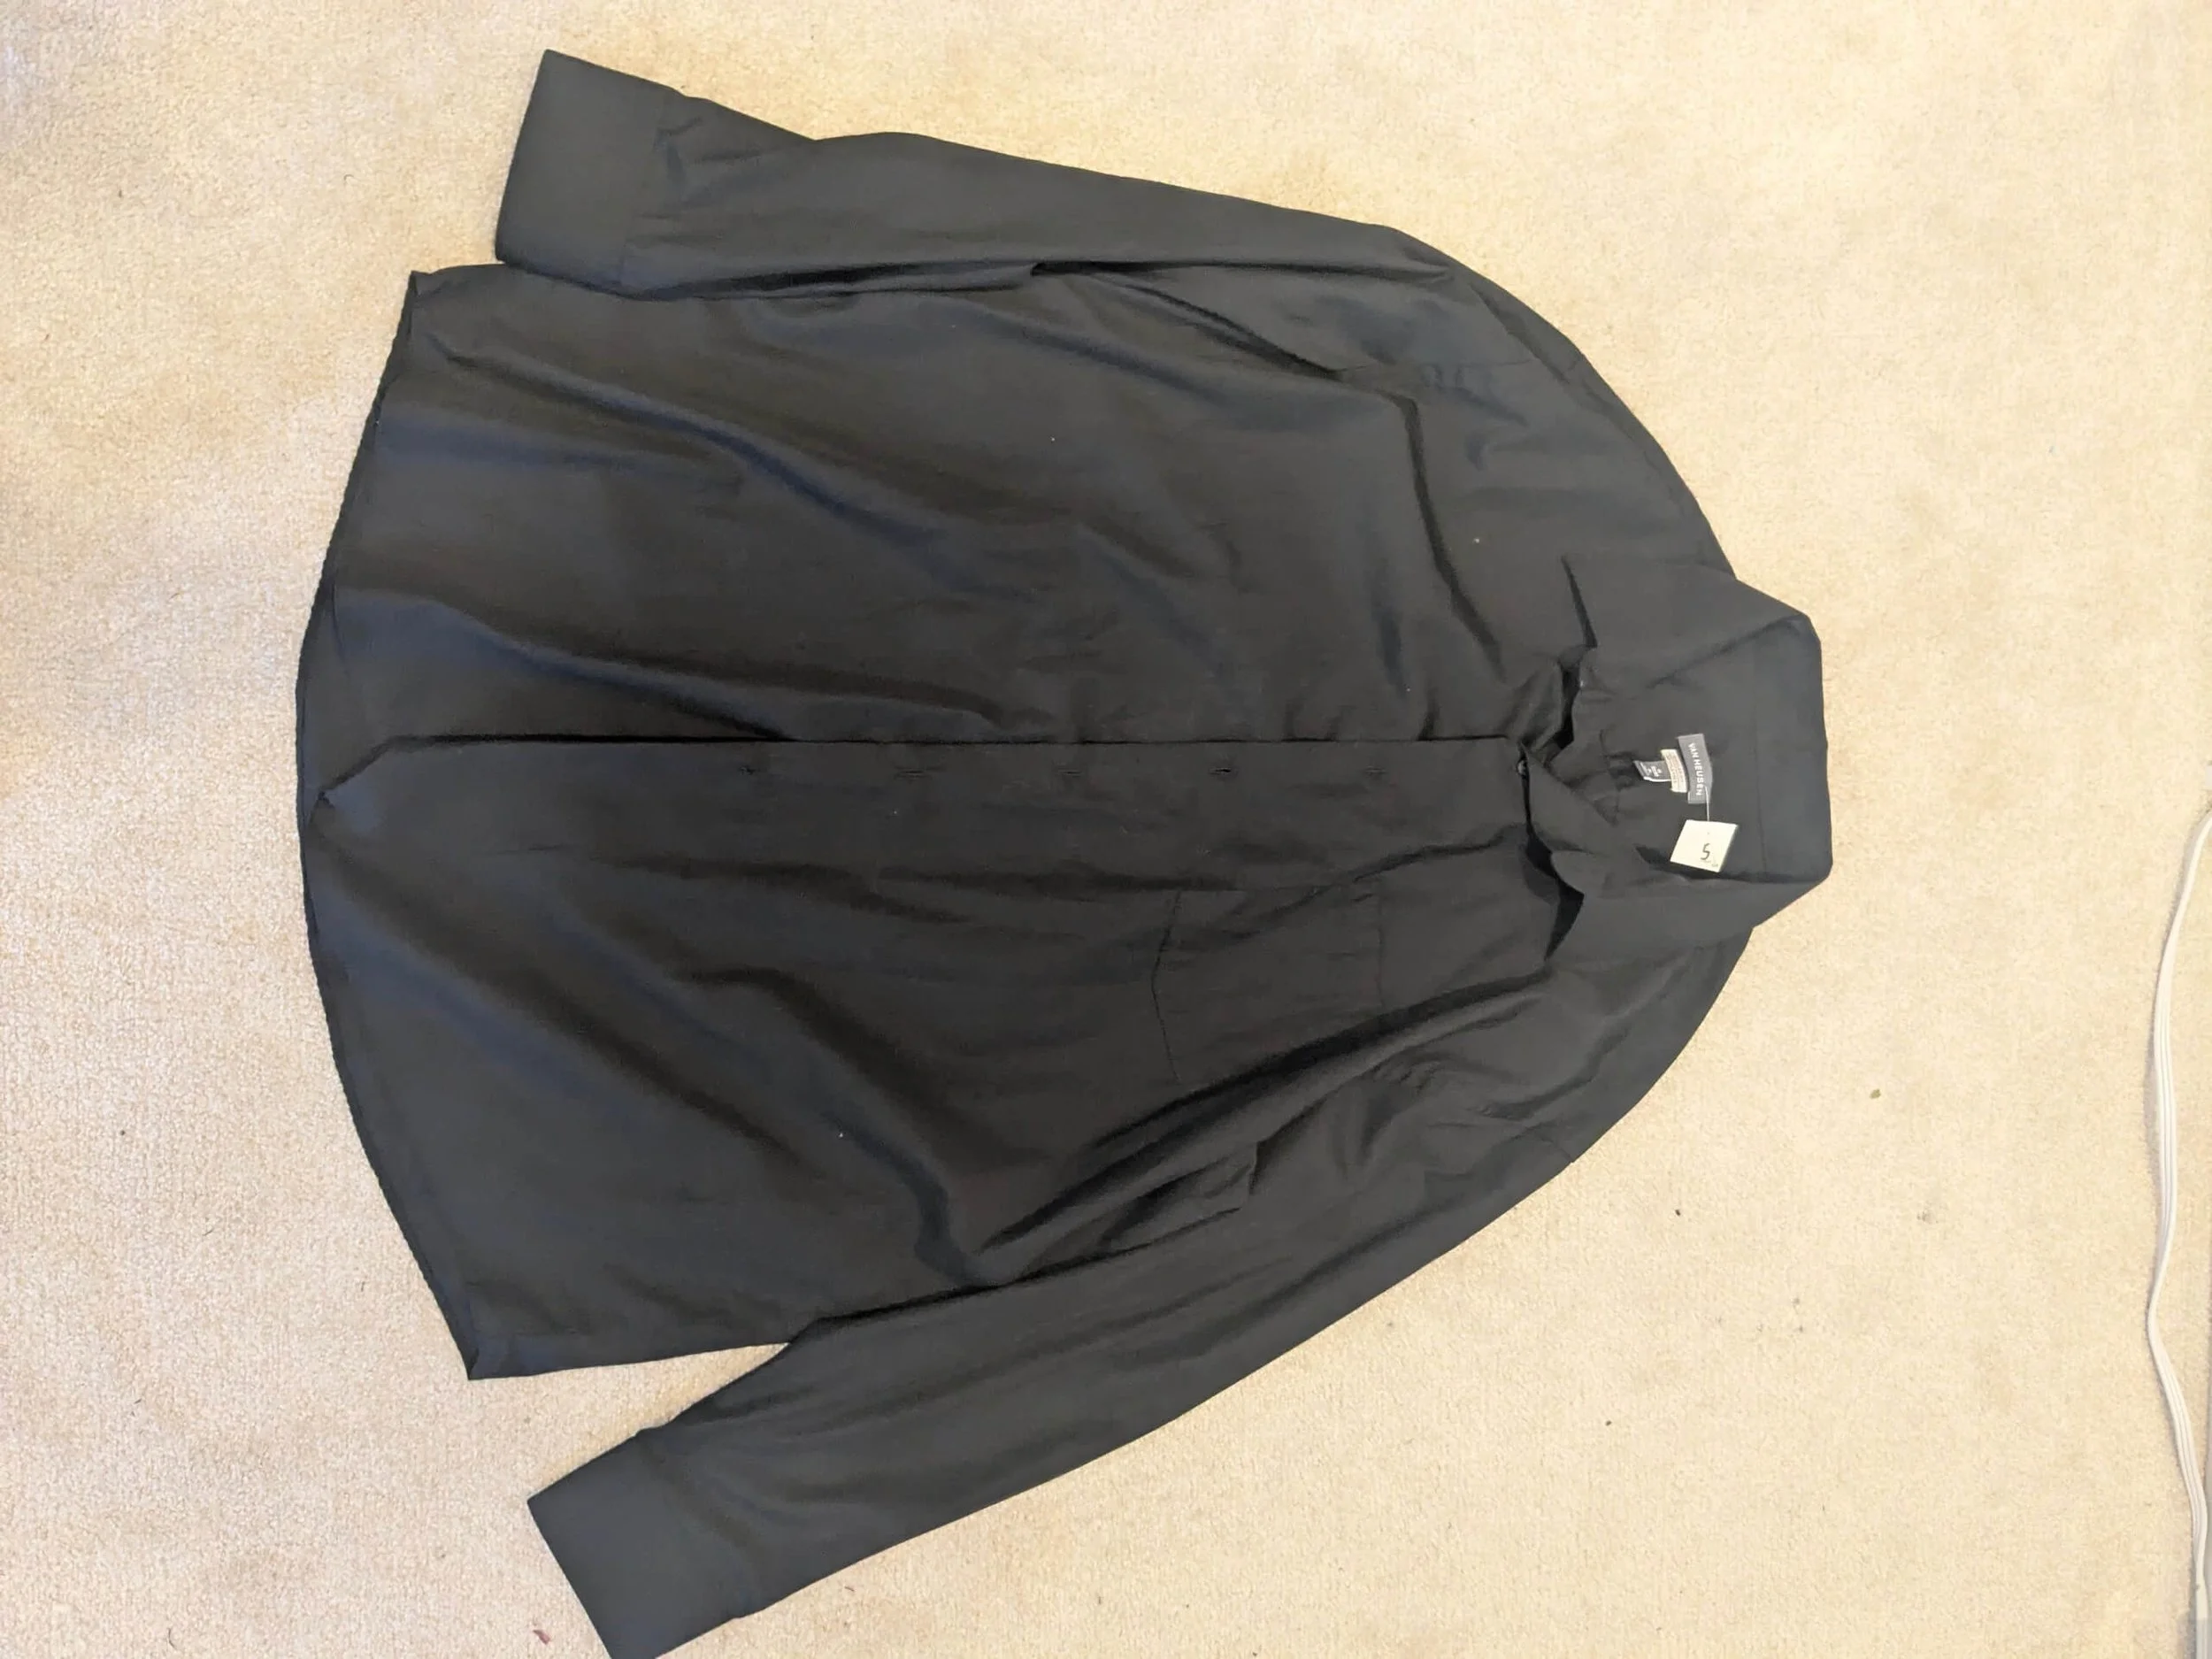
Step 1: Remove buttons
I used a seam ripper to take off all the buttons from both shirts.
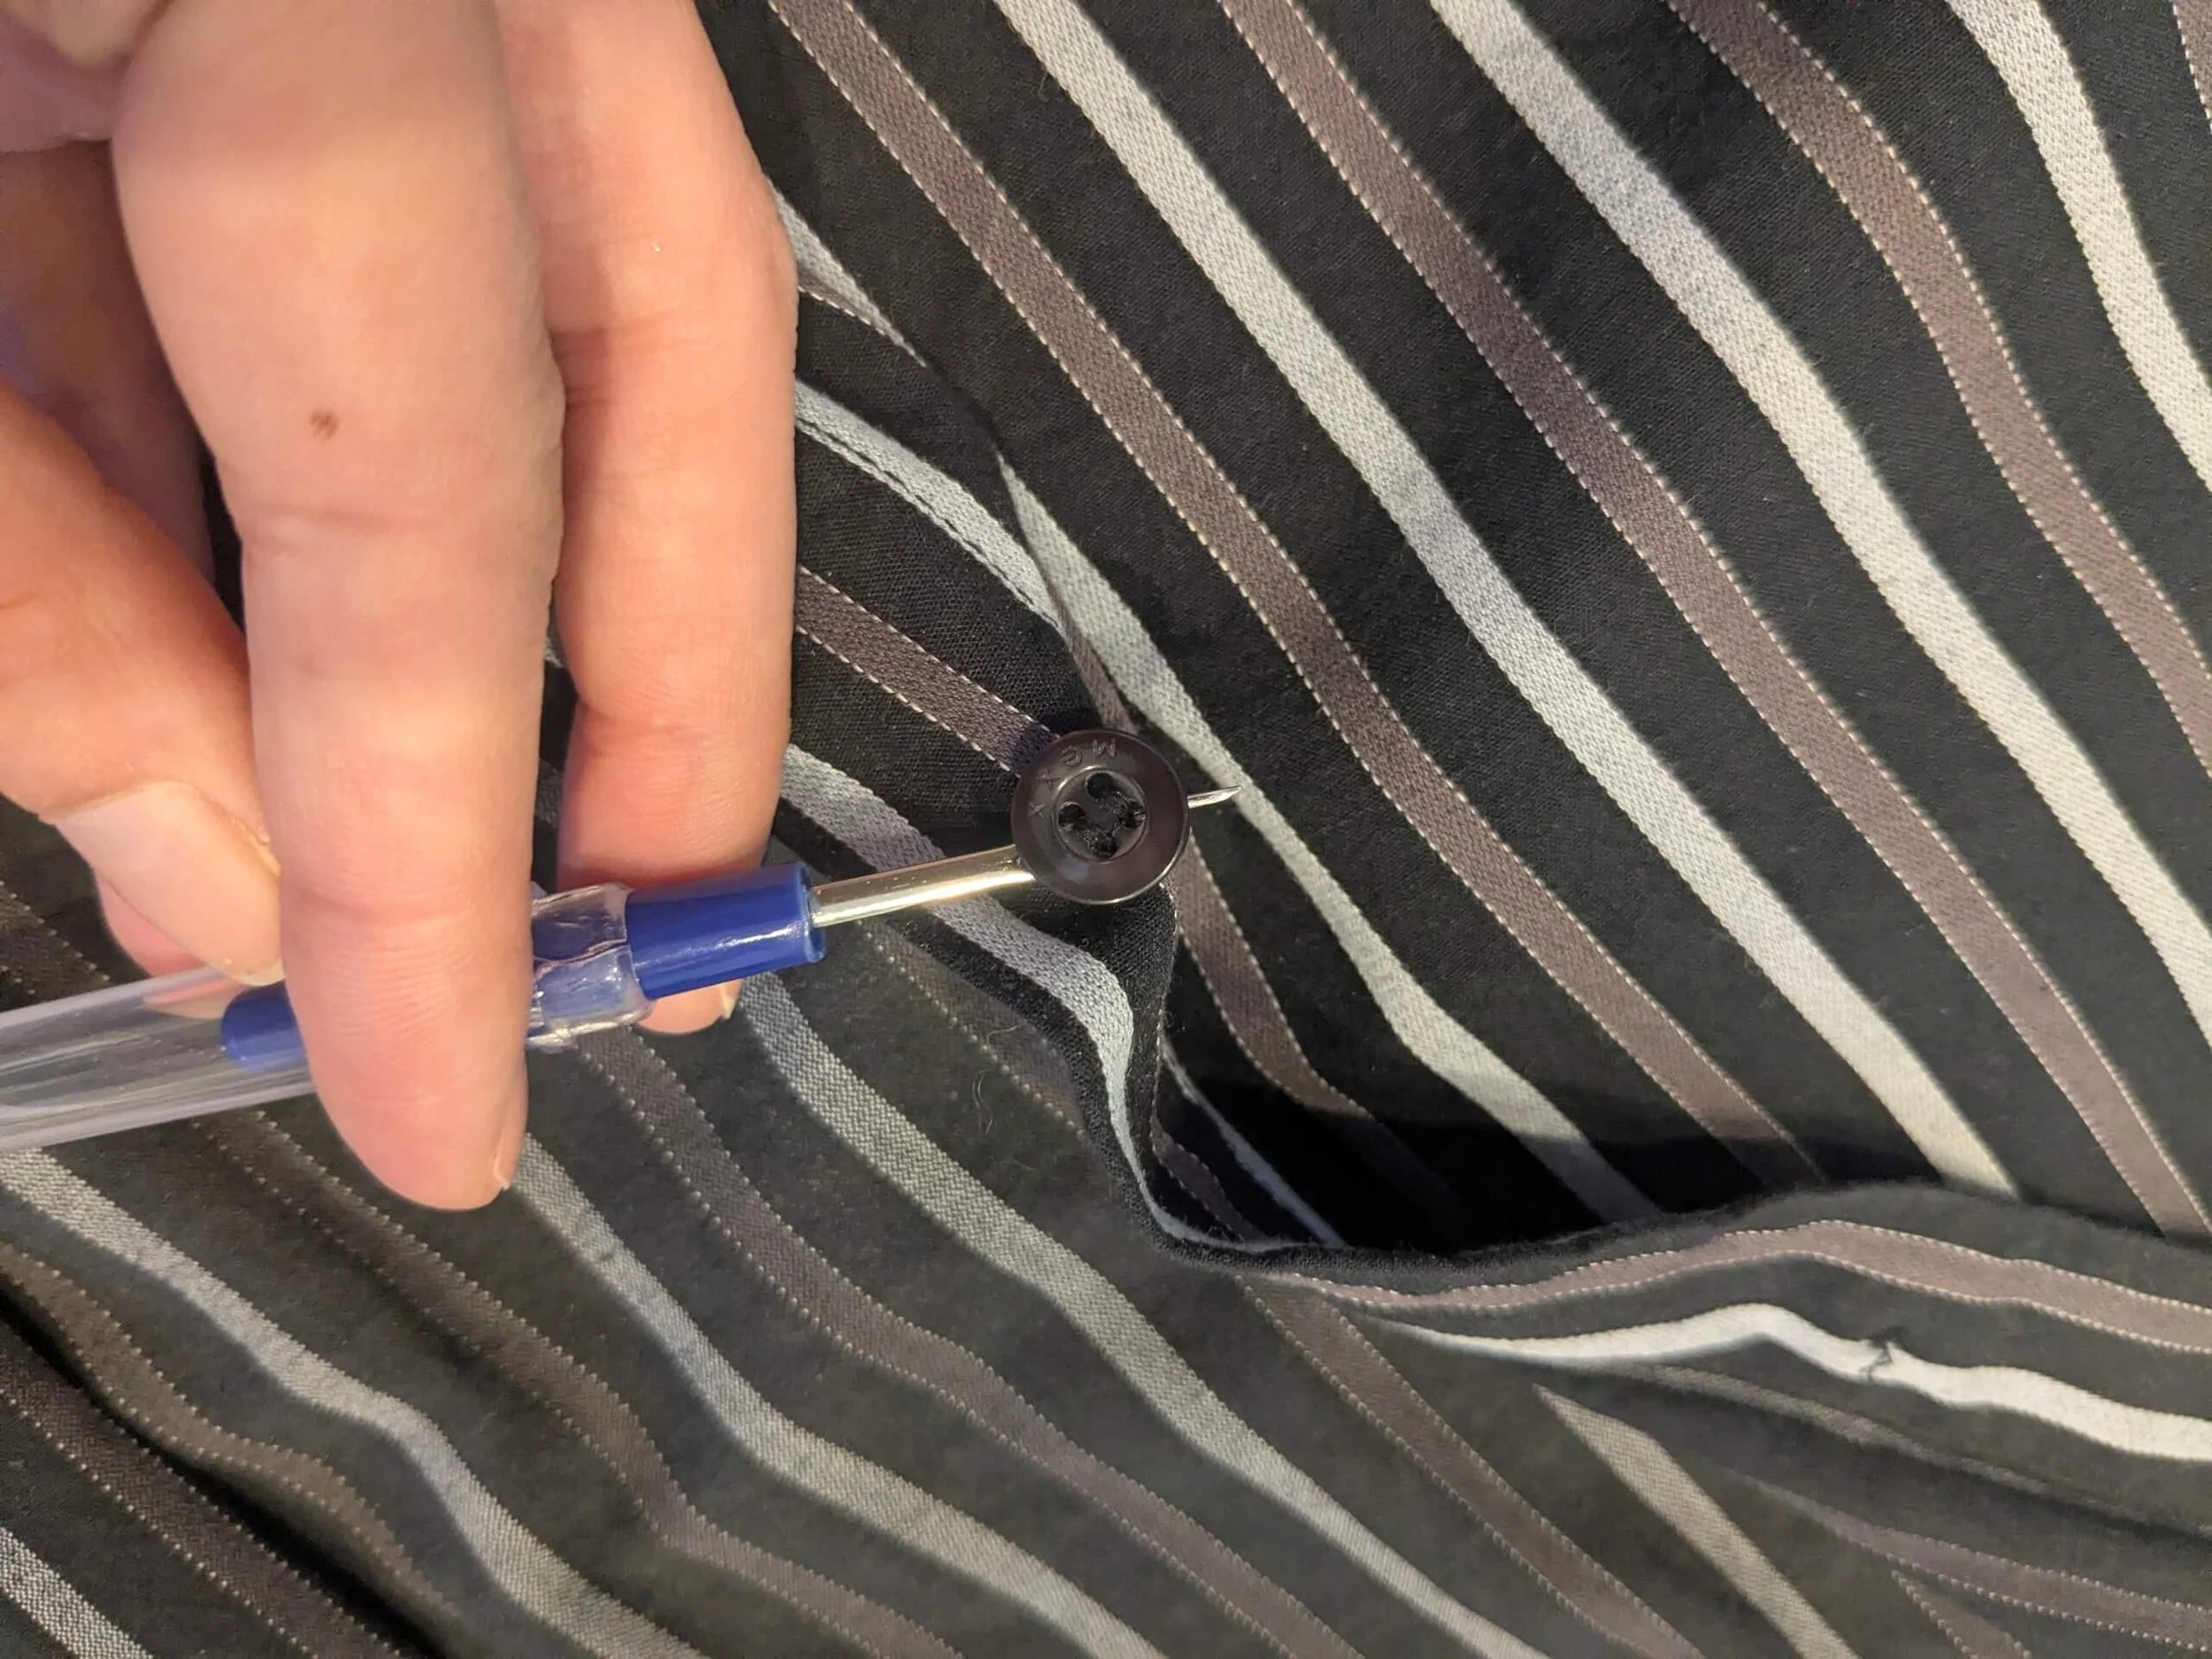
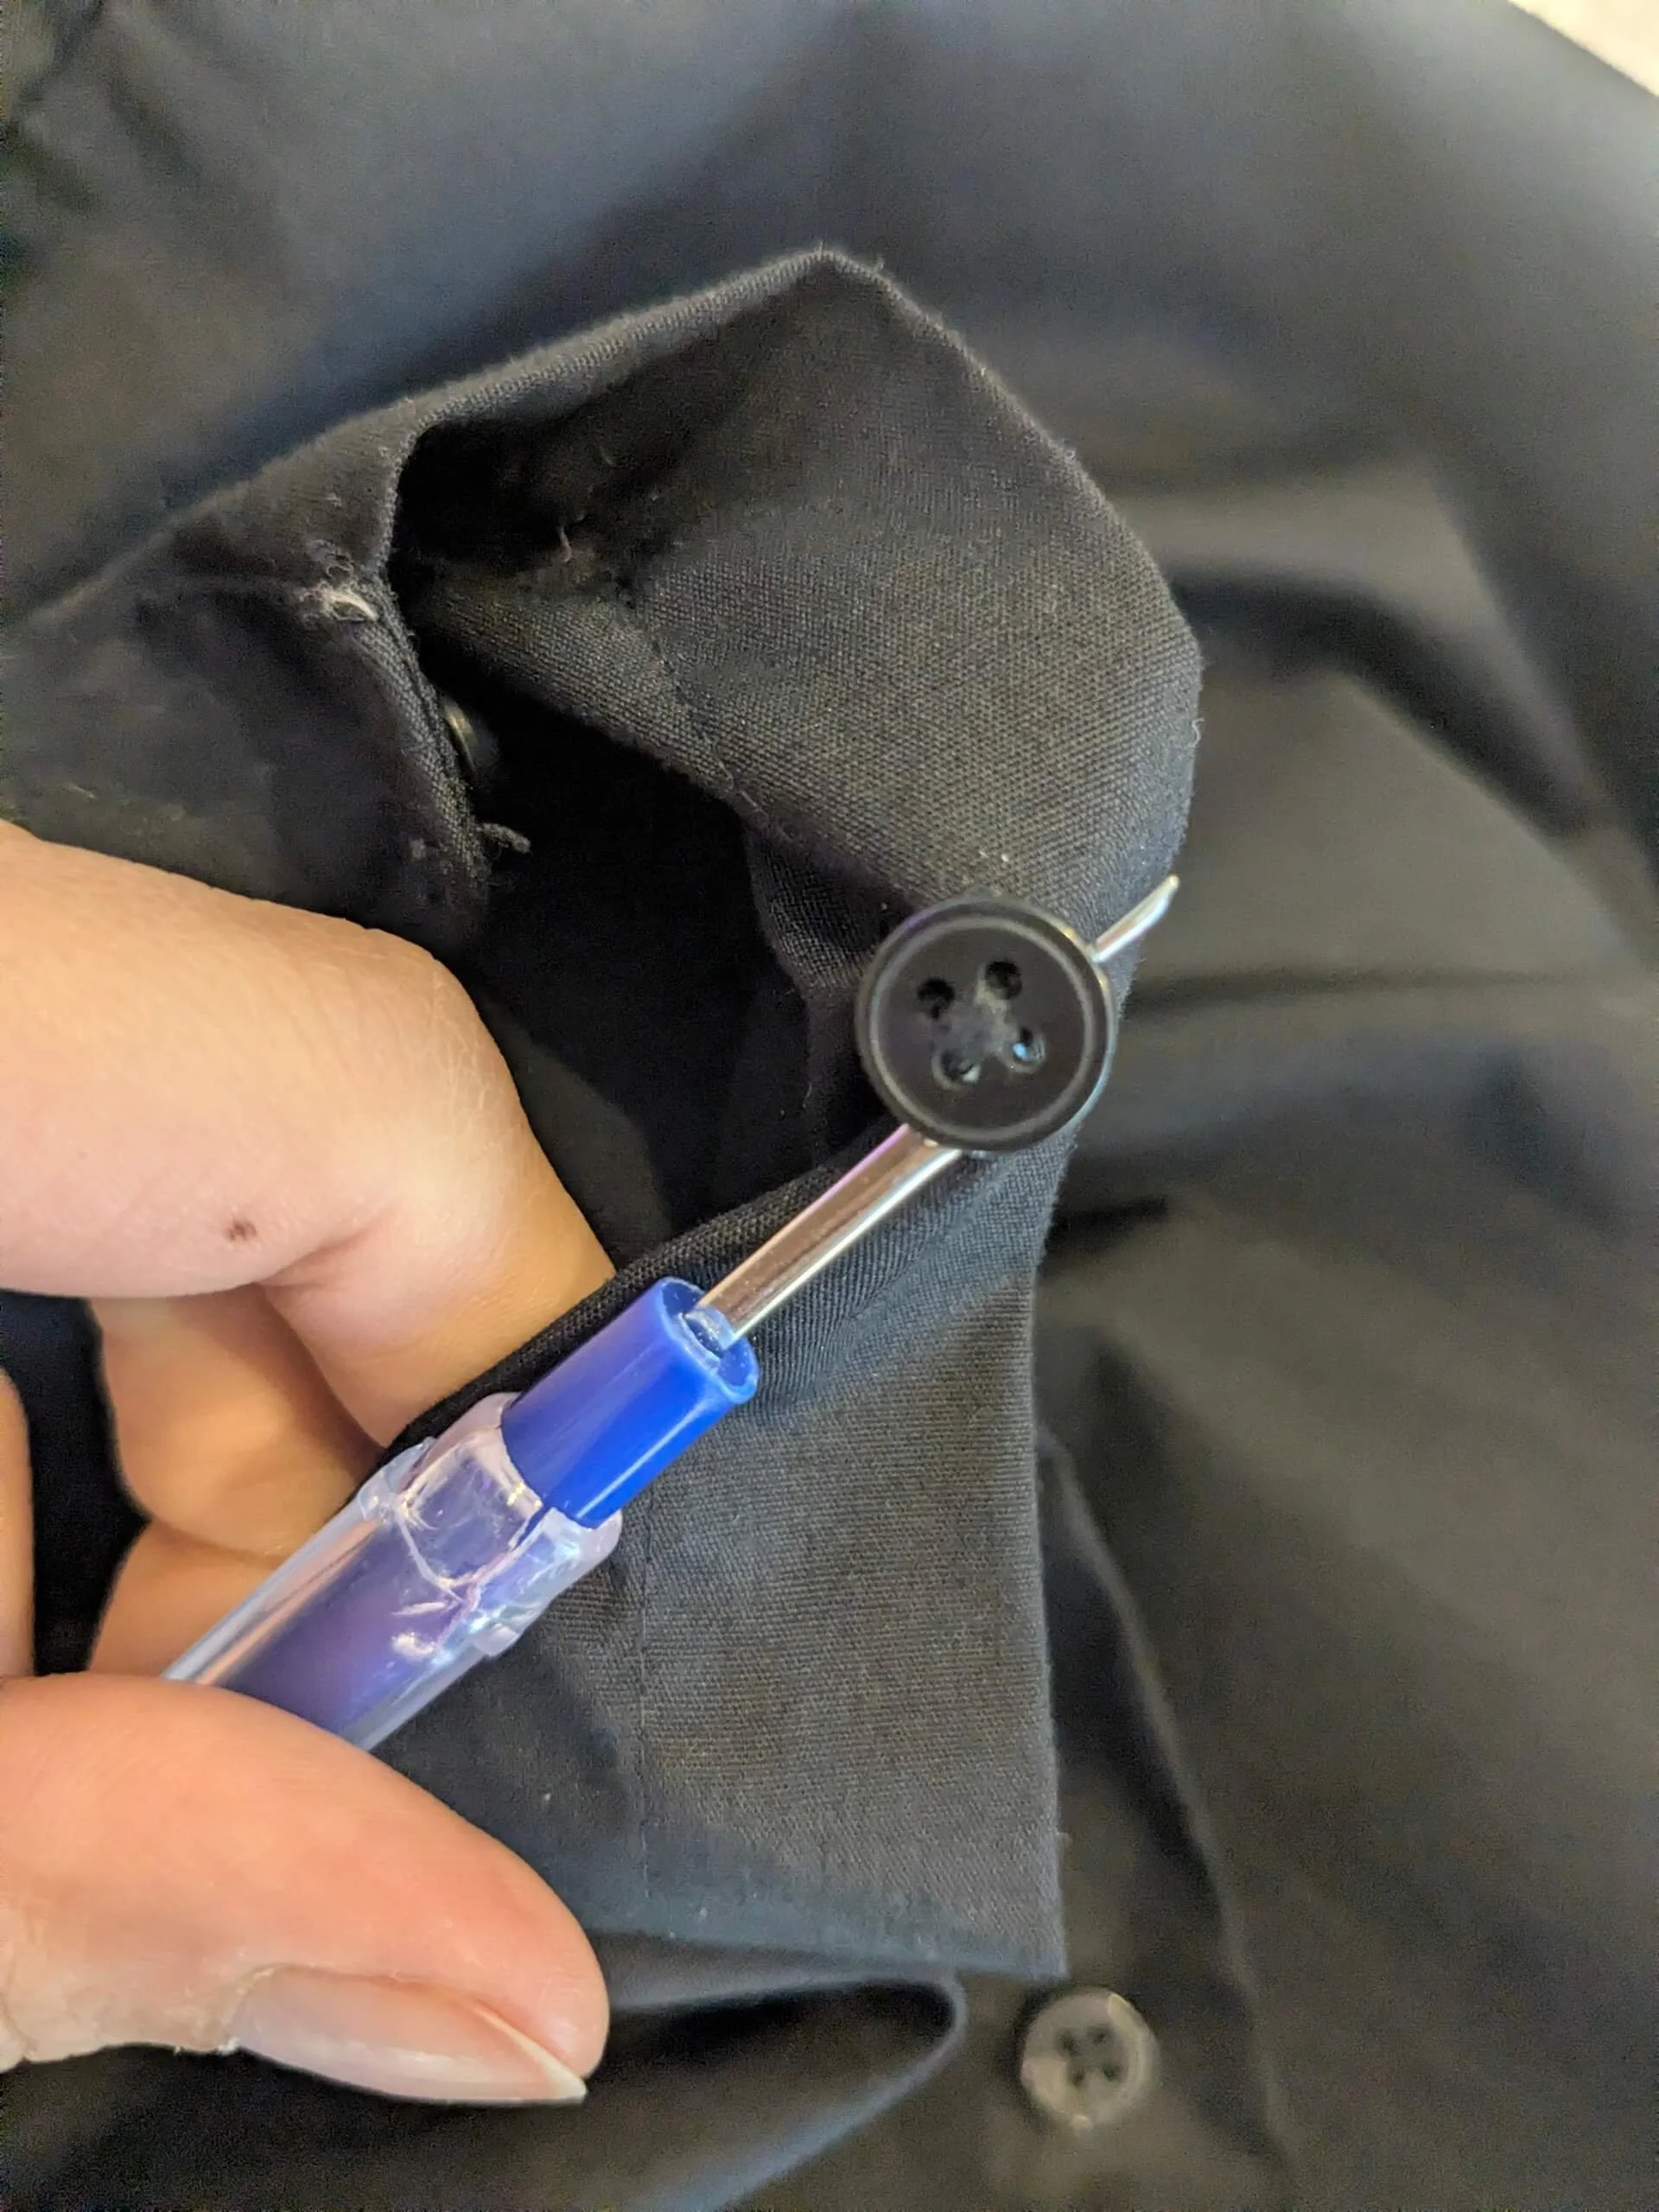
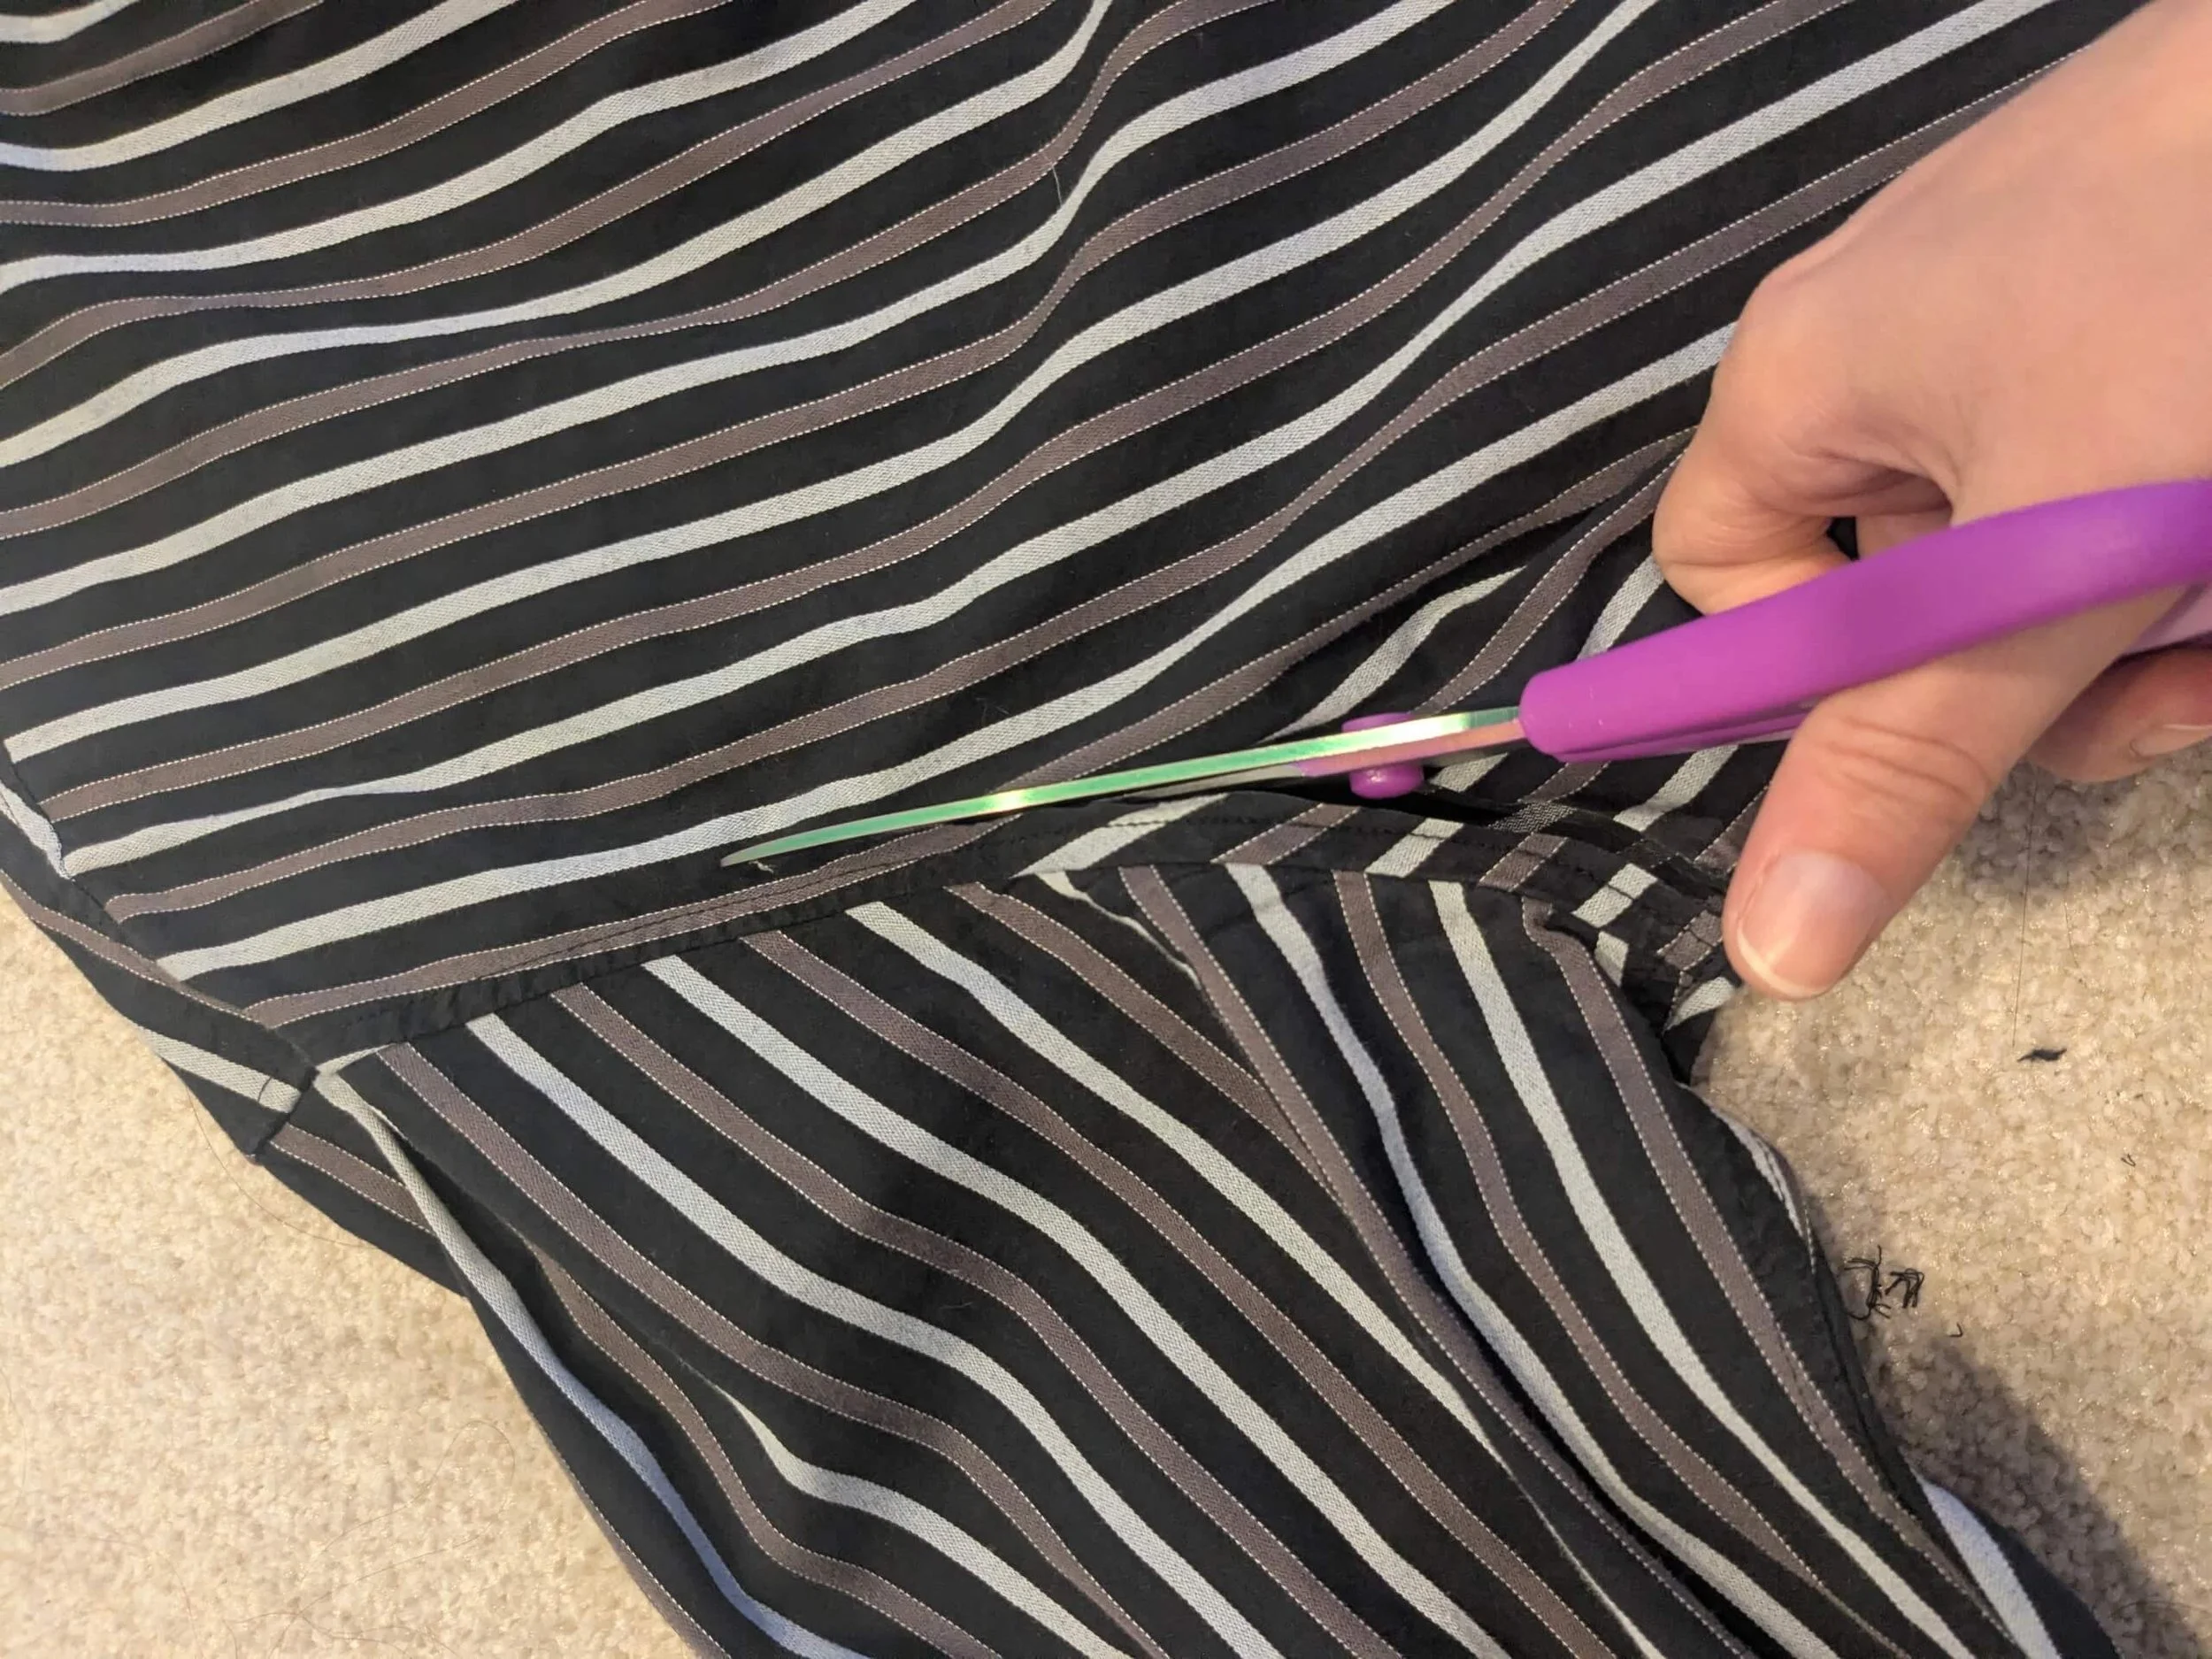
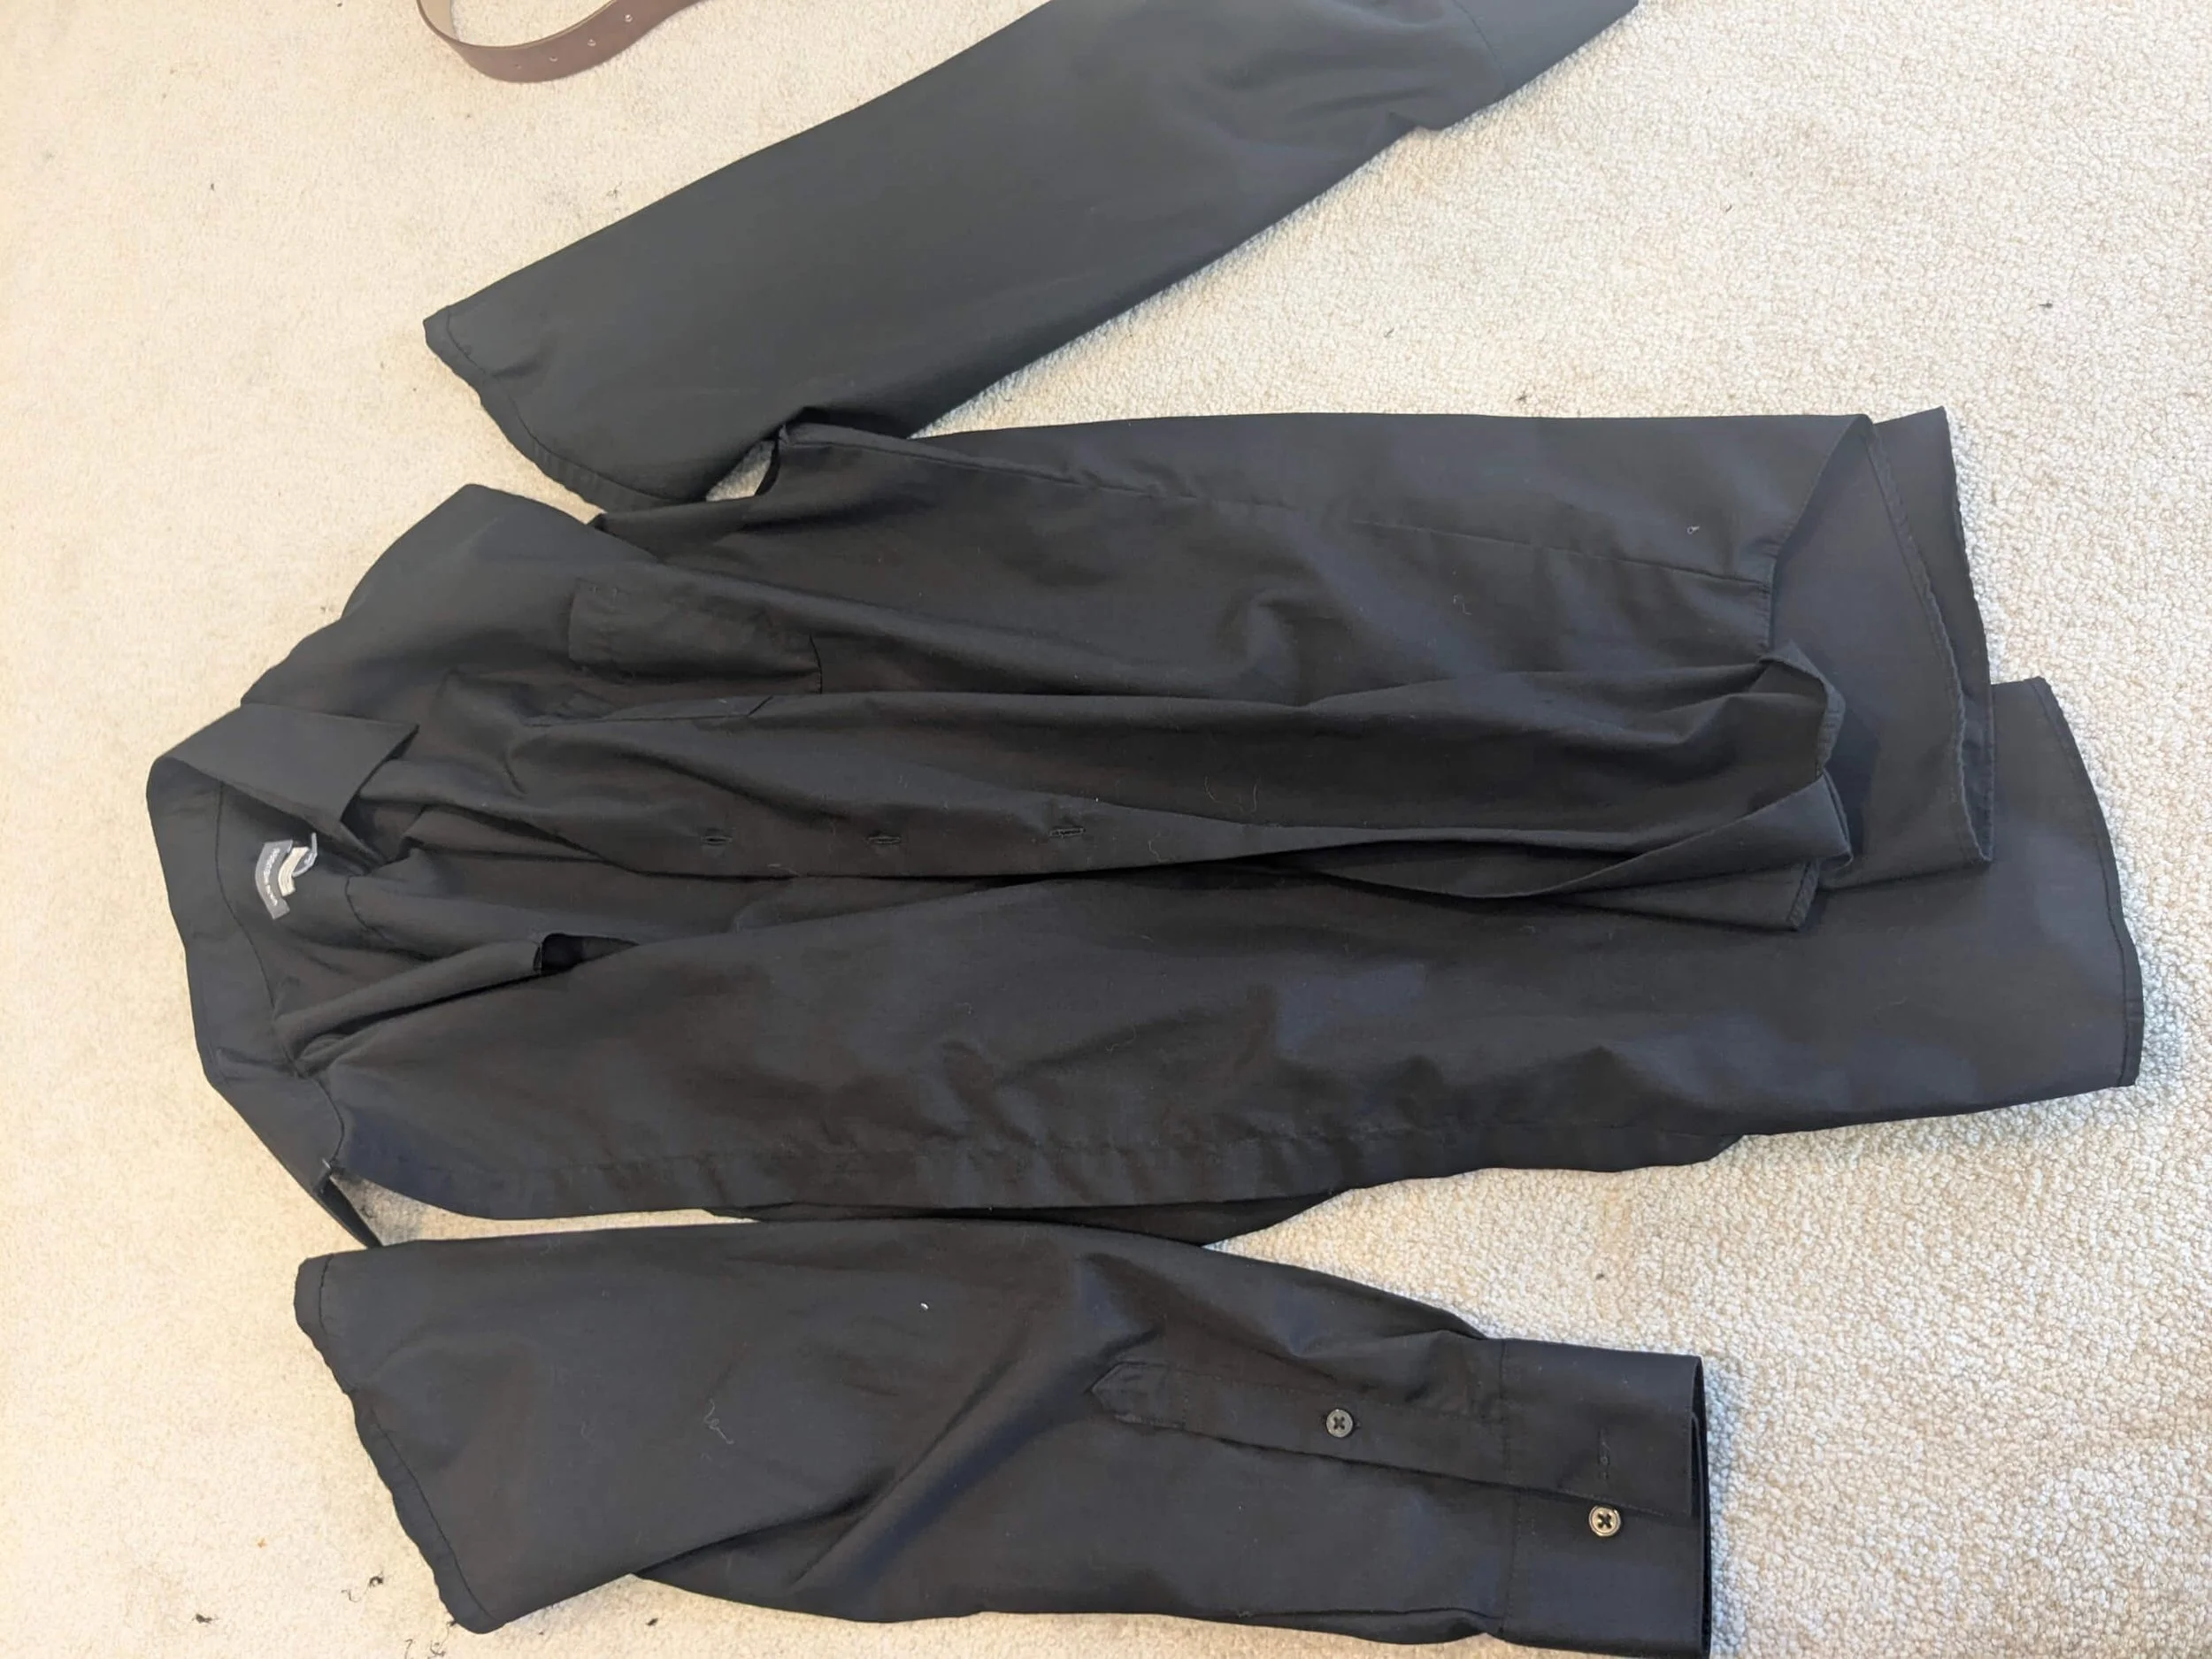
Step 2: Remove sleeves
I used some scissors to cut off the sleeves from both shirts (keep the sleeves for future steps).
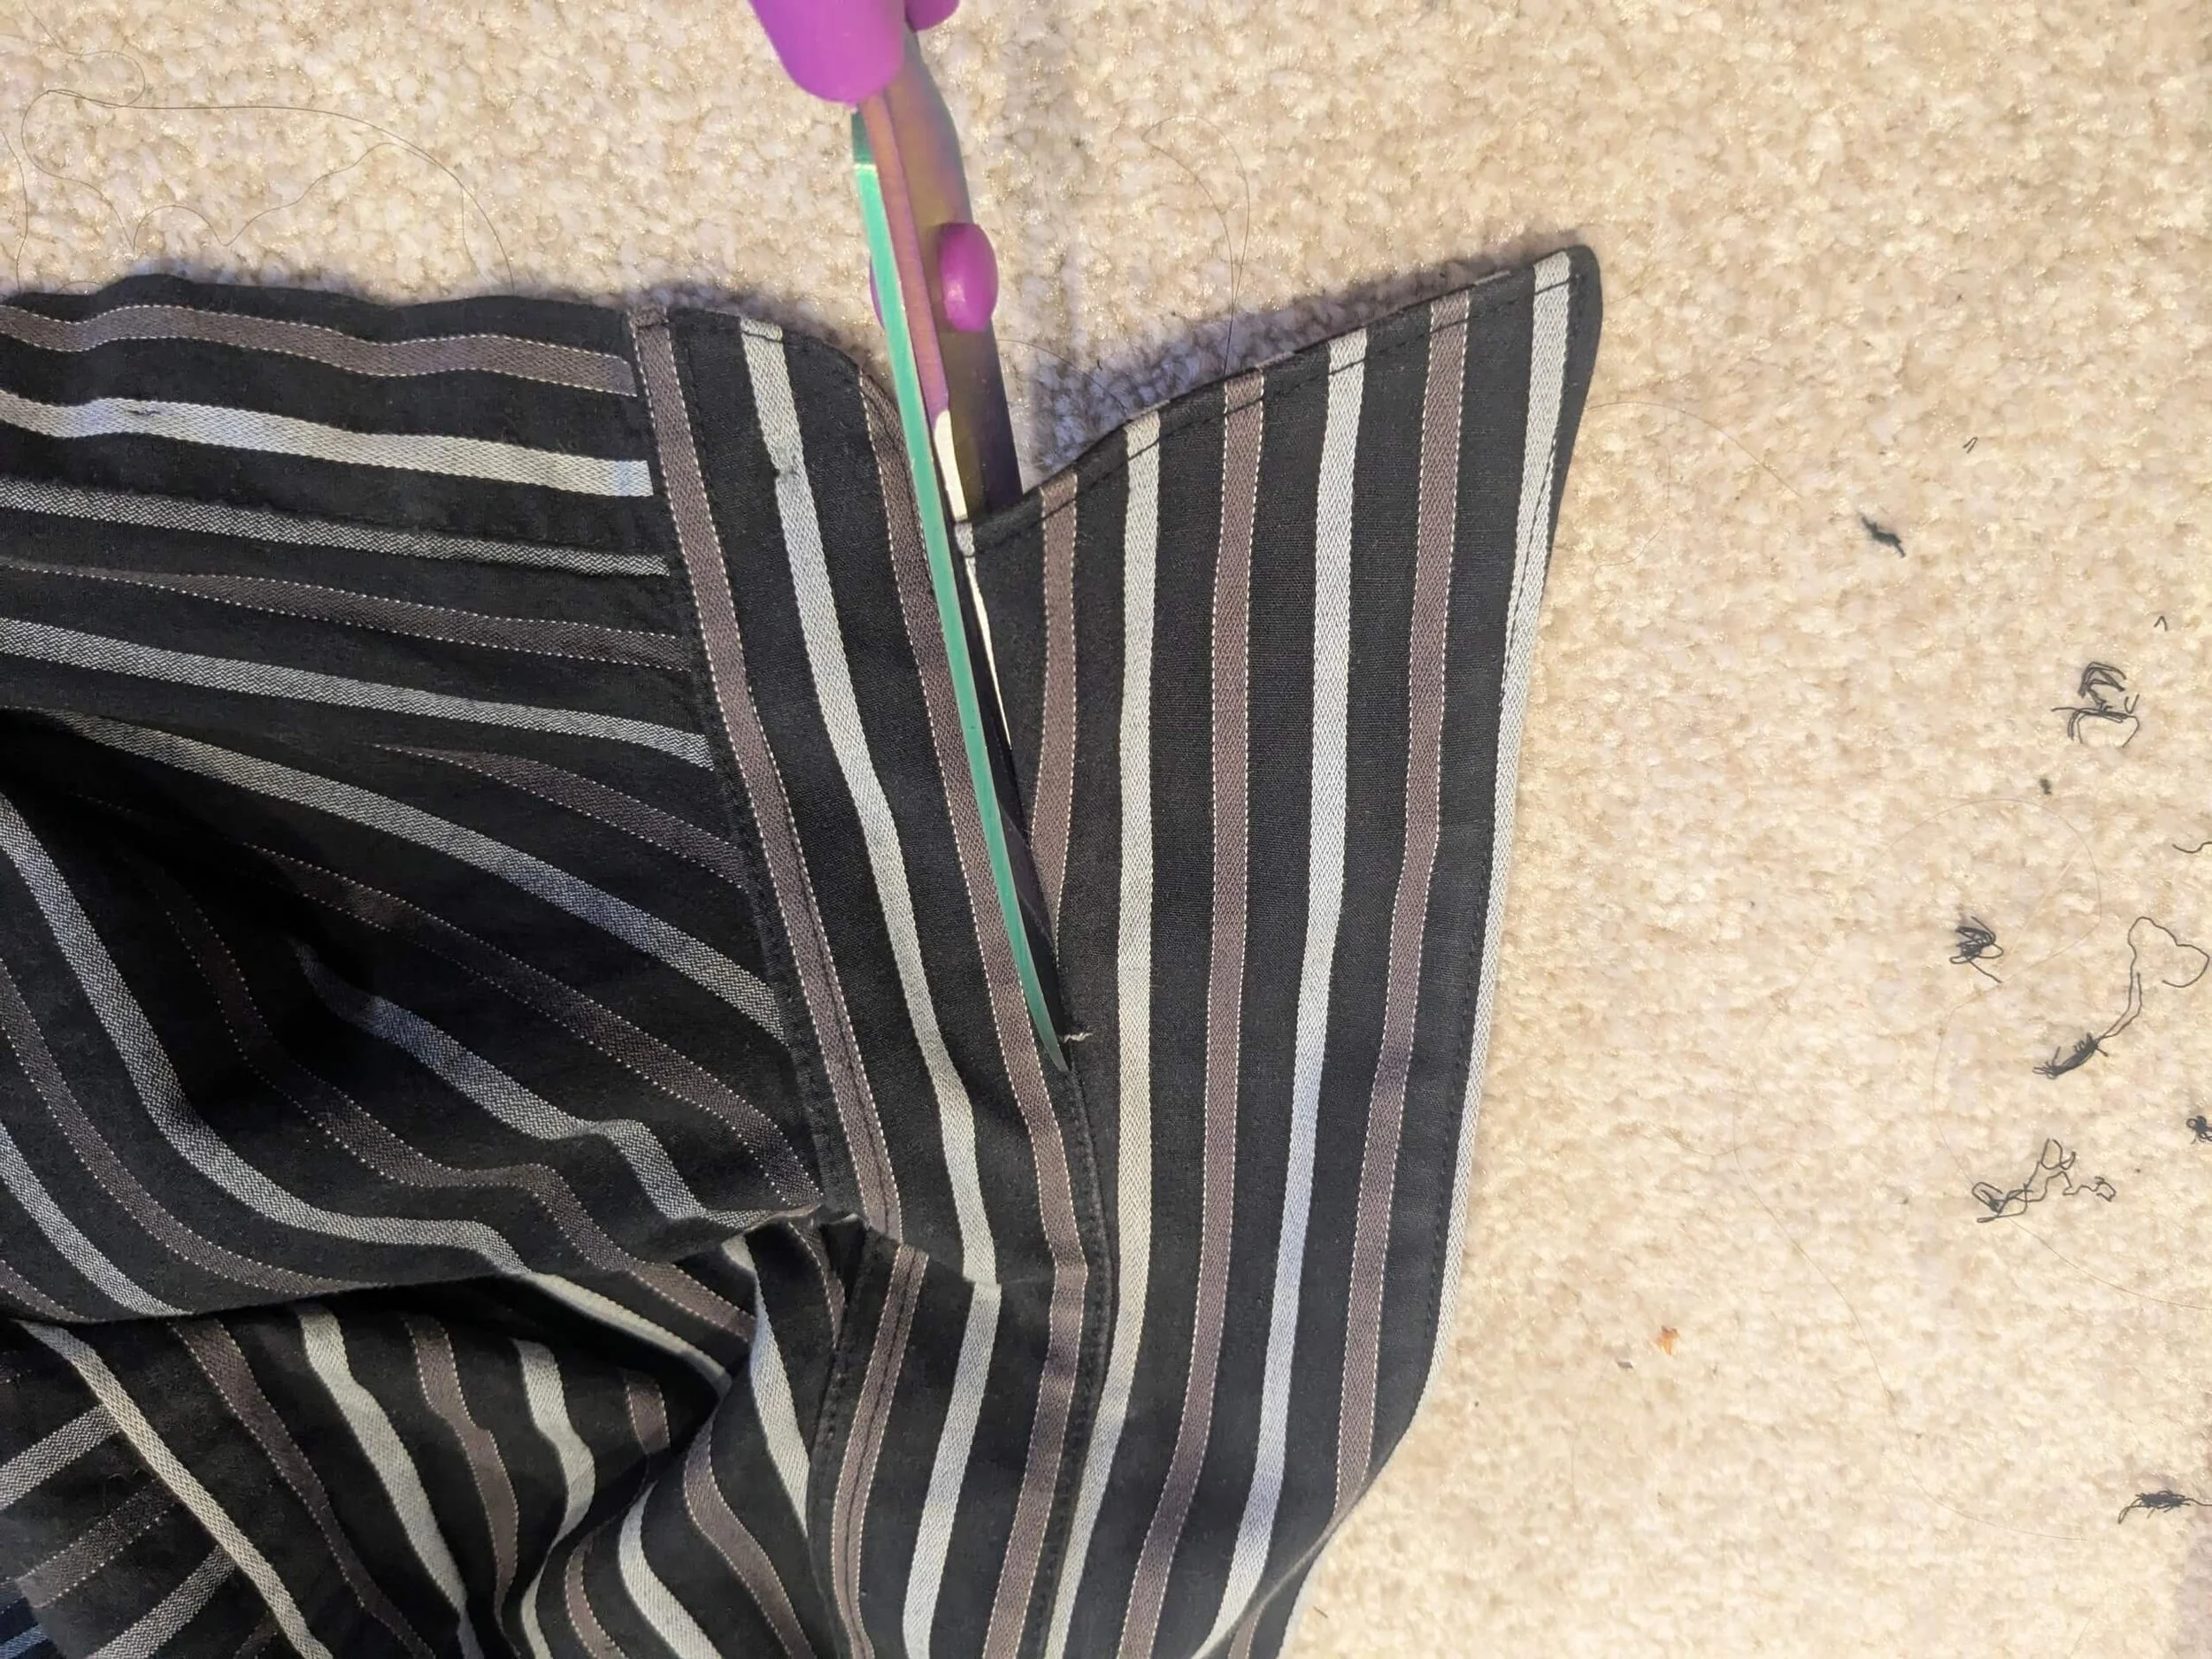
Step 3: Remove the stripped shirt collar
I also cut off the top portion of the stiff collar on the stripped dress shirt.
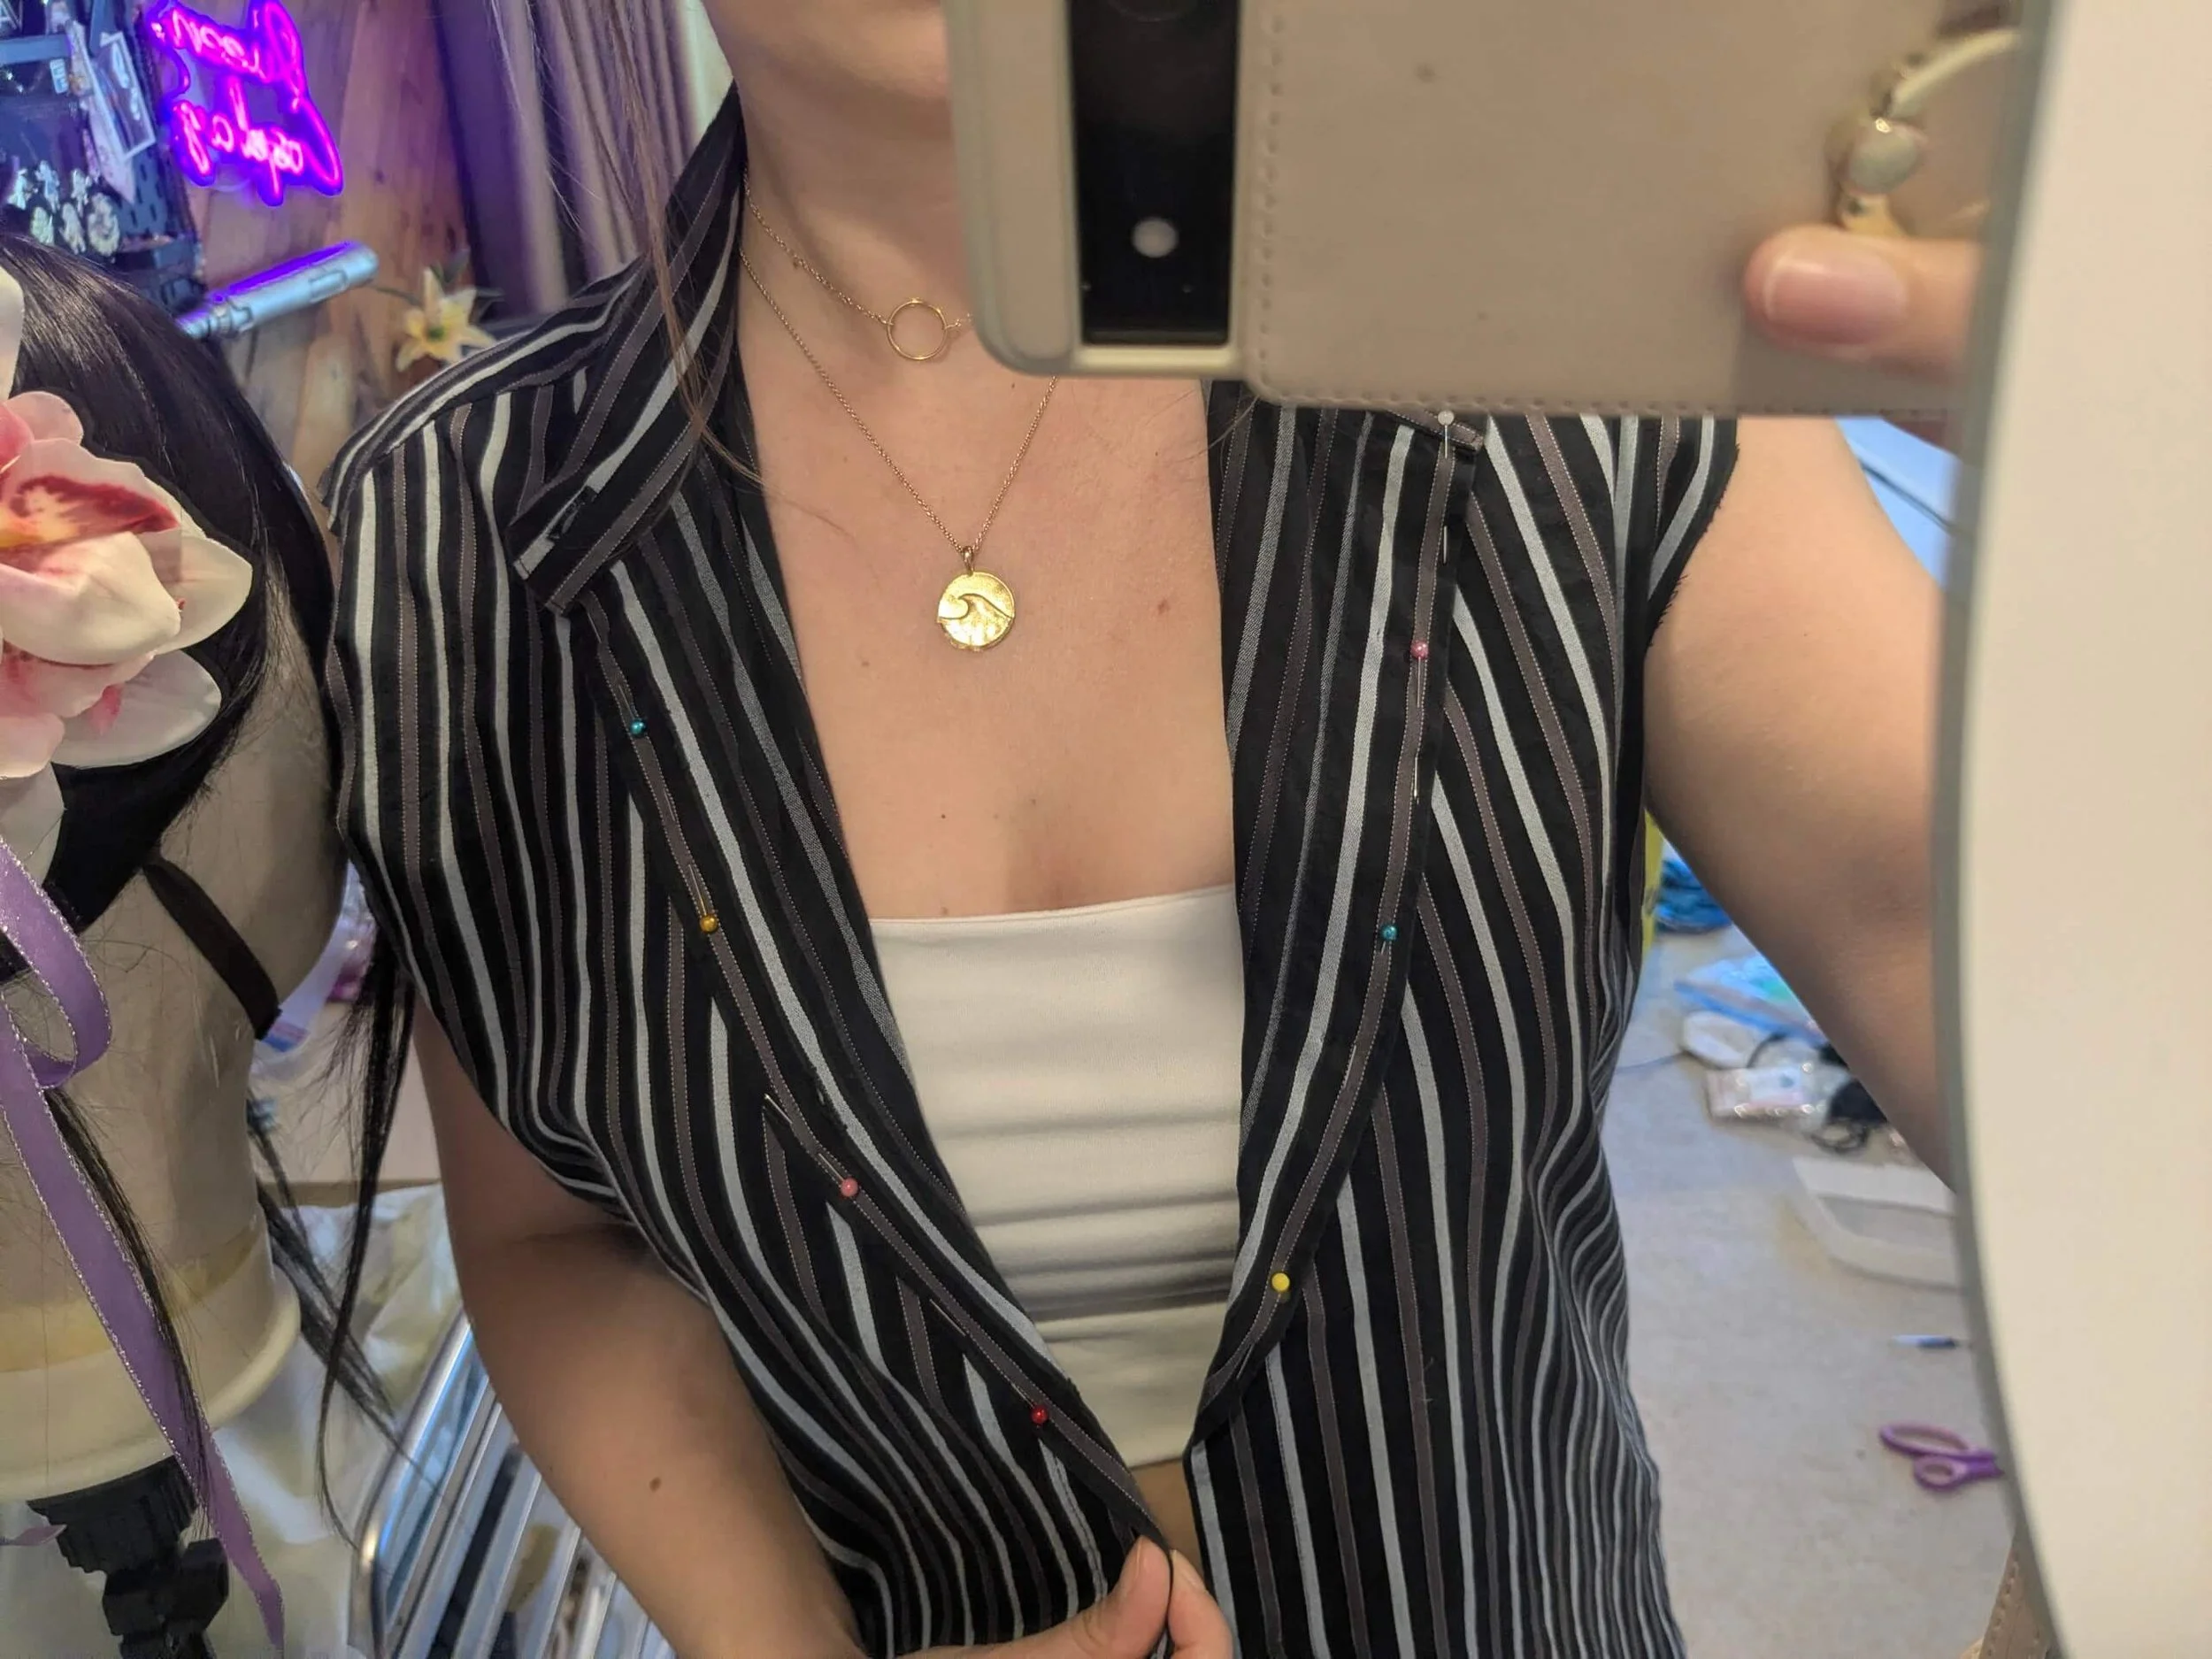
Step 4: Sew the collar back
I started by pinning the collar back while wearing the shirt so i could see where the crease should go.
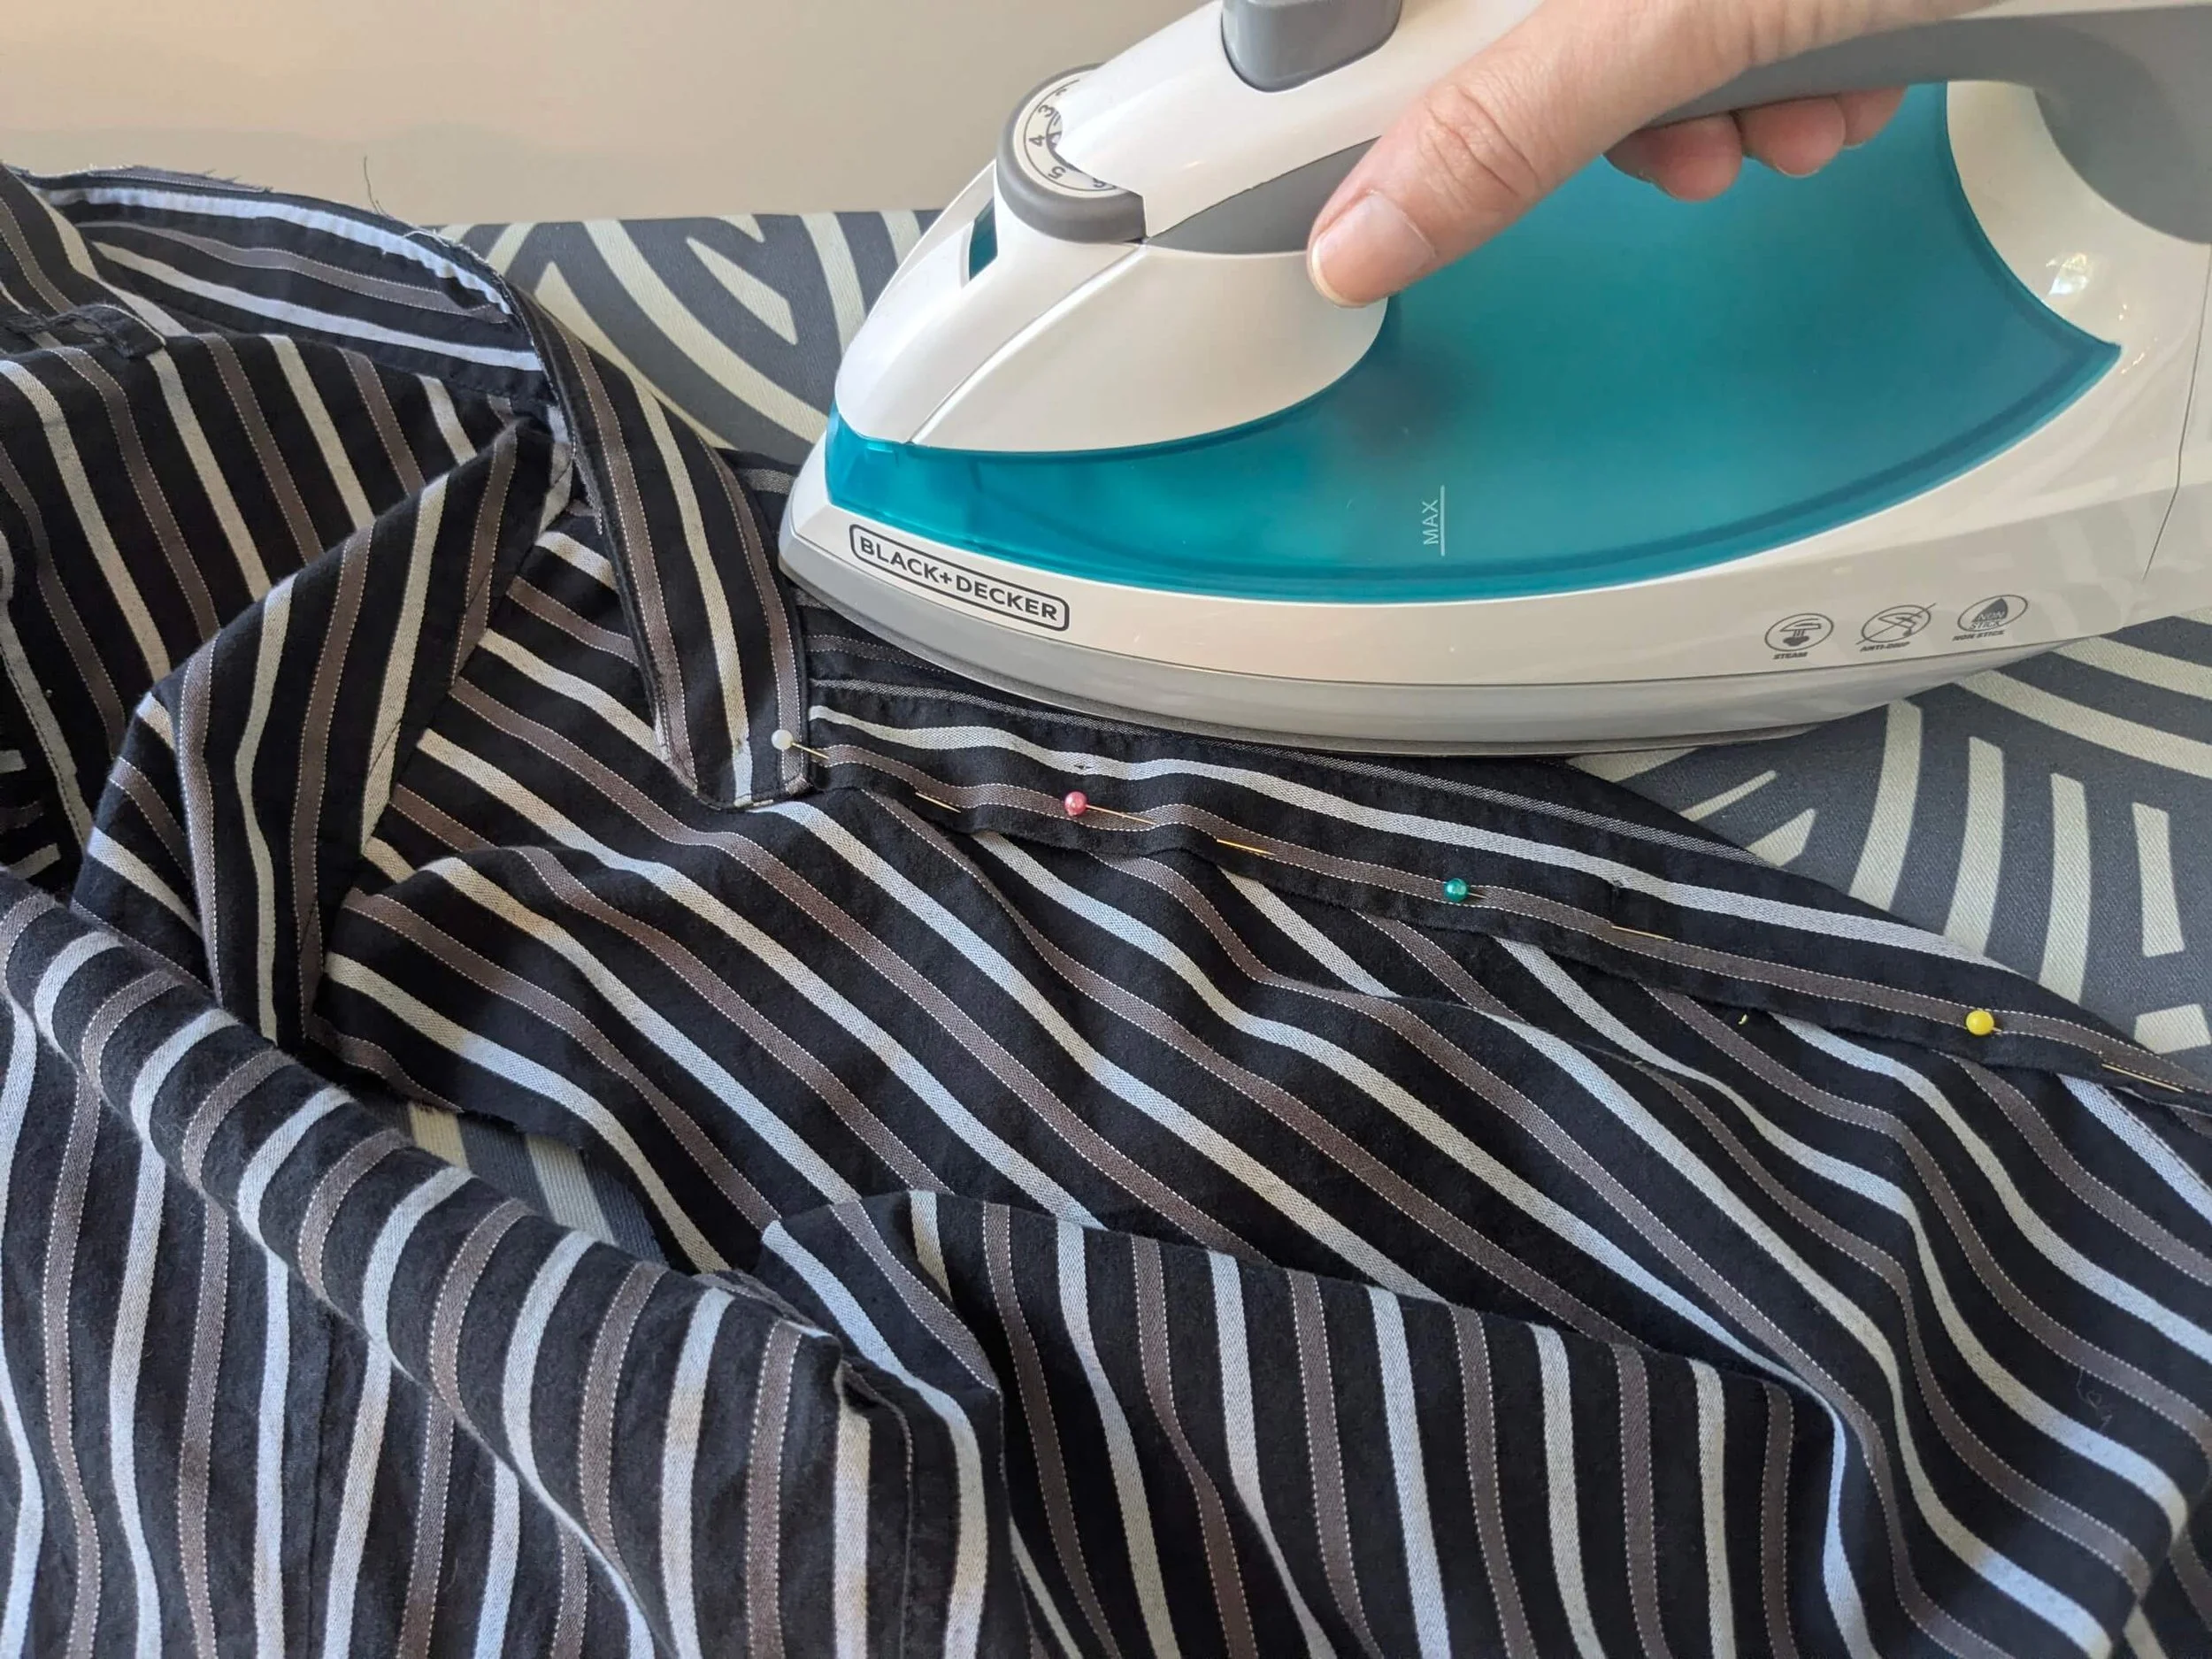
Then I ironed it flat.
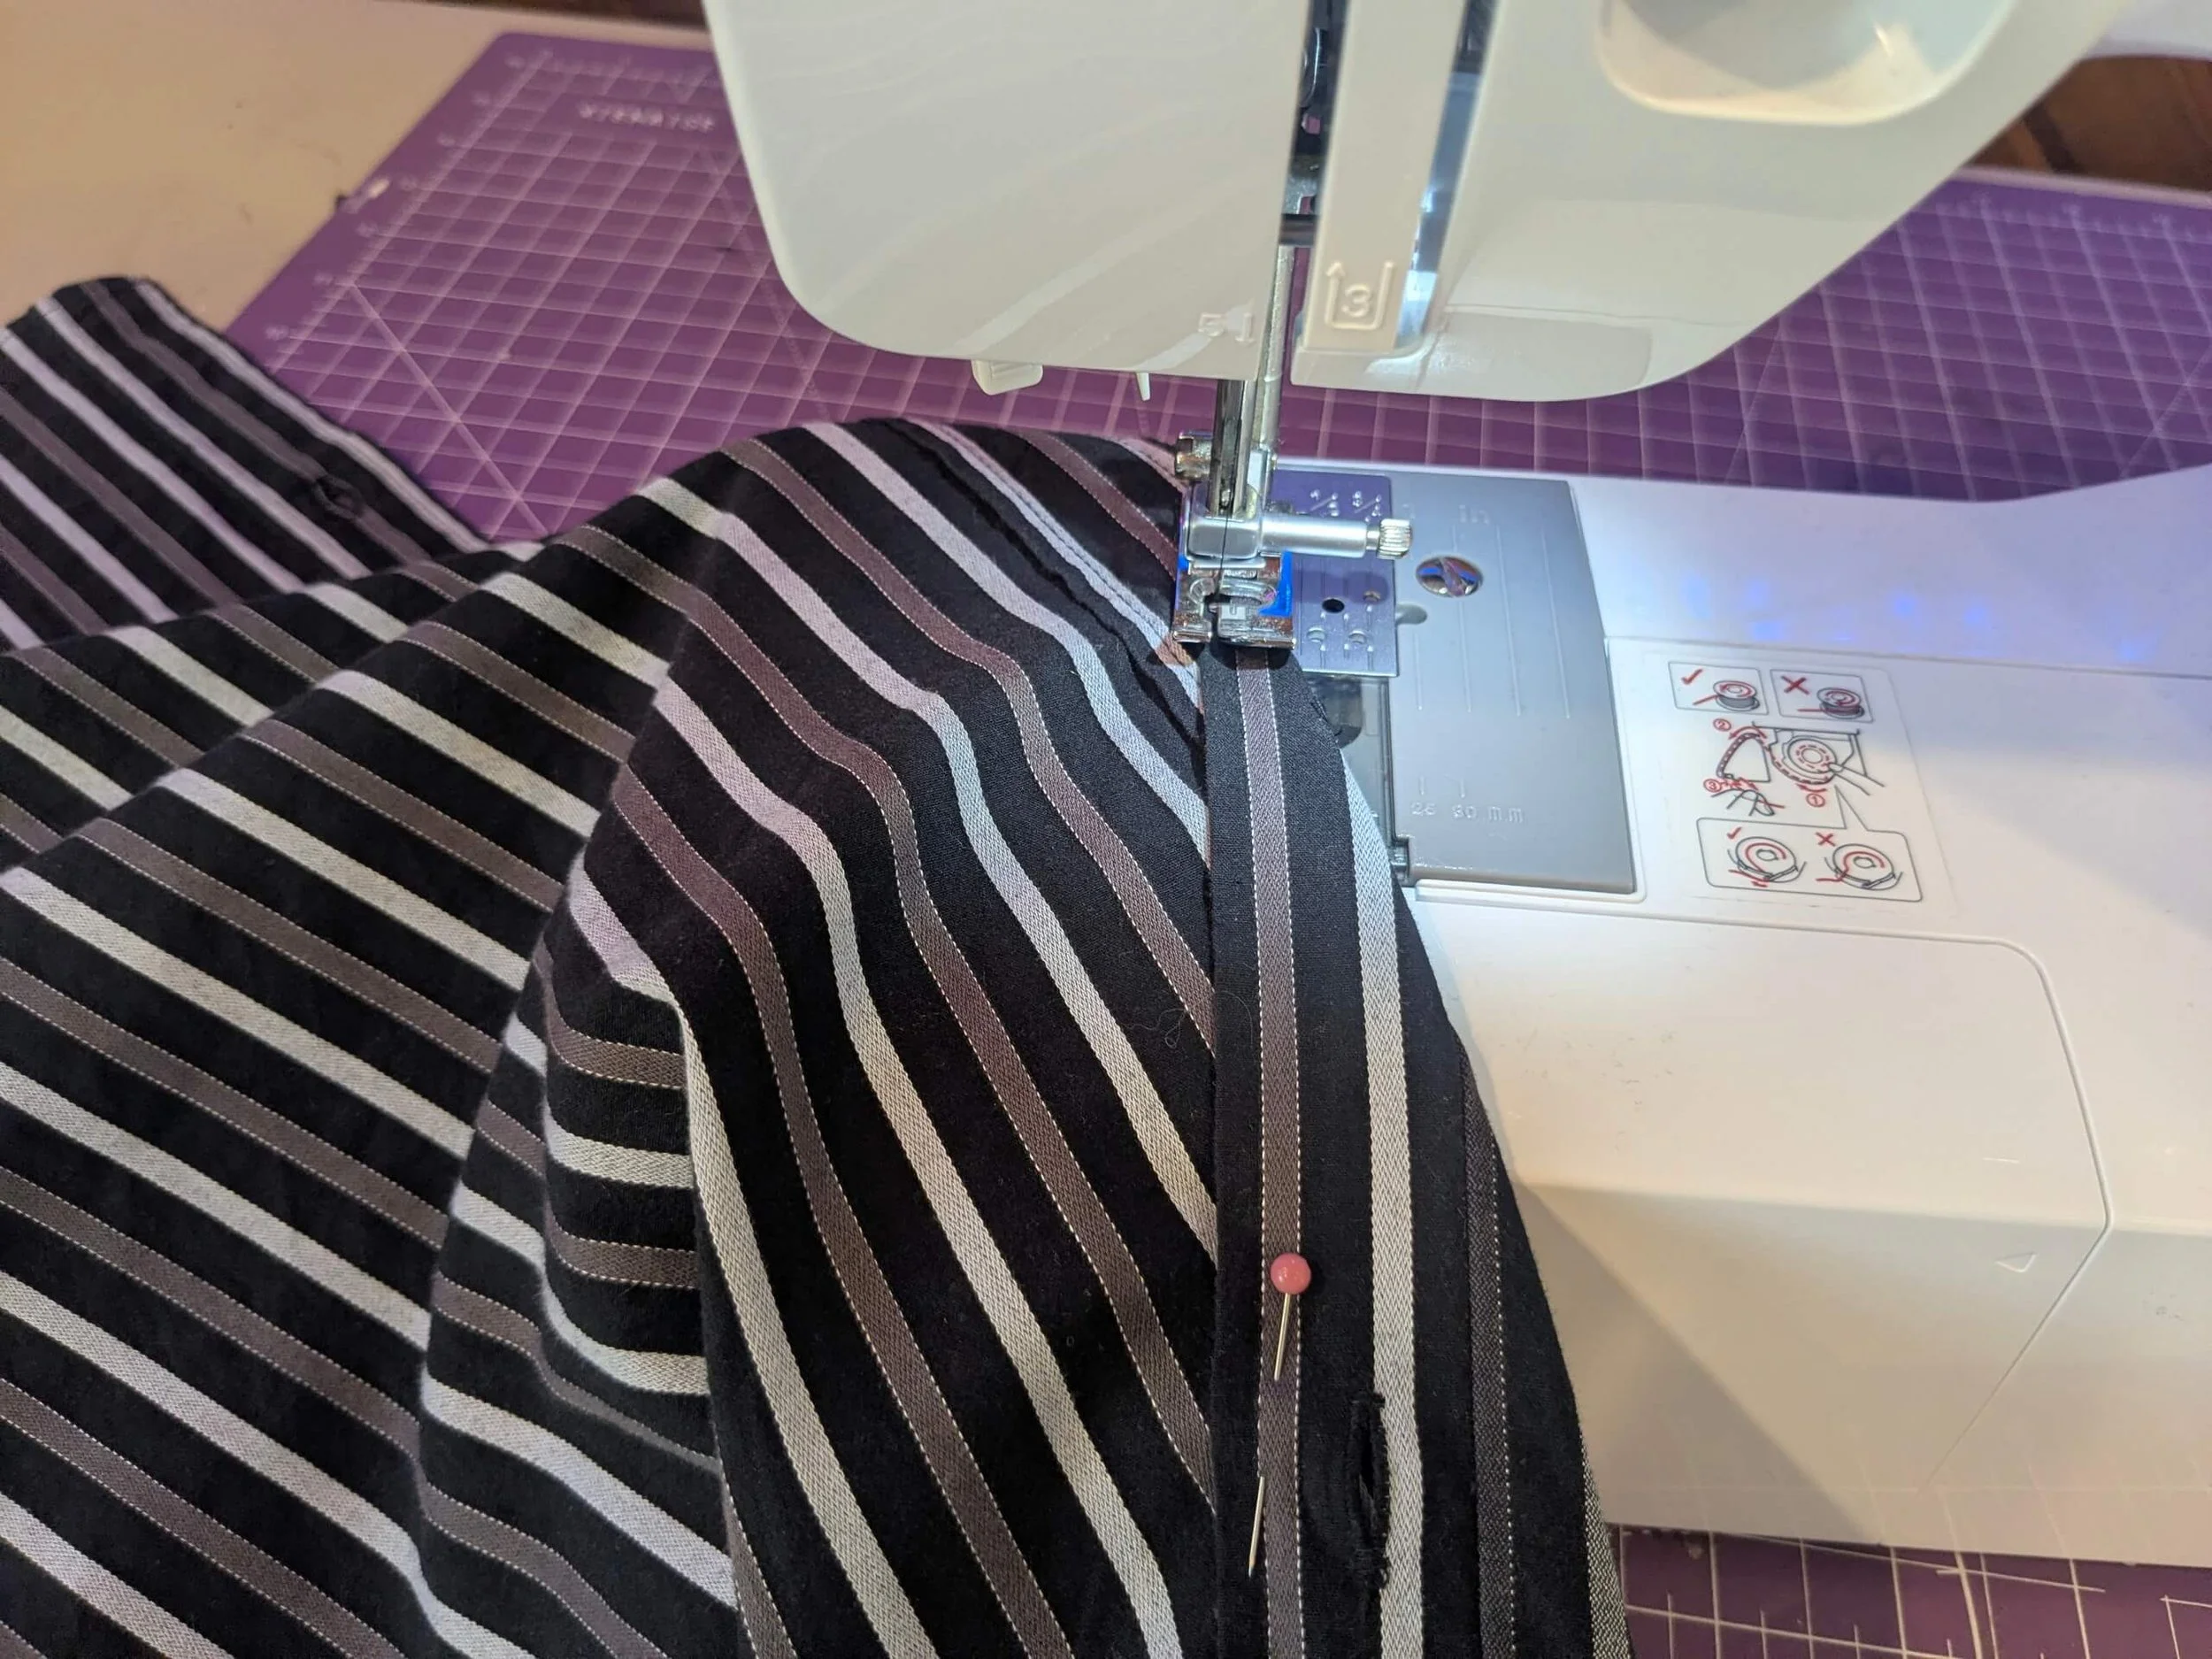
And finally used my sewing machine to secure it down.
Step 5: Remove pockets
My shirt had a front chest pocket so I used a seam ripper to remove it.
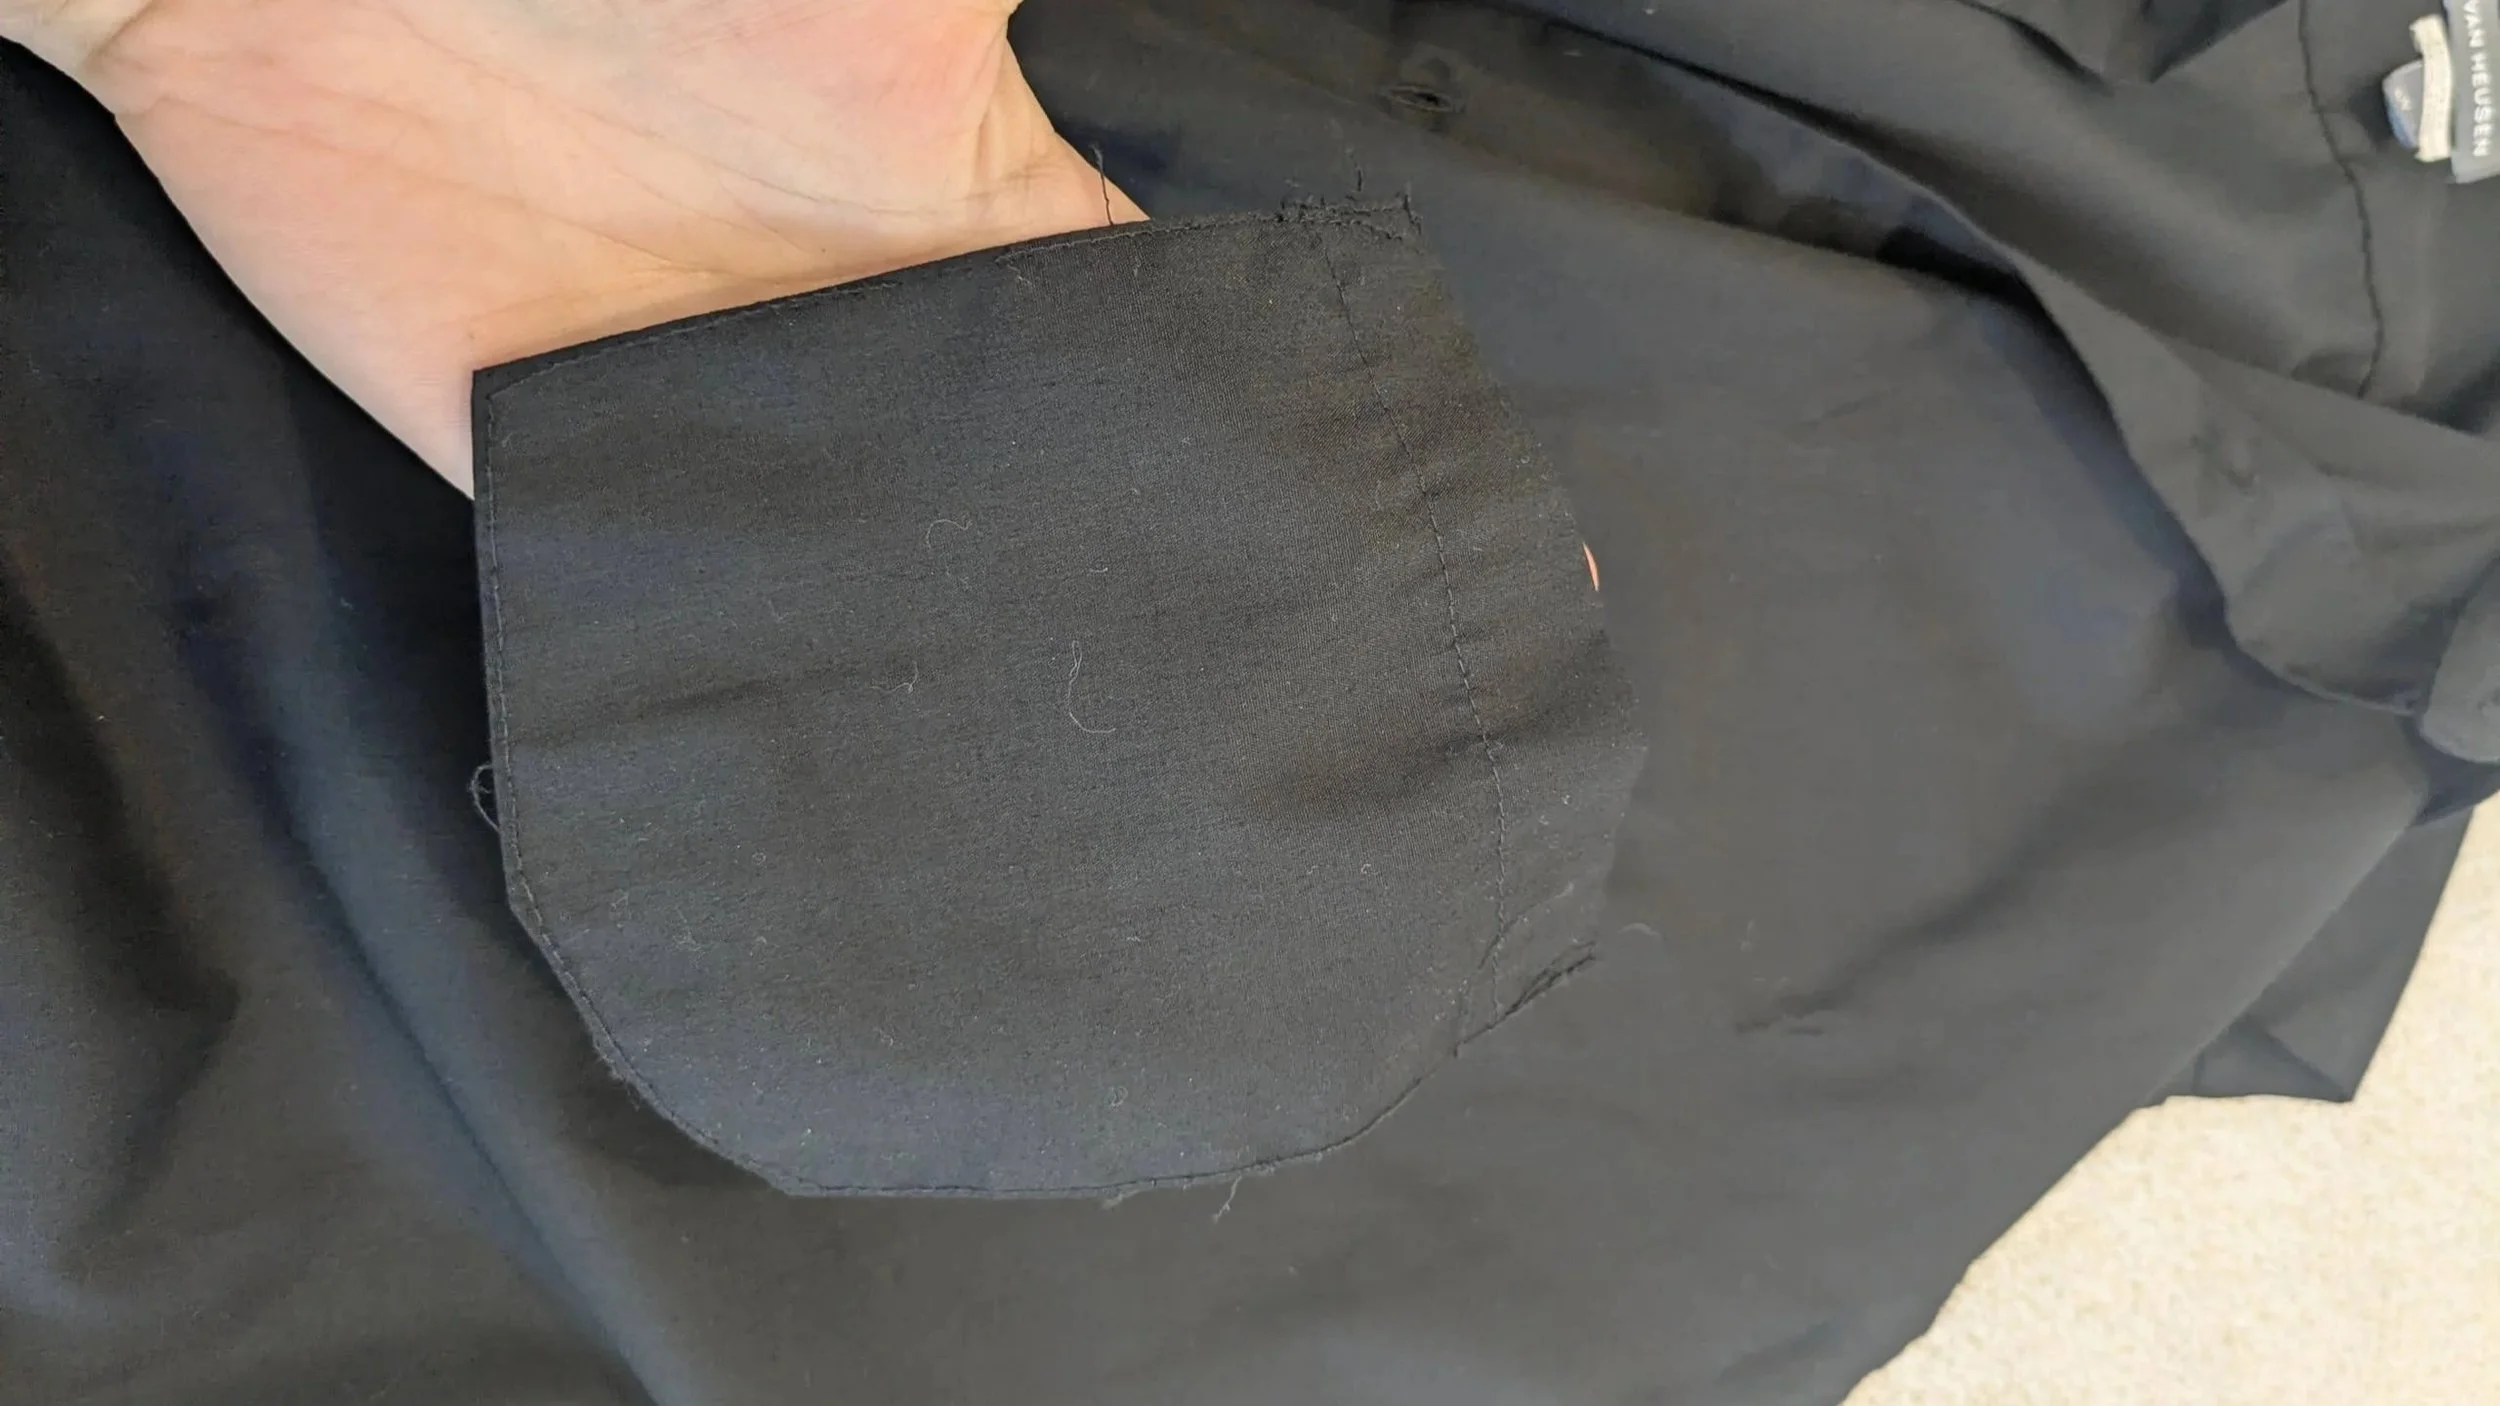
Step 6: Measure the black part
I tried on the black shirt over the stripped shirt and folded the excess collar fabric around the front. Then I used a pin to mark how far down I wanted the black part to go.

Step 7: Mark the black part
Then I took off the black shirt and used some chalk and a meter stick to draw straight across the front, and also a slight V to mark the back shape as well (save the excess shirt bottom fabric).


Step 8: Cut the back
I pinned the front and back together and started by cutting along the bottom V first.


Step 9: Cut the front
Then I unfolded the shirt, and cut straight across the top mark on the front panels only.


Step 10: Hem the hedges
I folded the edges over and used a straight stick across to hold the fold in place (along the front and the back).
Then I ironed it down for a sharper/flatter edge.


Step 11: Pin the black to the stripped
Then I tried the stripped shirt on again, and this time I put the black top part on over top of it and pinned the front in place.
I took it off and put it on a dress form to pin the back.


Step 12: sew them together
Once I was happy with the placement, I sewed the black onto the stripped.
First starting with a row of straight stitching very close to the edge.
Then I did a second row of straight stitching over top of my previous hem stitching.


Step 13: Remove excess stripped fabric
Once I was done sewing the front and back, I flipped the shirt inside out and carefully cut off the top part of the stripped shirt that was covered by the black fabric.


Step 14: Crop the shirt
I tried it on and pinned it where I wanted to crop it to.
Then I laid it flat and used chalk and a measuring stick to trace a straight line from my pins (leaving a seam allowance).
Lastly, I cut along the line.


Step 15: Take in sides
Once I was happy with the length, I put it on my mannequin inside out and pinned the sides in (then tried it on to make sure it fit).
From there, I sewed along the pin line with a straight stitch, followed by a zigzag stitch to finish the seam.
Then I cut off the excess fabric beside the zigzag stitch.


Step 16: Adjust shoulder holes
Because I bought a shirt size that was too large (so that I had extra fabric to work with while altering), I needed to take in the shoulders.
I tried the top on inside out and place a pin where I wanted the should to end.
Then I used some chalk to free hand a curved line to the armpit seam (leaving room for a seam allowance)
After I cut off the excess arm hole fabric, I used the cut piece as a “pattern” to make the other side even. Then repeated these steps.


Step 17: Add Sleeves
I grabbed the sleeves I put aside earlier, and flipped them inside out.
Then I put the sleeve through the armhole and marked a line where I could then cut off.
I pinned the sleeve to the armhole and sewed it on with a straight stitch followed by a zigzag stitch.
Then trimmed off the excess fabric.


Flipped it over and did two top stitch rows side by side along the black part.

Step 18: Add Black Tie
Using the bottom half of the black shirt that I saved from earlier, I eye-balled the size I wanted the tie to be (including a seam allowance), and used chalk to draw it out.
I cut once piece, then used that pieces to cut another identical pieces.
Then I cut all the ends into a rounded point.


Placing the two pieces together with the outsides facing inwards, I measured where the stripped fabric came to and placed a pin there on each side.


Then I sewed them together along the edge but stopped at the pin marks.
I put a tiny cut down to the stitch line where it ended on each side.
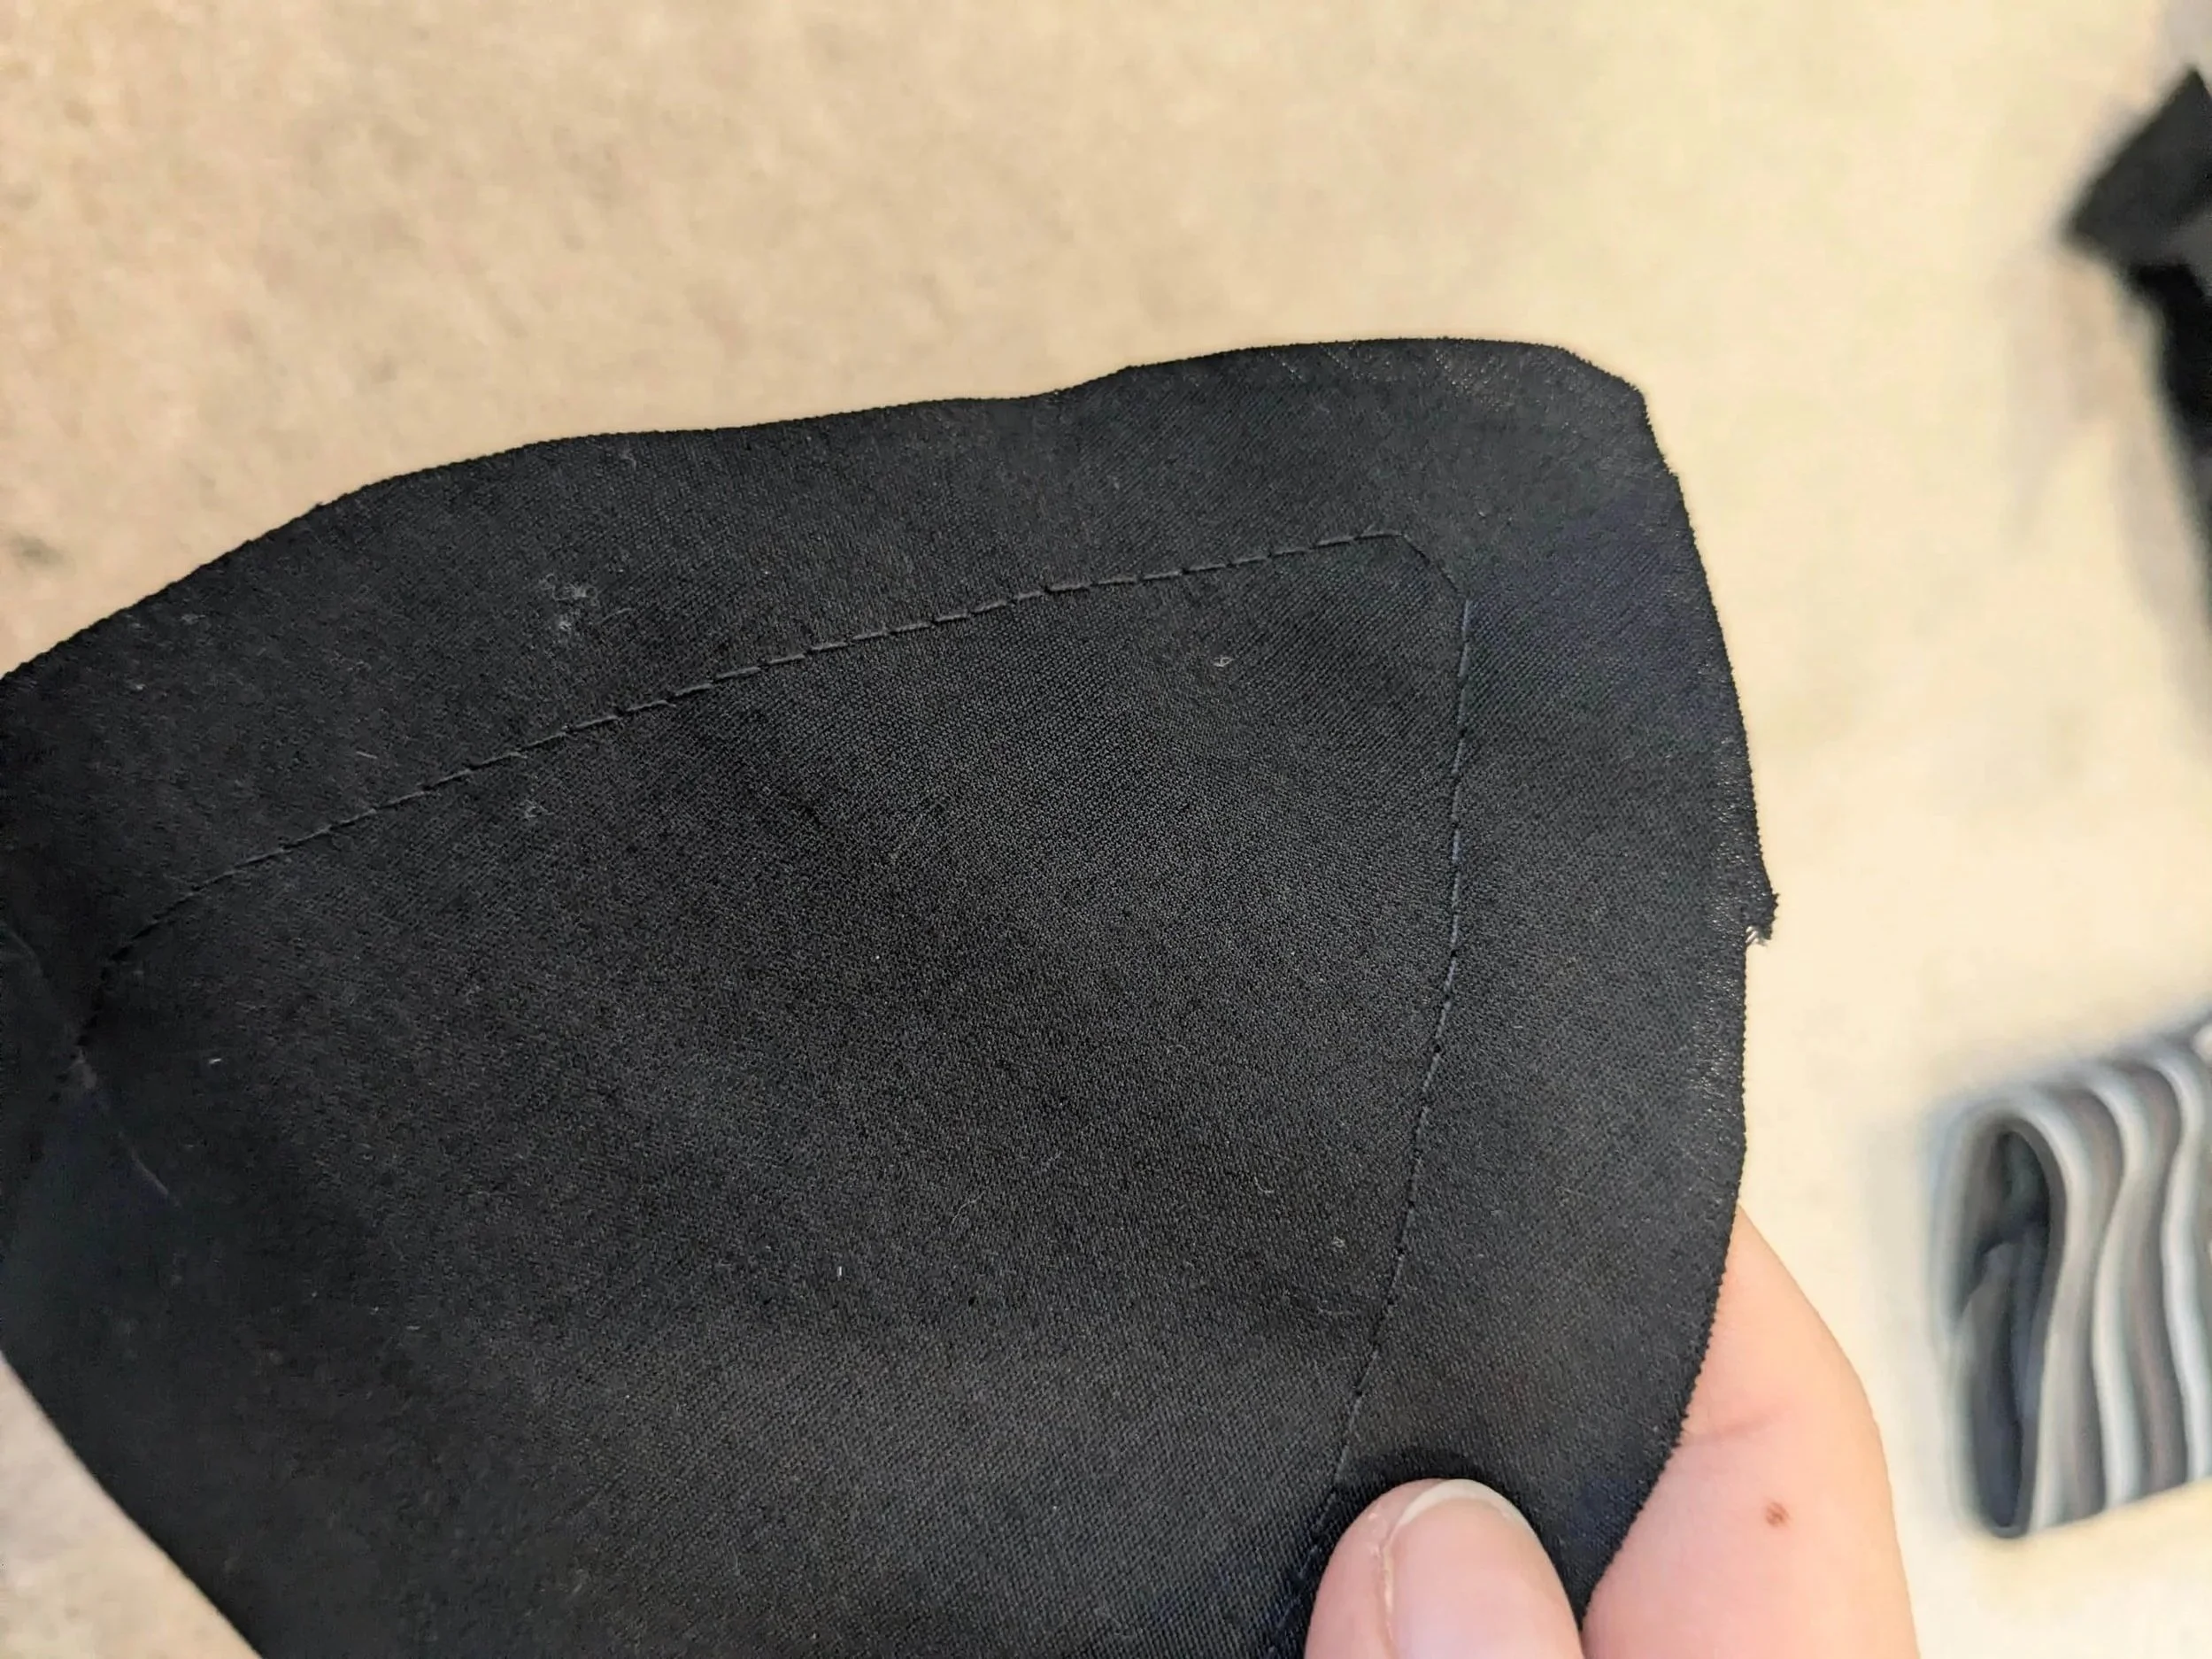

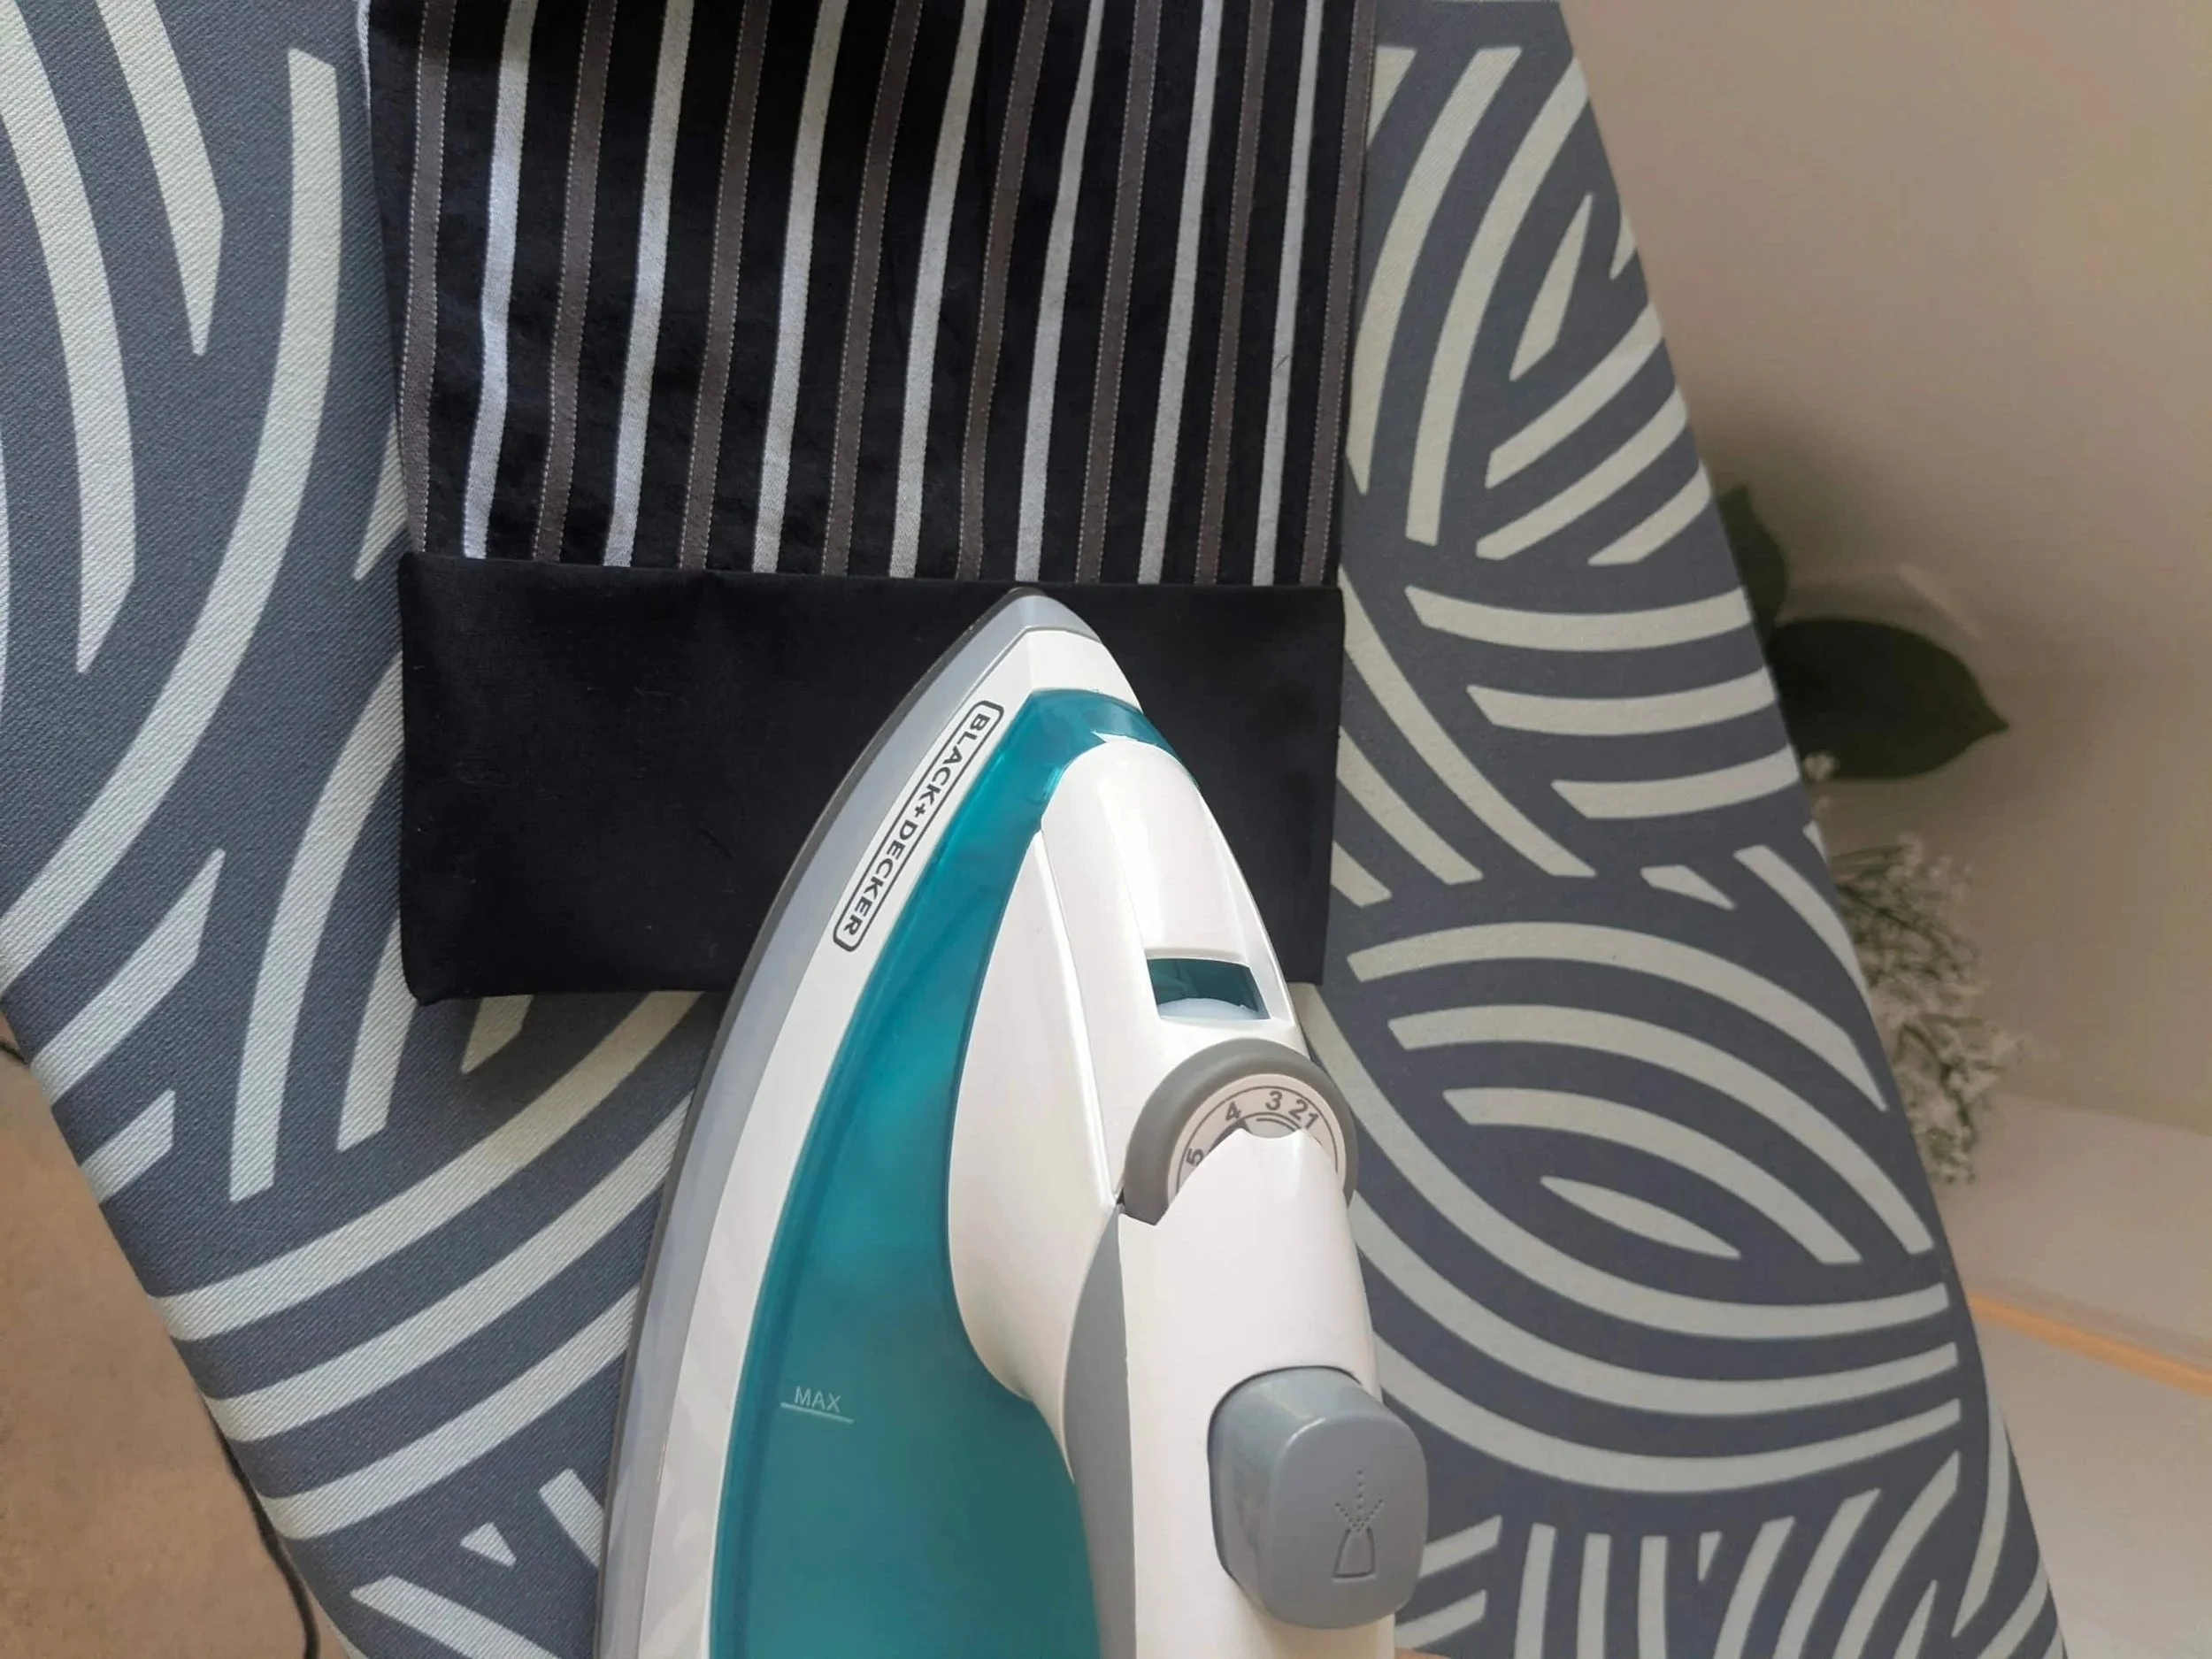
Then I flipped it inside out and ironed it flat on an ironing board.

Then I pinned it to the bottom of the shirt, used a straight stitch finished with a zigzag stitch to sew it on (the outside), then trimmed the excess stripped fabric off.


Step 19: Crop the sleeve length
I tried the shirt on and placed a pin at the length I wanted it.
Then using a ruler and chalk, I traced a straight line and cut it across.


Once I had one side done, I folding the shirt in half and lined up the sleeves starting at the shoulder seam.
I then measured the other sleeve and cut it the same length.


Step 20: Add the sleeve cuffs
I took the black sleeves I put aside earlier, and cut out the long button hole part that already looked like the shape I wanted (and repeated for both sleeves).


I removed the excess fabric that I couldn’t use anymore .
Then lined the folded edge with the folded edge of the stripped sleeve and marked the width I wanted the black part (leaving a seam allowance).


I then cut it out and finished the edge with a straight stitch, zigzag stitch, and trimmed the excess fabric off.
Then I flipped the tube inside out, and folded it back in half on itself.
I pinned the folded cuff to the inside of the stripped fabric.
And used two straight stitches side by side to secure it.


I then trimmed both the excess stripped fabric and the black fabric off.
Finishing it by flipping it over the stripped sleeve and ironing the edges flat.


Then I took the long button hole pieces I cut off earlier, and folded it over and pinned it where I wanted it to go.
I sewing a hand sewing needle and thread to secure it in place with a button.
Then I cut the excess fabric off from the inside.


Finished!


Click here to go back to the Tutorial Table of Contents.
END RESULT:
FINISHED COSTA DEL SOL TIFA COSPLAY
(MAJESTIC GLAMOUR OUTFIT)
To complete the look I thrifted a pair of wedge sandals that looked “close enough” to her shoes in-game. Then I booked a photoshoot with @drewfrondaphotography.
Here’s how my Tifa Costa Del Sol cosplay looked all put together!


I hope you found this tutorial guide helpful! Feel free to ask questions in the comments or tag me on social media @queenamydalacosplay if you used this guide to help you with your own build. 🙏🥰
With love,
Your friendly neighbourhood cosplay nerd,

PS. Please consider tipping $5 if you got value or inspiration from this tutorial!🙏🥰